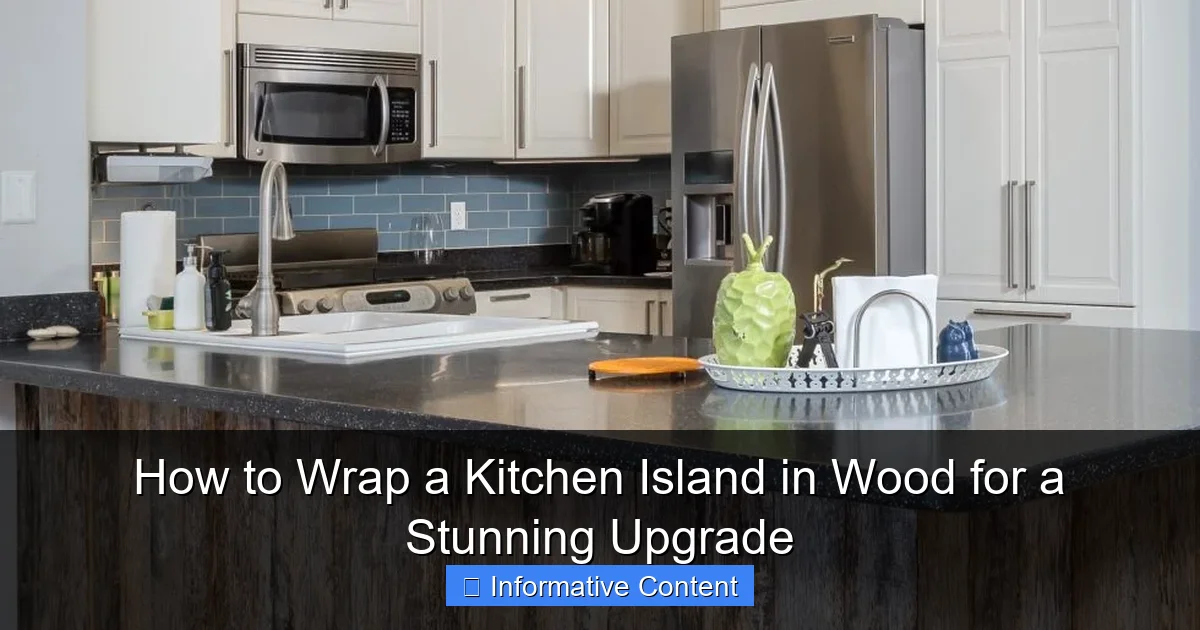
Featured image for how to wrap a kitchen island in wood
Image source: porterbarnwood.com
Transform your kitchen island with a professional-grade wood wrap to achieve a warm, custom-built look without a full remodel. This step-by-step guide covers essential techniques—from selecting durable, moisture-resistant wood and precise measuring to seamless installation and finishing—ensuring a flawless, long-lasting upgrade. Perfect for DIYers seeking a high-impact visual change that elevates both style and value.
Key Takeaways
- Plan carefully: Measure your island and choose wood type before starting.
- Prep the surface: Clean and sand the island for better wood adhesion.
- Use quality adhesive: Apply construction-grade glue for a secure, lasting bond.
- Clamp tightly: Secure wood with clamps until adhesive fully cures.
- Finish with care: Sand edges and apply sealant for a polished look.
- Maintain regularly: Wipe with wood cleaner to preserve the finish.
📑 Table of Contents
- Why Wood-Wrapped Kitchen Islands Are the Ultimate Upgrade
- Choosing the Right Wood for Your Kitchen Island Wrap
- Preparing Your Kitchen Island for the Wood Wrap
- Tools and Materials You’ll Need
- Step-by-Step: Installing the Wood Wrap
- Finishing Touches: Staining, Sealing, and Protecting
- Common Mistakes and How to Avoid Them
- Final Thoughts: Your Kitchen Island, Transformed
Why Wood-Wrapped Kitchen Islands Are the Ultimate Upgrade
If you’ve ever walked into a kitchen that made you pause—just for a second—and think, “Wow, this feels warm, rich, and inviting,” there’s a good chance the island was wrapped in wood. I remember visiting my friend Sarah’s newly renovated kitchen last year. The island, wrapped in rich walnut with a subtle grain, instantly became the heart of the room. It wasn’t just a countertop; it was a statement. That’s when I realized: wrapping a kitchen island in wood isn’t just about aesthetics. It’s about transforming a utilitarian space into a cozy, elegant, and timeless gathering spot.
Wood brings warmth, texture, and a natural elegance that stone, tile, or laminate simply can’t match. Whether you’re going for rustic farmhouse charm or sleek modern minimalism, wood can adapt. And the best part? You can do it yourself—with the right tools, prep, and patience. This guide walks you through every step of how to wrap a kitchen island in wood, from choosing the right materials to sealing the deal with a professional-looking finish. Whether you’re a seasoned DIYer or a weekend warrior, you’ll walk away with the confidence to take on this stunning upgrade.
Choosing the Right Wood for Your Kitchen Island Wrap
Types of Wood: Hardwood vs. Engineered
Not all wood is created equal—especially when it comes to high-traffic areas like kitchen islands. You’ll want materials that can handle spills, bumps, and daily wear without warping or chipping. Here’s the breakdown:
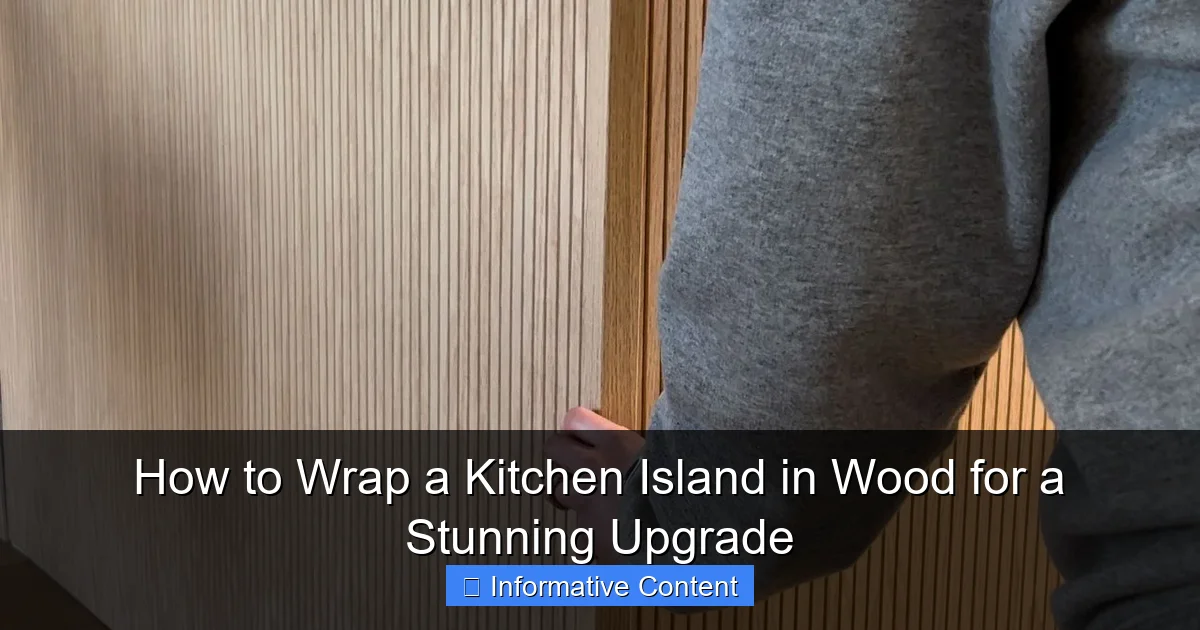
Visual guide about how to wrap a kitchen island in wood
Image source: i.pinimg.com
- Hardwood: Solid wood like oak, maple, walnut, or cherry is durable and beautiful. It’s ideal for long-term durability and can be sanded and refinished multiple times. However, it’s more expensive and sensitive to moisture if not properly sealed.
- Engineered Wood: Made with a thin layer of real wood on top of plywood, engineered wood offers the look of solid wood with better stability. It’s less prone to warping due to humidity changes and is often more budget-friendly.
- Reclaimed Wood: For a rustic, eco-conscious look, reclaimed barn wood or salvaged beams add character. Just be sure it’s properly cleaned, sanded, and treated to avoid splinters or pests.
Tip: If you’re on a tighter budget, consider using engineered wood for the vertical sides and solid wood for the front apron or visible edges—this gives you the best of both worlds.
Matching Your Kitchen Style
Your wood choice should complement your kitchen’s overall design. For example:
- Modern kitchens: Go for light-toned woods like maple or white oak with a matte or satin finish. Clean lines and minimal grain work best.
- Rustic or farmhouse: Walnut, hickory, or reclaimed wood with visible knots and grain add warmth and texture. A hand-scraped finish enhances the character.
- Coastal or Scandinavian: Light ash or birch with a whitewash or natural oil finish creates an airy, relaxed feel.
I once helped a client choose white oak for a modern kitchen with navy cabinets. The contrast was stunning—clean, crisp, and surprisingly warm. The wood softened the bold color without competing with it.
Thickness and Dimensions
For wrapping an island, you’ll typically use wood panels or boards that are 3/4 inch (19 mm) thick for structural stability. For vertical wraps, 1×4 or 1×6 boards work well. For a full panel wrap (like on the sides of a cabinet-style island), you can use plywood with a real wood veneer or solid wood panels.
Pro tip: Measure your island’s perimeter and height carefully. Add 10% extra to account for cutting waste and potential mistakes. It’s always better to have a little extra than to run short mid-project.
Preparing Your Kitchen Island for the Wood Wrap
Clearing the Space
Before you even touch a saw, clear everything off your island. Remove bar stools, small appliances, and decor. If your island has a backsplash, consider whether you’ll be removing it or working around it. You’ll need full access to all sides.
Turn off any under-island lighting or electrical outlets. If you’re working near plumbing (like a sink or dishwasher), cover the area with plastic sheeting to protect it from dust and debris.
Assessing the Surface
Your island’s current surface matters. Is it:
- Smooth and painted? Sand it lightly to help the adhesive bond.
- Laminate or tile? You can still attach wood, but you’ll need construction adhesive and mechanical fasteners (like screws) for extra grip.
- Uneven or damaged? Fill dents or cracks with wood filler or spackle. Sand until smooth.
I once worked on an island with chipped laminate. Instead of replacing it (which would’ve required removing the countertop), we sanded it down, filled the cracks, and attached the wood with heavy-duty construction adhesive. The result? A seamless, custom look—no one could tell it wasn’t a solid wood base.
Creating a Template (Optional but Recommended)
If your island has curves, angles, or built-in features (like a wine rack or overhang), create a cardboard template first. This helps you cut the wood to fit perfectly before committing to expensive materials.
- Trace the island’s profile onto cardboard.
- Cut it out and test-fit it.
- Adjust as needed, then use the template to trace onto your wood.
This step saved me hours on a recent project where the island had a curved corner. Without the template, I would’ve wasted two boards trying to eyeball the cut.
Tools and Materials You’ll Need
Essential Tools
You don’t need a full workshop, but having the right tools makes the job easier and safer:
- Circular saw or miter saw: For straight and angled cuts. A miter saw gives cleaner edges.
- Jigsaw: For curves or notches (like around outlets).
- Tape measure and carpenter’s square: Precision is key.
- Clamps: To hold wood in place while adhesive dries.
- Orbital sander or sanding block: For smoothing edges and surfaces.
- Drill/driver: For pilot holes and screws (if using mechanical fasteners).
- Stud finder (optional): If attaching to a frame, this helps locate supports.
Materials Checklist
- Wood boards or panels (3/4” thick)
- Construction adhesive (e.g., Liquid Nails or PL Premium)
- Wood glue (for seams)
- 18-gauge brad nails or 1-1/4” finish nails (for extra hold)
- Wood filler (to patch nail holes and seams)
- Sandpaper (80, 120, and 220 grit)
- Wood finish (oil, wax, or polyurethane)
- Primer and paint (if staining isn’t your goal)
- Protective gear (gloves, goggles, mask)
Insider tip: Buy a small sample of your wood and finish first. Test it on a scrap piece to see how the stain or oil absorbs. Some woods (like pine) can blotch easily, so you might need a pre-stain conditioner.
Setting Up a Safe Workspace
Work in a well-ventilated area. If you’re cutting wood indoors, use a dust mask and vacuum frequently. Lay down drop cloths to protect floors. And—this one’s critical—measure twice, cut once. I’ve learned that the hard way after ruining a $40 walnut board with a rushed cut.
Step-by-Step: Installing the Wood Wrap
Step 1: Cut the Wood to Size
Using your measurements (or template), cut the wood pieces for each side of the island. Label each piece (e.g., “front,” “left side”) to avoid confusion. For long runs, you may need to join two boards end-to-end. Use a scarf joint (angled cut) for a seamless look, or butt joints with wood glue and biscuits for strength.
Tip: Cut slightly longer than needed—you can trim excess after fitting.
Step 2: Dry-Fit the Pieces
Before applying adhesive, fit each piece around the island without glue or nails. Check for gaps, overlaps, or misalignments. Adjust cuts as needed. This dry-fit stage is your last chance to catch mistakes.
On one project, I skipped this step and glued a piece that was 1/2 inch too short. I had to pry it off, sand the adhesive, and start over—lesson learned!
Step 3: Apply Adhesive and Attach the Wood
Run a zigzag bead of construction adhesive along the back of each wood piece. For extra hold, especially on vertical surfaces, use brad nails every 8–12 inches. Start at one corner and work your way around.
- Press the wood firmly against the island.
- Use clamps or heavy books to hold it in place while the adhesive sets (usually 24 hours).
- For seams between boards, apply wood glue before joining.
Pro tip: If your island has a countertop overhang, leave a 1/8-inch gap between the wood and the countertop to allow for expansion and prevent cracking.
Step 4: Reinforce with Mechanical Fasteners (Optional)
If you’re not confident in adhesive alone, drive finish nails through the wood into the island’s frame. Countersink the nails and fill the holes with wood filler. This is especially useful for islands made of hollow-core materials.
For a cleaner look, you can install wood from the inside of the island frame (if accessible) and use pocket screws. This hides fasteners completely.
Step 5: Fill, Sand, and Smooth
Once the adhesive is dry, fill all seams, nail holes, and gaps with wood filler. Let it cure, then sand the entire surface with 120-grit, followed by 220-grit sandpaper. Wipe away dust with a tack cloth.
This step is where your wrap goes from “DIY” to “professional.” A smooth, even surface is crucial for a flawless finish.
Finishing Touches: Staining, Sealing, and Protecting
Choosing the Right Finish
Your finish protects the wood and enhances its color. Here are your options:
- Oil (e.g., tung or linseed): Deepens the grain, feels soft, and is easy to reapply. Best for low-traffic areas—may need re-oiling every 6–12 months.
- Polyurethane (oil- or water-based): Most durable. Water-based dries clear and resists yellowing; oil-based adds warmth. Ideal for kitchens.
- Pre-stain conditioner: Use on blotch-prone woods (like pine) to ensure even stain absorption.
< Wax: Adds a subtle sheen and soft feel. Use over oil or alone. Requires frequent reapplication.
For a kitchen island, I recommend water-based polyurethane in satin or semi-gloss. It’s food-safe (once cured), easy to clean, and resists scratches and moisture.
Applying the Finish
- Stir (don’t shake) the finish to avoid bubbles.
- Apply with a high-quality brush or foam applicator in long, even strokes.
- Let dry completely (usually 4–6 hours).
- Lightly sand with 220-grit between coats.
- Apply 2–3 coats total, sanding lightly after each.
Tip: Work in a dust-free area. A single speck of dust can ruin the finish. I once had to sand down an entire side because a fly landed in the wet polyurethane—don’t let that be you!
Maintaining Your Wood Wrap
Wood is durable but not indestructible. To keep it looking great:
- Wipe spills immediately.
- Use coasters under glasses.
- Avoid placing hot pots directly on the wood (use trivets).
- Reapply polyurethane every 2–3 years, or as needed.
One client asked if she could use her wood-wrapped island as a cutting board. I gently said no—but suggested adding a removable wood cutting board that matches the wrap. It’s the best of both worlds.
Common Mistakes and How to Avoid Them
Ignoring Expansion Gaps
Wood expands and contracts with humidity. If you butt the wood tightly against the countertop or adjacent walls, it can crack or buckle. Always leave a 1/8-inch gap and fill it with a flexible wood filler or caulk.
Using the Wrong Adhesive
Not all glues are created equal. Use construction adhesive (like PL Premium) for vertical surfaces. Wood glue is great for seams but won’t hold on its own for large panels.
Skipping the Sanding Step
Rushing through sanding leads to uneven finishes and visible tool marks. Take your time—smooth surfaces make a huge difference.
Forgetting About Lighting
Wood changes color in different lighting. View your samples in natural daylight, evening light, and under kitchen LEDs. A walnut that looks rich in the store might appear too dark at night.
Table: Wood Wrap Project Cost Estimate (Average Sizes)
| Material | Size (4′ x 2′) | Cost Range | Best For |
|---|---|---|---|
| Solid Oak | 3/4″ x 4′ x 2′ | $120–$200 | High-end, long-term durability |
| Engineered Walnut | 3/4″ x 4′ x 2′ | $80–$140 | Moisture-prone kitchens |
| Reclaimed Pine | 3/4″ x 4′ x 2′ | $60–$100 | Rustic, eco-friendly look |
| Tools & Supplies | Adhesive, finish, nails, etc. | $50–$100 | One-time or reusable |
| Total | $300–$500 |
Note: Costs vary by region and wood quality. Reclaimed wood may require additional prep time.
Final Thoughts: Your Kitchen Island, Transformed
Wrapping a kitchen island in wood is more than a DIY project—it’s an act of love for your home. I’ve seen families gather around these islands for years, their wood developing a rich patina that tells the story of countless meals, conversations, and memories. It’s not just about how it looks. It’s about how it feels—warm, grounded, and full of life.
Yes, it takes time. Yes, there will be moments when you question your choices (like when you realize you measured wrong or a board splits mid-cut). But every step—from choosing the wood to sanding that final coat—builds something uniquely yours. And when you stand back and see that rich grain hugging your island, you’ll know it was worth it.
So go ahead. Pick your wood. Gather your tools. And take the leap. Whether you’re aiming for rustic charm or modern elegance, wrapping your kitchen island in wood is a stunning upgrade that pays off every single day.
And if you ever need a reminder of why you started? Just imagine your friend walking in, eyes wide, saying, “Wow. This feels like home.”
Frequently Asked Questions
What materials do I need to wrap a kitchen island in wood?
To wrap a kitchen island in wood, you’ll need wood planks (like shiplap or tongue-and-groove), a saw, nails or screws, a nail gun or drill, wood glue, sandpaper, and a finish (stain or paint). Choose durable, moisture-resistant wood for longevity in a kitchen environment.
Can I wrap a kitchen island in wood without professional help?
Yes, wrapping a kitchen island in wood is a DIY-friendly project if you have basic carpentry skills. Ensure accurate measurements, use proper tools, and follow installation guides for a polished look. Beginners should start with pre-finished wood planks for easier handling.
How do I prepare the kitchen island for a wood wrap?
Start by cleaning the island surface thoroughly and removing any hardware or obstacles. Sand the existing surface lightly to ensure the wood adheres well, then apply a primer if needed. This prep work is crucial for a smooth, long-lasting wood wrap.
What type of wood is best for wrapping a kitchen island?
Poplar, pine, or oak are popular choices for wrapping a kitchen island in wood due to their durability and ease of staining. For a budget-friendly option, consider engineered wood with a veneer finish, which resists warping and moisture.
How do I cut and fit wood around corners and edges?
Measure the island’s dimensions carefully, then cut the wood planks with a miter saw for precise angles at corners. Use a router or sandpaper to smooth edges for a snug fit. Test-fit pieces before nailing or gluing to avoid gaps.
How do I maintain a wood-wrapped kitchen island?
Seal the wood with a waterproof polyurethane or wax to protect it from spills and humidity. Wipe spills immediately and clean with a damp cloth—avoid harsh cleaners to preserve the wood’s finish and keep it looking stunning.