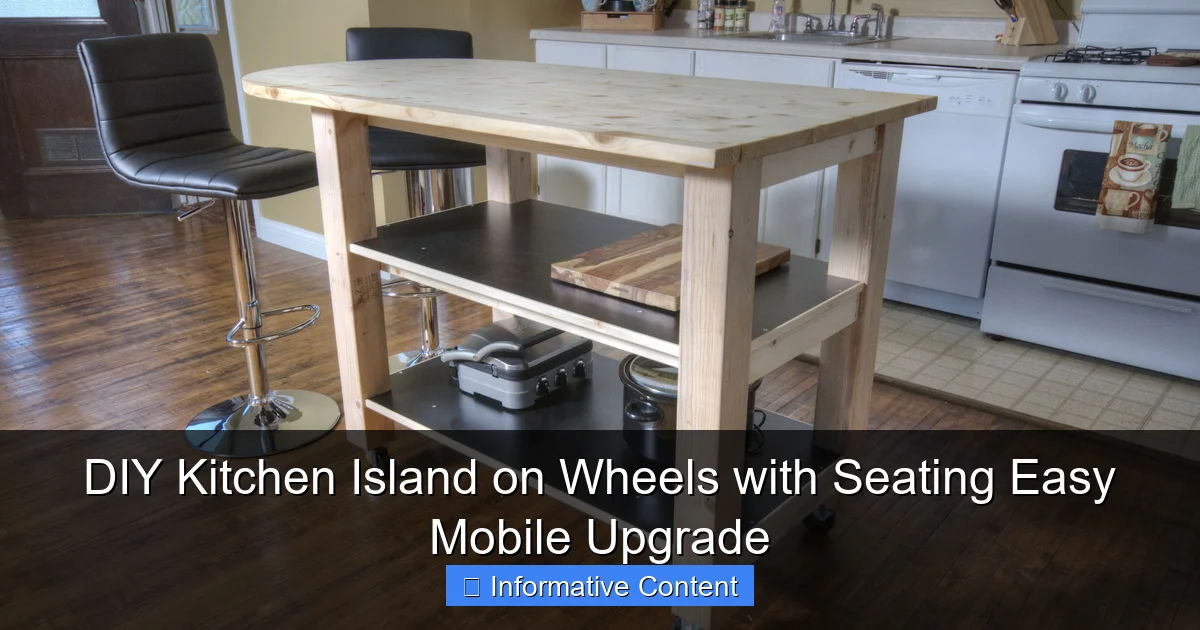
Featured image for diy kitchen island on wheels with seating
Image source: i.pinimg.com
Transform your kitchen with a DIY island on wheels that combines mobility, style, and extra seating—no renovation needed. This easy-to-build, customizable solution adds workspace and social seating in minutes, perfect for small kitchens or renters seeking a budget-friendly, high-impact upgrade that rolls wherever you need it.
Key Takeaways
- Maximize mobility: Use heavy-duty casters for smooth, stable movement.
- Add seating: Install fold-down stools to save space when unused.
- Prioritize prep space: Choose durable countertops like butcher block or quartz.
- Storage matters: Include shelves or cabinets for easy access to essentials.
- DIY affordably: Repurpose old carts or cabinets to cut costs creatively.
- Ensure stability: Lock wheels and anchor tall islands to prevent tipping.
📑 Table of Contents
- Why a DIY Kitchen Island on Wheels with Seating is a Game-Changer
- Planning Your DIY Kitchen Island: Start with Purpose
- Choosing Materials: Budget-Friendly vs. High-End Options
- Step-by-Step Build: From Frame to Finished Island
- Seating Solutions: Stools, Benches, and Beyond
- Finishing Touches: Style, Storage, and Smart Upgrades
- Final Thoughts: Your Mobile Kitchen Upgrade Awaits
Why a DIY Kitchen Island on Wheels with Seating is a Game-Changer
Let’s be honest—kitchen space is sacred. Whether you’re in a cozy apartment or a sprawling family home, that central hub where meals are prepped, conversations happen, and coffee is brewed always seems to run out of room. I remember my own kitchen struggles: trying to chop veggies while a toddler pulled at my leg, guests hovering awkwardly near the fridge because there was nowhere to sit, and my partner sighing because the counter was always cluttered. It was a mess. But then I discovered the magic of a DIY kitchen island on wheels with seating—a simple, mobile upgrade that transformed my cooking and social space.
This isn’t just about adding storage or a place to sit. It’s about creating flexibility. A rolling island lets you shift your kitchen layout based on need: pull it out for extra counter space during dinner prep, tuck it against a wall to open up floor space, or roll it into the living room for a casual movie-night snack bar. And when you add seating? You’ve just created a new social hotspot. No major renovations, no breaking the bank. Just smart, adaptable design. Whether you’re a seasoned DIYer or a first-time builder, this project is totally doable—and the payoff is huge.
Planning Your DIY Kitchen Island: Start with Purpose
Define Your Needs and Goals
Before you grab a saw or start browsing Pinterest, ask yourself: *What do I really need from this island?* Is it more prep space? Extra seating for kids during homework time? A place to store pots and pans? A coffee station? For me, it was all three: a mobile surface that could handle cooking chaos, double as a breakfast bar, and hide clutter behind closed doors.
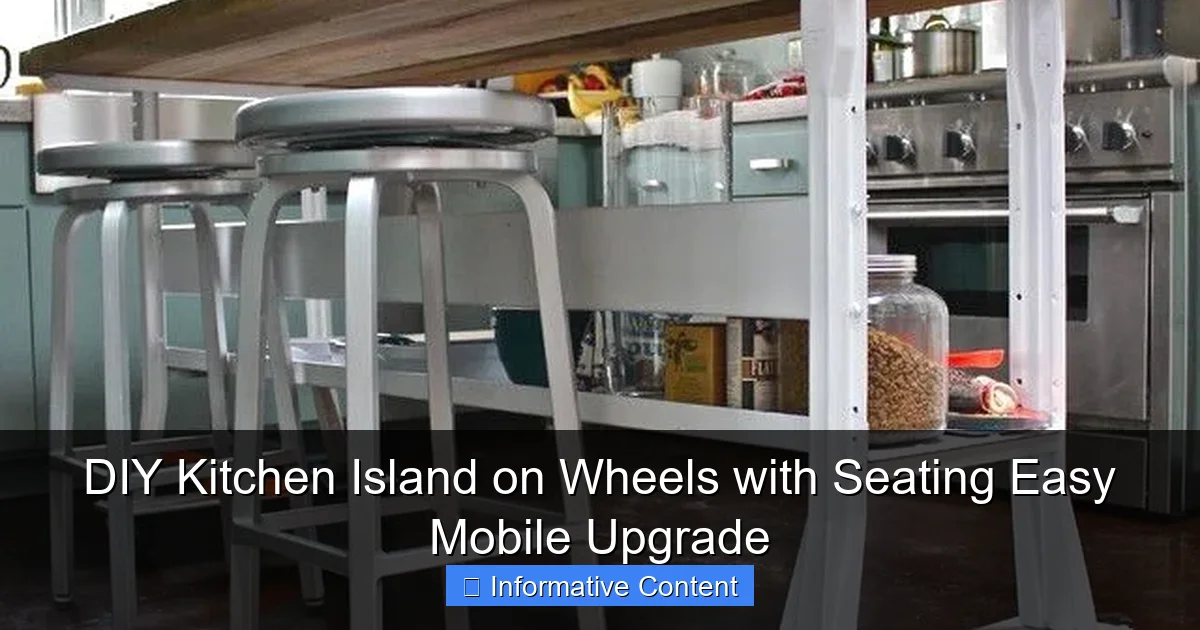
Visual guide about diy kitchen island on wheels with seating
Image source: i.pinimg.com
Here’s how to clarify your goals:
- Seating: How many people? Do you want stools that tuck under (saving space) or full chairs? Measure the height—standard bar stools are 28–30” tall, counter stools 24–26”.
- Storage: Open shelves for easy access? Drawers for utensils? A wine rack? Consider your kitchen’s “problem areas.”
- Mobility: Will you roll it daily? Weekly? Locking casters are a must for stability when in use.
- Style: Match your kitchen’s vibe—rustic farmhouse, modern minimalist, or something eclectic?
Pro tip: Sketch your island’s footprint on graph paper or use a free tool like SketchUp Free. Play with dimensions until it feels right for your space.
Measure Twice, Build Once
Grab your tape measure and get precise. Standard counter height is 36”, but if you’re adding seating, consider a split-level design: 36” for prep, 42” for bar-style seating. Measure your kitchen’s “walkways” too—you’ll want at least 36–42” of clearance around the island for easy movement.
Also, check your floor type. If you’re on hardwood or tile, you’ll need smooth, floor-friendly casters. For carpet, opt for larger wheels (3–4” diameter) to avoid getting stuck.
My mistake: I once built an island that blocked the fridge door when rolled too far. Measure *all* adjacent appliances and door swings—trust me, you’ll thank yourself later.
Choosing Materials: Budget-Friendly vs. High-End Options
Base and Frame: Stability First
The base is the backbone of your island. You need something sturdy enough to hold weight (think: heavy appliances, people leaning on it) but light enough to roll. Here’s what works:
- Plywood: 3/4” birch or maple plywood is affordable, stable, and easy to cut. Use it for the frame and sides. Avoid particleboard—it sags under pressure.
- 2x4s or 2x2s: Great for a rustic look. Build a rectangular frame, then clad it with plywood or reclaimed wood for a shiplap effect.
- Pre-made cabinets: IKEA’s SEKTION or METOD base cabinets (30–36” wide) can be repurposed. They’re already pre-drilled for casters and have built-in storage.
Budget hack: Check Craigslist or Facebook Marketplace for used cabinets. Sand, paint, and they’re like new!
Countertop: Function Meets Style
This is where your island shines. Countertop options:
- Butcher block: Warm, natural, and perfect for food prep. Seal it with mineral oil monthly to prevent stains. Cost: $20–$50 for a 24”x36” slab.
- Quartz or granite remnants: Check local stone yards for offcuts. They’re pricier ($50–$100+) but indestructible and low-maintenance.
- Laminate: Affordable ($15–$30 for a 4’ sheet) and comes in endless patterns (marble, wood grain). Use a router to create a rounded edge for safety.
- Reclaimed wood: Salvage old barn wood or pallets for a rustic vibe. Seal with polyurethane to protect from spills.
My favorite combo: A 3/4” plywood frame with a butcher block top. It’s lightweight, warm, and costs under $100 total.
Wheels and Hardware: The Mobility Secret
Not all casters are equal. Look for:
- Locking casters: Essential! Without locks, your island will wobble when you’re chopping. Get 2–4 with brakes (2 locking wheels are enough for stability).
- Weight capacity: Each wheel should hold 50–100 lbs. For a 100-lb island, 4 wheels rated for 25+ lbs each.
- Swivel vs. fixed: Swivel wheels (360°) make maneuvering easier. Fixed wheels (straight-line) are more stable but less flexible.
Pro tip: Install wheels *before* adding the countertop. It’s much easier to flip the frame upside down when it’s lightweight.
Step-by-Step Build: From Frame to Finished Island
Step 1: Build the Frame (1–2 Hours)
For a 24”x36” island:
- Cut two 36” and two 22.5” pieces from 3/4” plywood (the 22.5” accounts for the 1.5” thickness of the side panels).
- Assemble the rectangle using wood glue and 1.25” pocket screws (or nails). Reinforce corners with L-brackets.
- Add a horizontal “shelf brace” 12” from the bottom if you want open storage.
Why 24” depth? It’s wide enough for prep but narrow enough to avoid blocking walkways. Adjust based on your space!
Step 2: Add Sides and Back (1 Hour)
- Cut 3/4” plywood to fit the sides (36”x36”) and back (24”x36”). Attach with glue and screws.
- For a “finished” look, sand edges smooth and fill screw holes with wood filler.
- Optional: Add a 1/4” plywood back panel for extra stability.
Step 3: Install Wheels (30 Minutes)
- Flip the frame upside down. Attach casters 2–3” from each corner using 1” screws (pre-drill to avoid splitting).
- Test the roll! If it wobbles, adjust the wheel alignment or add a shim under a wobbly wheel.
Step 4: Add Storage (1–2 Hours)
Customize your island’s interior:
- Drawers: Use a pre-built drawer kit (IKEA or Rockler) or build your own with 1/2” plywood. Install drawer slides.
- Cabinets: Attach a 30”x30” cabinet door to the front with hinges. For a “barn door” look, use a sliding track.
- Open shelves: Add a 12”-deep shelf 18” from the bottom for cookbooks or baskets.
My trick: Use tension rods inside the frame to create “floating” shelves. No drilling needed!
Step 5: Attach the Countertop (30 Minutes)
- Place the countertop on the frame. Center it, leaving a 1” overhang on all sides for a polished look.
- Secure from underneath with 1.5” screws (pre-drill holes to avoid cracking).
- Butcher block only: Apply 3–4 coats of mineral oil, waiting 24 hours between coats.
Seating Solutions: Stools, Benches, and Beyond
Choosing the Right Seating
Seating turns your island into a social hub. Key considerations:
- Height: For a 36” island, use 24–26” stools. For 42”, use 28–30” stools. Measure from the *floor* to the *seat*.
- Style: Backless stools tuck neatly under the island. Backs provide comfort for long chats. Swivel stools add fun.
- Material: Wood stools match butcher block tops. Metal or acrylic stools work with modern kitchens.
Budget option: Repurpose old dining chairs. Cut the legs to the right height (use a jigsaw) and reupholster seats with fabric.
Built-In Seating: Save Space
For small kitchens, skip stools and build seating *into* the island:
- Bench on one side: Cut a 12”-deep bench from plywood. Attach to the frame with L-brackets. Add cushions with non-slip backing.
- Fold-down table: Hinge a 12”x24” board to the side. Fold up when not in use. Perfect for coffee breaks!
- Hidden storage seats: Build a 18”x18”x18” cube with a lift-top lid. Store extra placemats or aprons inside.
My favorite: A 30”-long bench with a cushion and storage underneath. It seats two kids and hides their toys.
Comfort and Safety
Don’t sacrifice function for style:
- Add rubber feet to stools to prevent floor scratches.
- Round all countertop edges (use a router or sandpaper) to avoid bumps.
- For kids, choose stools with non-slip bases and low backs.
Finishing Touches: Style, Storage, and Smart Upgrades
Paint and Stain: Make It Your Own
Your island’s finish ties it to your kitchen:
- Paint: Use semi-gloss for easy cleaning. Try bold colors (navy, sage green) or classic white. Two coats + primer = professional results.
- Stain: For wood frames, use gel stain (less drips) and finish with polyurethane. Walnut or ebony stains look rich.
- Chalkboard paint: Paint one side for grocery lists or kids’ doodles.
Pro tip: Paint *before* adding the countertop. It’s much easier to cover the entire frame.
Smart Storage Hacks
Maximize every inch:
- Spice rack: Glue small dowels inside a drawer for spice jars.
- Knife strip: Mount a magnetic strip on the side for easy access.
- Paper towel holder: Screw a rod under the countertop.
- Hanging baskets: Attach wire baskets to the back for fruit or utensils.
Upgrades for the Tech-Savvy
Turn your island into a multi-functional hub:
- Power strip: Install a surge protector under the countertop for blenders, coffee makers, or phone chargers.
- LED lighting: Add battery-powered LED strips under the countertop for a cozy glow.
- Charging station: Cut a small hole in the side for a USB outlet. Hide cables with a fabric sleeve.
My upgrade: A small shelf with a built-in Bluetooth speaker. Perfect for cooking playlists!
| Component | Low-Cost Option ($) | Mid-Range Option ($) | High-End Option ($) |
|---|---|---|---|
| Base (plywood or 2x4s) | 20–40 | 40–80 | 100+ (custom cabinet) |
| Countertop | 15 (laminate sheet) | 50 (butcher block) | 150+ (granite remnant) |
| Wheels (4 locking casters) | 20 | 40 | 80 (heavy-duty) |
| Seating (2 stools) | 0 (repurposed chairs) | 60 (new stools) | 150+ (custom-built) |
| Hardware & Fasteners | 10 | 20 | 30 |
| Paint/Stain | 15 | 30 | 50 |
| Total | 80–100 | 240–320 | 500+ |
Final Thoughts: Your Mobile Kitchen Upgrade Awaits
Building a DIY kitchen island on wheels with seating isn’t just a project—it’s a lifestyle upgrade. I’ve used mine for everything: rolling it into the dining room for holiday dinners, turning it into a homework station, and even as a makeshift bar for backyard parties. It’s the Swiss Army knife of kitchen furniture: adaptable, functional, and uniquely yours.
The best part? You don’t need to be a carpenter. I built mine with basic tools (a drill, saw, and clamps) and zero experience. Start small—maybe just a frame with a countertop and two stools—then add features as you go. Every time I roll mine out, I’m reminded that the best upgrades aren’t always the fanciest; they’re the ones that solve real problems. So grab your tools, measure your space, and build an island that works *for* you. Your kitchen (and your guests) will thank you.
Frequently Asked Questions
What materials do I need to build a DIY kitchen island on wheels with seating?
You’ll need plywood or butcher block for the countertop, casters (locking wheels), lumber for the frame, screws, wood glue, and seating like stools or a built-in bench. Don’t forget tools like a drill, saw, and sandpaper for assembly.
How do I ensure my DIY kitchen island on wheels is stable and safe?
Use heavy-duty locking casters and reinforce the frame with cross braces or corner brackets. Test stability by applying gentle pressure to the countertop before adding seating or heavy items.
Can I customize the size of a mobile kitchen island with seating for small spaces?
Absolutely! Adjust the dimensions to fit your space—opt for a narrower design (24-30 inches deep) and compact stools. A DIY kitchen island on wheels with seating is ideal for maximizing small kitchens.
What type of wheels work best for a kitchen island on wheels?
Choose locking casters rated for at least 100 lbs per wheel, with non-marring rubber treads to protect floors. Swivel wheels offer better maneuverability for tight spaces.
How do I add seating to a DIY kitchen island without sacrificing storage?
Install a lift-up countertop or open shelves underneath for stools when not in use. Alternatively, design a built-in bench with hidden storage inside the island’s base.
Can I build a DIY kitchen island on wheels with seating on a budget?
Yes! Use affordable materials like pre-made cabinets, repurposed furniture, or budget-friendly laminate countertops. Shop for discounted wheels and seating to keep costs low.