
Featured image for how to build a kitchen island with wheels
Image source: img.pc51.com
Build a mobile kitchen island with heavy-duty locking casters to ensure both easy mobility and stability during use. This DIY project combines a sturdy frame, quality countertop, and smooth-rolling wheels for a functional, space-saving upgrade. Follow precise measurements and secure wheel placement to maximize durability and effortless movement around your kitchen.
Key Takeaways
- Measure your space: Ensure the island fits and moves freely in your kitchen layout.
- Choose lockable wheels: Prioritize stability and safety with high-quality, lockable casters.
- Use durable materials: Opt for sturdy wood or metal for long-lasting structure and support.
- Plan storage wisely: Design shelves or cabinets to maximize utility without hindering mobility.
- Secure wheel placement: Attach wheels evenly to prevent wobbling or tipping during movement.
- Finish with style: Paint or stain to match your kitchen’s aesthetic for a seamless look.
📑 Table of Contents
- Why a Kitchen Island with Wheels is a Game-Changer
- Planning Your Rolling Kitchen Island: Size, Style, and Function
- Choosing the Right Materials and Tools
- Step-by-Step Building Guide: From Frame to Finish
- Finishing Touches: Countertops, Trim, and Customization
- Real-World Examples and Pro Tips
- Comparing DIY vs. Pre-Made Islands
- Conclusion: Your Flexible Kitchen Awaits
Why a Kitchen Island with Wheels is a Game-Changer
Let’s be honest: kitchens are the heart of the home. Whether you’re whipping up a weeknight dinner, hosting a weekend brunch, or just grabbing a snack, it’s where we gather, create, and connect. But if your kitchen feels cramped or your workflow is constantly tripping you up, you’re not alone. That’s where a kitchen island with wheels comes in. It’s not just a piece of furniture—it’s a flexible, functional solution that can transform how you use your space.
I learned this the hard way. A few years ago, my tiny galley kitchen felt like a maze. I had no prep space, my appliances were scattered, and every time I tried to cook with my partner, we ended up elbowing each other. Then, I built a simple rolling kitchen island. Suddenly, I could move it to create more space when needed, wheel it closer to the stove for prep, or even use it as a serving station during parties. The freedom was incredible. If you’re tired of feeling boxed in, building a kitchen island with wheels could be your best DIY project yet.
Planning Your Rolling Kitchen Island: Size, Style, and Function
Start with Your Kitchen’s Needs
Before you grab a saw or order materials, take a step back. Ask yourself: What do I really need from this island? Is it extra countertop space? Storage? A place to sit? Or just a way to make my kitchen feel less cramped? Your answers will shape every decision from size to design.
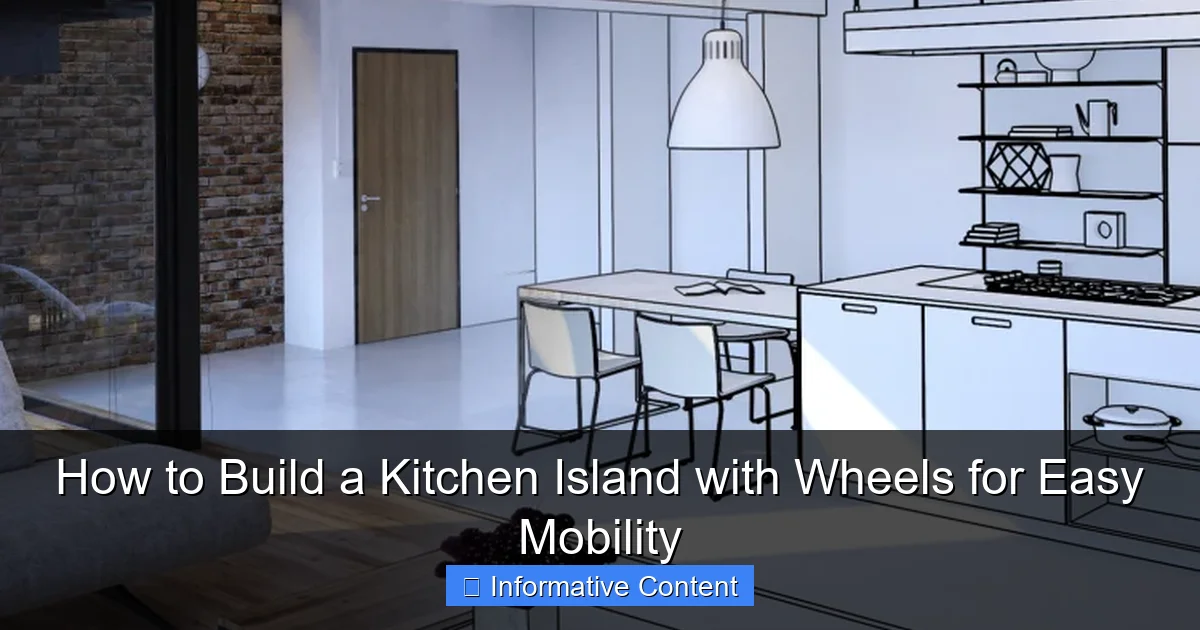
Visual guide about how to build a kitchen island with wheels
Image source: reitsmabouw.nl
For example, if you’re short on storage, prioritize cabinets or drawers. If you love to entertain, consider adding a breakfast bar with overhang for stools. And if you’re like me—someone who constantly rearranges their space—mobility is key. That’s where kitchen islands with wheels shine. They let you adapt on the fly.
Measure Twice, Build Once
This isn’t just a saying—it’s a rule. Measure your kitchen floor space carefully. Leave at least 36 inches (91 cm) of clearance around the island for walking and opening doors. If you’re placing it near appliances, check that you can still open the fridge, oven, or dishwasher fully.
Here’s a pro tip: Use painter’s tape to mark the island’s footprint on your floor. Walk around it, open cabinet doors, and simulate cooking. Does it feel cramped? Too far from the stove? Adjust the size before you start building. I once built an island that blocked my pantry door—lesson learned!
Choose a Style That Fits Your Kitchen
Your island should feel like a natural part of your kitchen, not an afterthought. Match the style to your existing decor:
- Rustic farmhouse: Use reclaimed wood, shaker-style doors, and a butcher block top.
- Modern minimalist: Opt for sleek lines, neutral colors, and hidden hardware.
- Industrial: Exposed metal wheels, concrete countertop, and open shelving.
Don’t be afraid to mix materials. For instance, a stainless steel countertop with a wooden base can work in a transitional kitchen. Just keep the color palette cohesive.
Choosing the Right Materials and Tools
Wood, Metal, or a Mix? Picking the Perfect Materials
The materials you choose will impact durability, cost, and aesthetics. Here’s a quick rundown:
- Plywood: Affordable and easy to work with. Use ¾-inch (19 mm) for the frame and ¼-inch (6 mm) for the back panel.
- Solid wood: More expensive but looks stunning. Maple or oak are great for countertops; pine is cheaper for the base.
- MDF (Medium-Density Fiberboard): Smooth finish for painted surfaces, but avoid in damp areas.
- Metal: Stainless steel or aluminum for a modern look. Use for countertops or trim.
For the countertop, butcher block is a popular choice. It’s warm, durable, and easy to maintain. If you prefer something low-maintenance, quartz or granite tiles are options—but they’re heavier, so make sure your wheels can handle the weight.
Essential Tools You’ll Need
You don’t need a full workshop, but a few tools make the job easier:
- Power drill with bits
- Circular saw or table saw
- Clamps (at least 4)
- Level (a 4-foot one is ideal)
- Tape measure and pencil
- Sander (orbital or hand)
- Screws and wood glue (2½-inch deck screws work well)
Don’t forget safety gear: goggles, ear protection, and a mask if you’re sanding or cutting indoors. I once skipped the goggles and ended up with sawdust in my eye—not fun!
Selecting Wheels: The Secret to Smooth Mobility
The wheels are the heart of your kitchen island with wheels. Choose wisely:
- Locking casters: Essential. They let you stabilize the island when it’s in place. Look for wheels with a foot pedal or lever lock.
- Weight capacity: Check the load rating. For a standard island, 100–200 lbs (45–90 kg) per wheel should suffice.
- Wheel material: Rubber or polyurethane wheels are quieter and won’t scratch floors. Avoid plastic if you have hardwood.
- Swivel vs. fixed: Swivel wheels (casters) offer more flexibility, but fixed wheels are more stable.
Pro tip: Buy wheels slightly taller than your desired island height. This gives you room to adjust for uneven floors. I used 5-inch (12.7 cm) locking casters for my island, and it’s been rock-solid.
Step-by-Step Building Guide: From Frame to Finish
Building the Frame: A Sturdy Foundation
Let’s get building! Start with the frame. Here’s how:
- Cut the pieces: Using your measurements, cut:
- 2 side panels (vertical)
- 2 front/back panels (horizontal)
- 1 bottom shelf (optional)
- 1 back panel (¼-inch plywood)
- Assemble the box: Lay the side panels flat. Attach the front and back panels with wood glue and screws. Use clamps to hold them square. Reinforce corners with pocket holes or corner braces.
- Add the bottom shelf: If you want extra storage, install a shelf 6–8 inches (15–20 cm) from the floor. This also adds rigidity.
- Attach the back panel: Nail or screw the ¼-inch plywood to the back. This prevents racking (twisting) and hides the frame.
Take your time here. A wobbly frame will make the whole island unstable. I used pocket screws for my joints—they’re hidden and strong.
Installing the Wheels: Mobility Made Easy
Now for the fun part—wheels! Follow these steps:
- Mark the wheel locations: Place wheels 2–3 inches (5–7.5 cm) from each corner. This prevents tipping.
- Drill pilot holes: Pre-drill to avoid splitting the wood.
- Attach the wheels: Use the hardware provided with your casters. Tighten firmly, but don’t strip the screws.
- Test mobility: Roll the frame around. If it wobbles, adjust the wheel height with shims (thin wood strips).
Important: Always install locking wheels on the front corners. This lets you lock the island in place while keeping the back wheels free for moving.
Adding Storage: Shelves, Drawers, and More
Storage is where your island becomes truly useful. Here are a few ideas:
- Open shelves: Great for cookbooks, baskets, or frequently used items. Cut shelves from ¾-inch plywood and secure with cleats.
- Drawers: Use pre-built drawer slides (side-mount or undermount) for a professional look. I used 22-inch (56 cm) slides for deep pots and pans.
- Cabinets: Add doors with hinges. Use a Kreg Jig for hidden hinges or simple butt hinges for a rustic look.
- Pull-out trays: Install a trash can or spice rack on a sliding tray.
For my island, I combined open shelves on one side and a drawer + cabinet on the other. It’s perfect for keeping my mixer accessible while hiding less attractive items.
Finishing Touches: Countertops, Trim, and Customization
Choosing and Installing the Countertop
The countertop is the star of your island. Here’s how to install it:
- Cut the countertop: If using butcher block, cut it to size with a circular saw. For stone, hire a professional or use pre-cut tiles.
- Sand and finish: Sand the edges until smooth. For wood, apply 3–4 coats of food-safe mineral oil or polyurethane. For stone, use a sealant.
- Attach to the frame: Place the countertop on the frame. Secure with screws from underneath, or use construction adhesive for a seamless look.
Pro tip: Leave a 1–2 inch (2.5–5 cm) overhang on one side for stools. I added a 12-inch (30 cm) overhang and it’s perfect for quick meals.
Trim, Paint, or Stain: Make It Your Own
Now it’s time to personalize. Here are some options:
- Paint: Use chalk paint for a shabby chic look or semi-gloss for easy cleaning. Light colors make small kitchens feel bigger.
- Stain: Bring out the wood grain. Test on scrap wood first—stain can vary by batch.
- Trim: Add crown molding, beadboard, or a decorative edge to the countertop.
I painted my island navy blue with a white countertop. It’s bold but timeless. For a farmhouse look, try a white base with a walnut countertop.
Lighting and Electrical: Optional Upgrades
Want to go the extra mile? Consider:
- Under-cabinet lighting: Stick-on LED strips illuminate the countertop.
- Power outlets: Install a GFCI outlet on the side for blenders or toasters. Run wiring through a conduit for safety.
- Pendant lights: Hang a fixture above the island for ambiance (if you have high ceilings).
I added a power strip to mine. Now I can charge my phone while cooking—no more searching for outlets!
Real-World Examples and Pro Tips
Case Study: A 30-Square-Foot Kitchen Transformation
Meet Sarah, a homeowner in Seattle. Her 30 sq ft kitchen had zero counter space. She built a 24×36 inch (61×91 cm) kitchen island with wheels using:
- Plywood frame with locking casters
- Butcher block countertop
- Open shelves + a drawer
- White paint with a gray top
The result? She gained 4 sq ft of prep space, storage for 10+ cookbooks, and the ability to move it for cleaning. “It’s like having a new kitchen,” she says. “I wheel it to the window for morning coffee!”
Pro Tips from the Experts
After years of building islands, here are my top tips:
- Test the height: Stand at your island. Your elbows should be at countertop level (36–38 inches/91–97 cm from the floor).
- Use shims: If your floors are uneven, shim the wheels to level the island.
- Label drawers: Use a label maker for spices, utensils, etc. Saves time when cooking.
- Add a towel bar: Attach a metal rod to the side for hanging towels or oven mitts.
- Don’t skip the finish: A good sealant protects your island from spills and scratches.
One mistake I see? Overloading the island. Keep it under 300 lbs (136 kg) for easy moving. If you need more weight, use fixed wheels on one side.
Common Pitfalls (and How to Avoid Them)
Even the best plans can go awry. Watch out for:
- Wobbly frame: Reinforce corners with L-brackets or pocket screws.
- Wheels that don’t lock: Always test the locks before finalizing.
- Countertop overhang: Too much overhang (over 12 inches/30 cm) can sag. Use corbels or brackets for support.
- Forgetting about plumbing: If adding a sink, plan for water lines and drainage.
I once built an island with a 16-inch (40 cm) overhang—it bowed after a month! Now I use brackets for anything over 10 inches (25 cm).
Comparing DIY vs. Pre-Made Islands
| Feature | DIY Island | Pre-Made Island |
|---|---|---|
| Cost | $150–$400 (materials) | $500–$2,000+ |
| Customization | Fully customizable | Limited options |
| Mobility | Wheels included or added | Some models have wheels |
| Time to Build | Weekend project (10–20 hrs) | Immediate |
| Durability | Depends on materials/workmanship | Often high-quality |
As you can see, DIY wins on cost and customization. But if you’re short on time or tools, pre-made islands are a solid choice. Just make sure they have wheels—otherwise, you’ll miss the mobility perk!
Conclusion: Your Flexible Kitchen Awaits
Building a kitchen island with wheels isn’t just about adding counter space—it’s about reclaiming your kitchen’s potential. Whether you’re a seasoned DIYer or a first-timer, this project is totally doable. You’ll gain flexibility, storage, and a sense of accomplishment that’s hard to beat.
Remember: Start small, measure carefully, and don’t rush the finish. And when you’re done, step back and admire your work. I still smile every time I wheel my island to the sink or tuck it away for a party. It’s not just furniture—it’s freedom. So grab your tools, trust your skills, and build an island that works for you, not against you. Your dream kitchen is just a weekend away.
Frequently Asked Questions
How do I build a kitchen island with wheels for easy mobility?
To build a kitchen island with wheels, start by designing a sturdy base using plywood or solid wood, then attach locking casters to the bottom for mobility. Ensure the wheels are rated for your island’s weight and floor type for smooth movement and stability.
What type of wheels are best for a mobile kitchen island?
Heavy-duty locking casters with rubber or polyurethane treads work best, as they protect floors and prevent slipping. Choose wheels rated for at least 1.5x the total weight of your island to ensure durability.
Can I add wheels to an existing kitchen island?
Yes, you can retrofit wheels onto an existing island by reinforcing the base and attaching casters to the legs or frame. Make sure the structure can support the added weight and movement without wobbling.
How do I ensure my kitchen island with wheels stays stable when in use?
Use locking casters on all wheels and consider adding adjustable leveling feet for extra stability. Test the island on your floor surface to ensure it doesn’t shift during use.
What materials do I need to build a DIY kitchen island with wheels?
You’ll need plywood or solid wood for the frame and countertop, screws, wood glue, locking casters, and tools like a drill, saw, and level. Add finishes like stain or paint to match your kitchen decor.
How can I customize a kitchen island with wheels for storage?
Incorporate open shelves, drawers, or cabinets into your design to maximize storage while maintaining mobility. Use lightweight materials for shelves and secure all compartments to prevent shifting when moving the island.