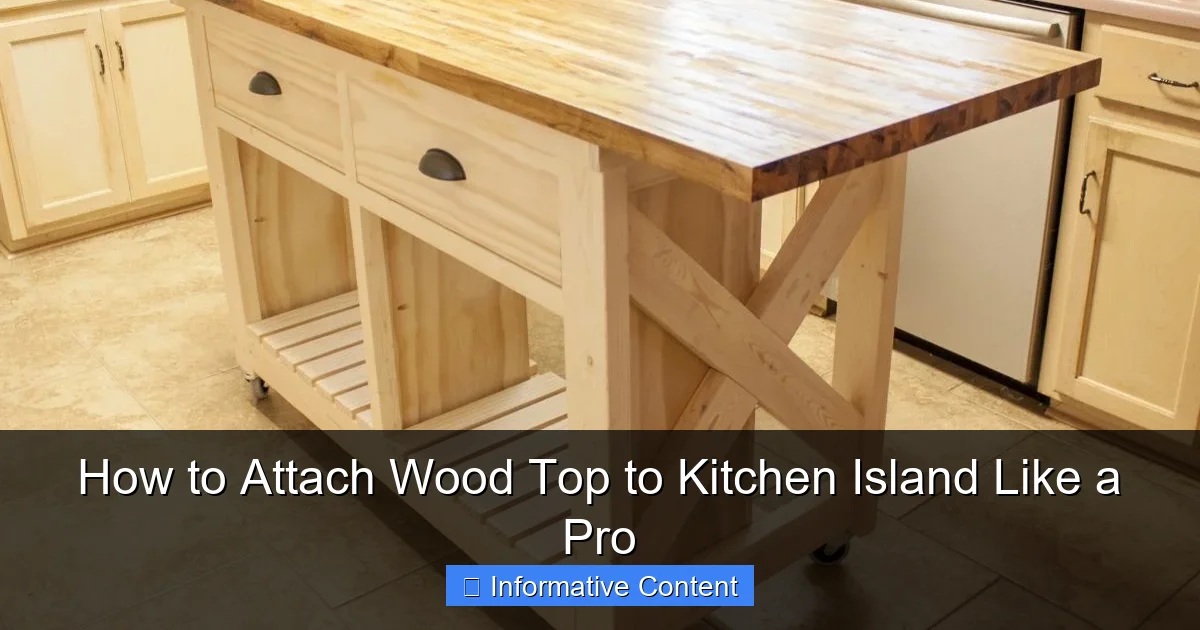
Featured image for attach wood top to kitchen island
Image source: cdn.homedit.com
Securing a wood top to your kitchen island starts with choosing the right fasteners—durable bolts or figure-8 fasteners ensure a rock-solid, long-lasting hold. Always pre-drill holes and use construction adhesive for added strength, preventing warping or shifting over time. This professional-grade method guarantees a seamless, wobble-free finish that elevates both function and style.
Key Takeaways
- Choose the right wood: Opt for durable, food-safe hardwoods like maple or walnut.
- Prep the surface: Sand and seal the wood top to prevent warping and stains.
- Use proper fasteners: Secure with pocket screws or brackets for a stable hold.
- Allow for movement: Leave expansion gaps to accommodate wood’s natural shifting.
- Align edges precisely: Ensure the top is flush with the island base for a seamless look.
- Reinforce with adhesive: Apply wood glue to joints for extra strength and stability.
📑 Table of Contents
- Why a Wooden Top Can Transform Your Kitchen Island
- Choosing the Right Wood for Your Kitchen Island Top
- Preparing the Kitchen Island Base for Installation
- Tools, Materials, and Safety Gear You’ll Need
- Step-by-Step Guide to Attaching the Wood Top
- Common Mistakes to Avoid (And How to Fix Them)
- Maintenance Tips to Keep Your Wood Top Looking Great
- Data Table: Recommended Wood Types for Kitchen Island Tops
Why a Wooden Top Can Transform Your Kitchen Island
Let me tell you a little story. A few years ago, I helped my sister renovate her kitchen. She had this sturdy, slightly dated kitchen island with laminate countertops. It was functional but lacked soul. Then came the day we replaced the old top with a beautiful, hand-sanded oak slab. The transformation was nothing short of magical. Suddenly, the whole kitchen felt warmer, more inviting, and infinitely more stylish. That’s the power of wood—natural, timeless, and full of character. If you’re thinking about attaching a wood top to a kitchen island, you’re not just upgrading a surface; you’re adding personality, warmth, and a touch of craftsmanship to your space.
But here’s the thing: doing it right matters. A poorly attached wood top can warp, squeak, or even detach over time. That’s why I want to walk you through the entire process—from choosing the perfect wood to securing it like a pro. Whether you’re a weekend DIYer or someone who just wants to understand the process before hiring help, this guide will give you the confidence to tackle the job. And trust me, once you see that rich grain under your morning coffee, you’ll be glad you did it right. So grab your tools, roll up your sleeves, and let’s get into how to attach wood top to kitchen island with precision and care.
Choosing the Right Wood for Your Kitchen Island Top
Not all wood is created equal—especially when it comes to kitchen surfaces. You need something durable, beautiful, and able to handle spills, heat, and daily wear. Let’s break down your options and what to look for.
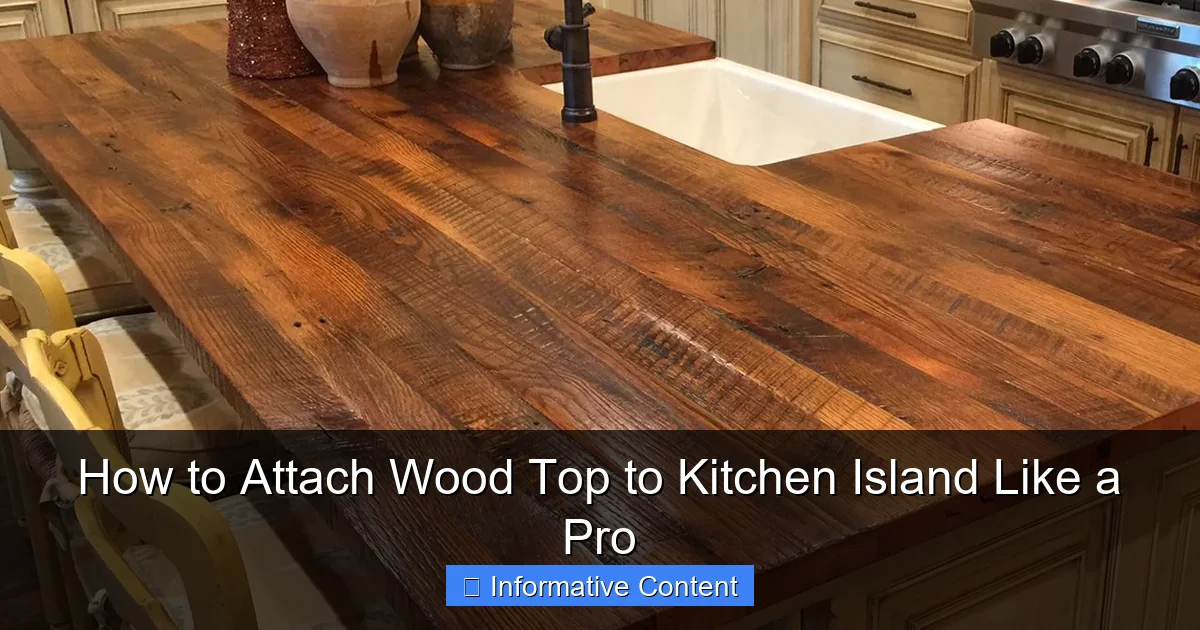
Visual guide about attach wood top to kitchen island
Image source: i.pinimg.com
Types of Wood: Hardwoods vs. Softwoods
For kitchen islands, hardwoods are your best bet. They resist scratches, dents, and moisture better than softwoods. Here are the top contenders:
- Oak: Durable, affordable, and has a prominent grain that hides minor scratches. Great for traditional or rustic kitchens.
- Maple: Extremely hard and dense. It has a light, uniform color—perfect for modern or minimalist spaces. But it can be tough to work with if you’re not experienced.
- Walnut: Rich, dark, and luxurious. It’s a favorite among designers but comes at a higher price point. Ideal if you want a statement piece.
- Cherry: Smooth grain, warm reddish tone that deepens over time. Slightly softer than oak, so use it with care in high-traffic areas.
- Bamboo: Technically a grass, but often used like hardwood. Eco-friendly and strong, but can be prone to water damage if not sealed properly.
Avoid softwoods like pine or fir. They’re cheaper, yes, but they dent easily and don’t handle moisture well. Imagine a wine spill turning into a permanent watermark—no thanks!
Solid Wood vs. Butcher Block: What’s the Difference?
This is a common confusion. A solid wood top is made from a single slab (or a few large glued pieces), giving you that stunning natural look with unique grain patterns. A butcher block, on the other hand, is made from smaller strips of wood glued together in a cross-grain or edge-grain pattern.
- Solid wood tops are great for large, seamless surfaces. They’re beautiful but can expand and contract more with humidity changes.
- Butcher block tops are more stable due to the cross-lamination, making them ideal for humid kitchens. They’re also easier to repair if scratched or damaged.
For most kitchen islands, I recommend edge-grain butcher block made from maple or oak. It’s durable, attractive, and less prone to warping than a single slab.
Thickness and Finish: Practical Considerations
Thickness matters for both aesthetics and function. Here’s a quick rule of thumb:
- 1.5 to 2 inches: Standard for kitchen islands. Gives a substantial, high-end look.
- 2.5 to 3 inches: For a more rustic, farmhouse feel. Looks great with a live edge.
- Less than 1.5 inches: Avoid unless you’re using a reinforced base. Too thin can flex or feel flimsy.
As for finish, always go with a food-safe sealant. Options include:
- Mineral oil: Easy to apply, food-safe, but needs frequent reapplication (every 1–2 months).
- Hard wax oil (like Rubio Monocoat): Durable, low maintenance, and enhances grain. A bit pricier but worth it.
- Polyurethane (water-based): Super durable and water-resistant. Use a matte or satin finish to avoid plastic-like shine.
Pro tip: If you’re buying pre-made, check the edge profile. A rounded or eased edge feels safer and more comfortable when leaning over the island.
Preparing the Kitchen Island Base for Installation
You’ve got the perfect wood top—now let’s make sure your island base is ready to support it. A solid foundation is key to preventing wobbling, squeaking, or long-term damage.
Assessing the Base: Is It Sturdy Enough?
Before you attach anything, test the island’s stability. Push it gently from different angles. If it rocks or creaks, you’ve got work to do.
- Check the legs or supports: Are they firmly attached? Tighten any loose bolts or screws. Add corner braces if needed.
- Reinforce the frame: Use 2x4s or plywood to create a perimeter frame under the top. This spreads the weight evenly and prevents sagging.
- Add cross-supports: For islands longer than 4 feet, install a center brace from the back to front. This stops the base from bowing over time.
One mistake I see often? People forget to account for the wood’s weight. A 2-inch thick oak top over a 4×6 ft island can weigh 100+ pounds. Make sure your base can handle that load—especially if it’s on wheels or casters.
Creating a Level, Flat Surface
Wood tops need a flat, level base. Even a slight dip can cause gaps or stress on the attachment points.
- Use a long level (4 feet or longer) to check for high or low spots.
- Shim if necessary: Place thin wood shims under the base legs or frame to level it. Secure shims with wood glue or small screws.
- Sand down high spots: If the frame is uneven, use a belt sander to flatten it.
Here’s a quick test: Place a straight 1×2 board across the base. Shine a flashlight from one end—if light sneaks through underneath, you’ve got a gap to fix.
Protecting the Base from Moisture
Wood and moisture don’t mix well. Even if your top is sealed, condensation or spills can seep down and damage the base.
- Seal the top edge of the base: Apply a coat of exterior-grade paint or clear sealant where the wood top will sit.
- Use a moisture barrier: A sheet of 6-mil plastic or peel-and-stick roofing membrane (like Grace Ice & Water Shield) between the base and wood can prevent moisture transfer.
- Leave expansion gaps: Wood expands and contracts with humidity. Never glue the top directly to the base. We’ll cover this more in the attachment section.
Real-world example: A friend skipped the moisture barrier. Six months later, the island base started to warp—costing her a full rebuild. Don’t make the same mistake!
Tools, Materials, and Safety Gear You’ll Need
Before we dive into the actual attachment process, let’s make sure you’re equipped. The right tools make all the difference—especially when working with heavy wood.
Essential Tools
- Power drill with clutch: For driving screws without stripping them.
- Jigsaw or circular saw: If you need to cut the wood top (more on that later).
- Orbital sander: For smoothing edges and surfaces.
- Clamps (bar or pipe): To hold the top in place during installation.
- Level and measuring tape: For accuracy.
- Stud finder: If your base has a frame, this helps locate the best attachment points.
- Router (optional): For creating a decorative edge or recess.
Fasteners and Hardware
- Wood screws (2.5 to 3 inches long): Use #8 or #10 coarse-thread screws for hardwood. Pre-drill holes to prevent splitting.
- Washers (optional): Helps distribute pressure on the wood.
- Expansion anchors or T-nuts: If your base is metal or has a hollow frame.
- Furniture bolts with barrel nuts: For a super-secure, hidden attachment (great for heavy tops).
Safety First: Gear Up!
Wood dust, sharp tools, and heavy lifting—safety is non-negotiable.
- Safety goggles: Protect your eyes from flying debris.
- Dust mask or respirator: Especially important when sanding or cutting.
- Work gloves: For handling rough wood and tools.
- Hearing protection: If using loud tools like a circular saw or router.
- Back support belt: When lifting the top—don’t strain your back!
Pro tip: Work in a well-ventilated area. Sanding or cutting wood releases fine dust that can irritate your lungs. Open windows or use a shop vac with a dust extractor.
Step-by-Step Guide to Attaching the Wood Top
Now for the main event—how to attach wood top to kitchen island without stress, gaps, or future issues. Follow these steps closely.
Step 1: Dry-Fit and Position the Top
Never skip this step. Place the wood top on the island base and check:
- Overhang: 1 to 2 inches on all sides is standard. More for a breakfast bar (6–12 inches).
- Alignment: Make sure it’s centered and not skewed.
- Clearance: Check for interference with drawers, doors, or appliances.
Use clamps to hold the top in place temporarily. This lets you test the position without committing yet.
Step 2: Mark Attachment Points
You have a few options here:
- Screw through the base frame: Best for wooden bases. Drill pilot holes up into the wood top from underneath.
- Use cleats (wood strips): Attach cleats to the base, then screw the top to the cleats. This allows for wood movement.
- Hidden fasteners (like figure-8 clips): Ideal for a clean, seamless look. Clips attach to the base and grip the top’s underside.
For most DIYers, I recommend cleats or figure-8 clips. They allow the wood to expand and contract without cracking.
Step 3: Secure the Top (With Room to Breathe)
Here’s the golden rule: Never glue or screw the top directly to the base across the entire surface. Wood needs to move with humidity changes.
- For cleats: Attach 1×2 or 2×2 cleats to the base frame (every 12–16 inches). Then screw the top to the cleats—but only at the center of the top. Leave the ends free to expand.
- For figure-8 clips: Attach clips to the base, then slide the top into place. The clips hold it snug but allow movement.
- For screw-through method: If you must screw directly, use slots (not round holes) in the base frame. This lets the screws shift slightly as the wood expands.
Example: On a 6-foot island, place cleats at 0, 3, and 6 feet. Only screw the top at the 3-foot mark. The ends are free to expand up to 1/4 inch in high humidity.
Step 4: Check for Level and Stability
After securing, double-check:
- Use your level to confirm the top is flat.
- Press down gently on different corners. There should be no flex or squeaking.
- Wiggle test: Grab the edge and try to move it side-to-side. It should feel solid.
If it wobbles, add more cleats or tighten fasteners. Don’t over-tighten—wood can crack.
Step 5: Final Sanding and Finishing Touch
Once the top is secure, sand any rough spots around the edges or screw holes. Apply your final finish (oil, wax, or polyurethane) according to the manufacturer’s instructions. Let it cure fully before using.
Pro tip: If you used visible screws, consider plugging the holes with wood filler or matching dowels for a cleaner look.
Common Mistakes to Avoid (And How to Fix Them)
Even pros make mistakes. Here are the top pitfalls and how to avoid or fix them.
Mistake 1: Ignoring Wood Movement
Wood expands and contracts with humidity. If you restrict it, you’ll get cracks, warping, or lifting.
Fix: Use cleats, figure-8 clips, or slotted screw holes. Never glue the top down completely.
Mistake 2: Using the Wrong Fasteners
Fine-thread drywall screws can strip in hardwood. Too-long screws can split the wood.
Fix: Use coarse-thread wood screws. Pre-drill pilot holes 1/8 inch smaller than the screw diameter.
Mistake 3: Skipping the Level Check
An unlevel top looks sloppy and can cause spills or uneven seating.
Fix: Always use a long level. Shim the base if needed.
Mistake 4: Poor Moisture Protection
Water damage is the #1 killer of wooden tops.
Fix: Seal the top with at least 3 coats of finish. Wipe spills immediately. Consider a backsplash or edge seal if near a sink.
Mistake 5: Rushing the Finish
Applying oil or polyurethane too soon after sanding can trap dust.
Fix: Sand, then clean with a tack cloth. Let it sit overnight before finishing.
Maintenance Tips to Keep Your Wood Top Looking Great
Your work isn’t done after installation. Here’s how to keep your wood top kitchen island beautiful for years.
- Wipe daily with a damp cloth and mild soap. Dry immediately.
- Reapply oil or wax every 1–3 months (or when the surface looks dry).
- Use cutting boards to protect from scratches.
- Avoid harsh cleaners like bleach or ammonia—they strip the finish.
- Rotate heavy appliances occasionally to prevent uneven wear.
- Monitor humidity: Use a hygrometer. Ideal range is 40–60%. Too low? Wood cracks. Too high? It swells.
And remember: minor scratches are part of wood’s charm. Sand and refinish small areas as needed—it’s easier than replacing the whole top.
Data Table: Recommended Wood Types for Kitchen Island Tops
| Wood Type | Hardness (Janka) | Moisture Resistance | Cost (Relative) | Best For |
|---|---|---|---|---|
| Maple | 1,450 lbf | High | $$ | High-traffic kitchens |
| Oak | 1,290 lbf | Medium-High | $ | Traditional or rustic styles |
| Walnut | 1,010 lbf | Medium | $$$ | Modern, elegant spaces |
| Cherry | 950 lbf | Medium | $$ | Low-traffic areas, formal kitchens |
| Bamboo | 1,380 lbf | Low (if unsealed) | $ | Eco-conscious homes (seal well!) |
Attaching a wood top to your kitchen island isn’t just a project—it’s a transformation. You’re not just building a surface; you’re creating a centerpiece that adds warmth, character, and value to your home. From choosing the right wood to securing it with room to breathe, every step matters. Take your time, follow the tips above, and don’t rush the details. The result? A kitchen island that feels like it was always meant to be there—one that invites conversation, laughter, and countless memories. So go ahead—embrace the grain, the grain, and the craft. Your kitchen will thank you.
Frequently Asked Questions
How do I attach a wood top to a kitchen island securely?
To attach a wood top to a kitchen island, use construction adhesive along with screws or bolts from underneath the base for a strong hold. Ensure the surface is level and clamped during installation to prevent shifting.
Can I attach a wood top to an existing kitchen island?
Yes, you can attach a wood top to an existing kitchen island by sanding the base, applying adhesive, and securing it with screws or brackets. Make sure the base is sturdy enough to support the weight of the wood top.
What tools do I need to attach a wood top to a kitchen island?
Essential tools include a drill, screws or bolts, construction adhesive, clamps, a level, and a tape measure. A router or sander may also help smooth edges for a professional finish.
Is it better to glue or screw a wood top to a kitchen island?
For the most durable attachment, combine both methods: use construction adhesive to prevent warping and screws (hidden underneath) for mechanical strength. This ensures the wood top stays flat and secure over time.
How do I prevent my wood top from warping after attaching it to the kitchen island?
Choose kiln-dried wood with low moisture content and apply a protective finish to all sides, including edges. Avoid direct sunlight or excessive humidity to minimize warping risks.
Can I attach a wood top to a kitchen island without visible screws?
Yes, use hidden fasteners like figure-8 clips, pocket screws, or cleats underneath the base. Alternatively, rely on strong construction adhesive with temporary clamps until fully cured.