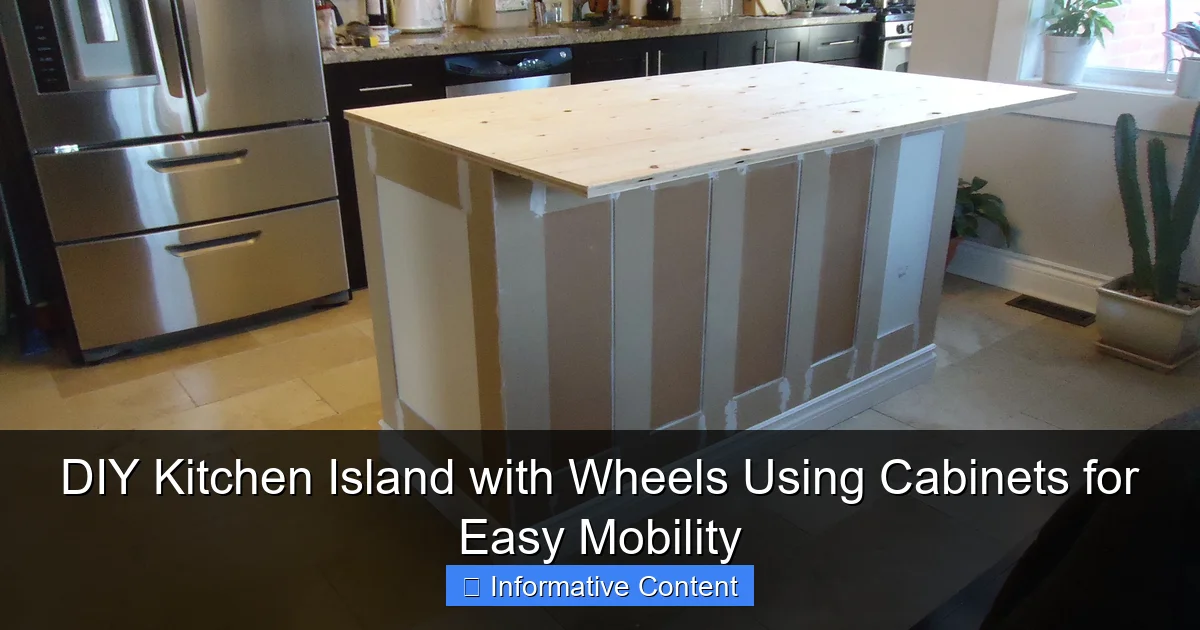
Featured image for diy kitchen island with wheels using cabinets
Image source: i.pinimg.com
Transform your kitchen with a DIY island on wheels using repurposed cabinets for effortless mobility and style. This budget-friendly project combines customizable storage, easy movement, and sturdy construction—perfect for small spaces or renters. Roll it out for extra prep space or tuck it away when not in use.
Key Takeaways
- Repurpose cabinets: Use old or new cabinets as the base for cost-effective island building.
- Add locking wheels: Install heavy-duty casters for mobility and stability when in use.
- Measure carefully: Ensure island dimensions fit your kitchen layout and allow clearance.
- Reinforce structure: Secure cabinets together and add plywood backing for durability.
- Customize workspace: Attach countertops and accessories like hooks or cutting boards.
- Prioritize accessibility: Place frequently used items within easy reach on the island.
📑 Table of Contents
- Why a DIY Kitchen Island with Wheels Using Cabinets is a Game-Changer
- Planning Your Mobile Kitchen Island: Key Considerations
- Materials and Tools: What You’ll Need
- Step-by-Step Assembly Guide
- Customization Ideas: Make It Your Own
- Maintenance and Long-Term Care
- Conclusion: Your Mobile Kitchen Solution
Why a DIY Kitchen Island with Wheels Using Cabinets is a Game-Changer
Let’s be honest—kitchen islands are the heart of many homes. They’re where we prep meals, gather for coffee, and even help the kids with homework. But what if you don’t have a permanent island built into your kitchen? Or worse, what if you rent and can’t make structural changes? That’s where a DIY kitchen island with wheels using cabinets comes in. It’s flexible, affordable, and surprisingly easy to build—even if you’re not a seasoned DIYer.
I learned this the hard way when I moved into my first apartment. The kitchen was tiny, with zero counter space. I tried using a folding table, but it wobbled, took up too much room, and looked out of place. Then, a friend suggested repurposing an old base cabinet into a mobile island. I was skeptical at first, but after a weekend of work, I had a functional, stylish island that rolled out of the way when I needed floor space. Since then, I’ve built several versions for friends and family, refining the process each time. Whether you’re short on space, on a budget, or just love the idea of a customizable kitchen hub, this project is worth your time.
Planning Your Mobile Kitchen Island: Key Considerations
Before you start drilling or sanding, take a step back and think about how you’ll use your island. A little planning now saves headaches later. Here’s what to consider:
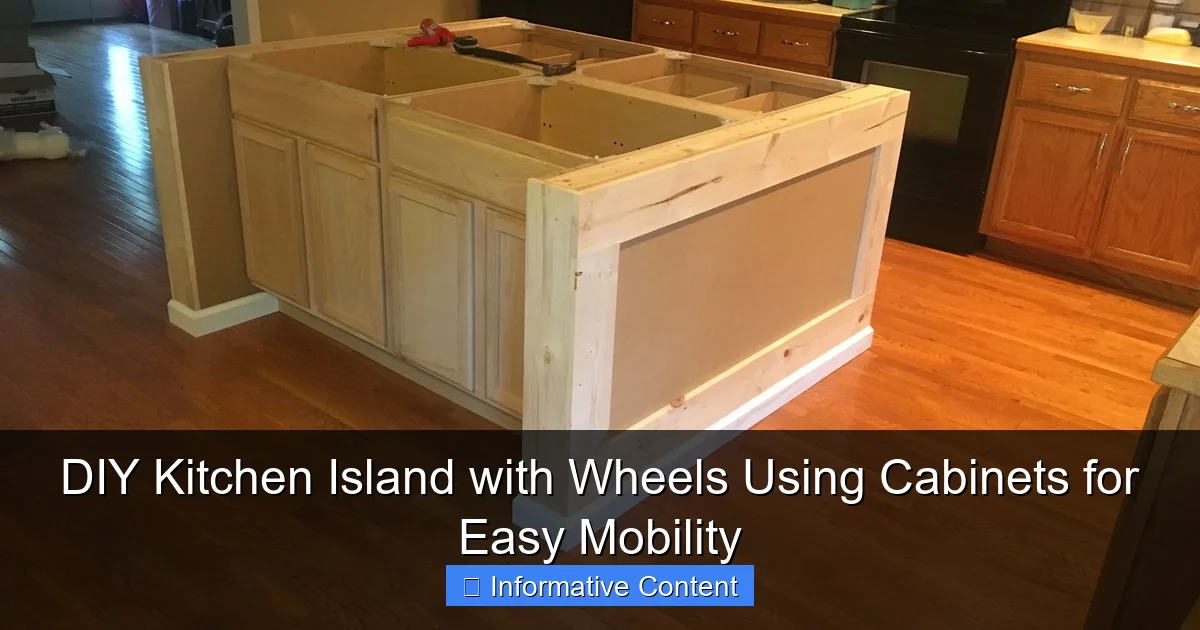
Visual guide about diy kitchen island with wheels using cabinets
Image source: i.pinimg.com
1. Size and Dimensions
Measure your kitchen carefully. Your island should be at least 36 inches high (standard counter height) and 18–24 inches deep. For length, aim for 30–48 inches unless you have a large kitchen. Remember: mobility matters. If your island is too wide, it won’t fit through doorways or around corners. I once built a 60-inch island that couldn’t be moved—lesson learned!
Pro tip: Sketch your kitchen layout with the island in different positions. Test if it blocks appliances, cabinets, or foot traffic when in use.
2. Cabinet Selection: New vs. Repurposed
You have two main options: buy new cabinets or repurpose old ones. Here’s how they compare:
- New cabinets: Pros include consistent quality, pre-drilled holes, and modern finishes. Cons? Cost ($50–$200 per cabinet) and environmental impact.
- Repurposed cabinets: Often free or cheap (check Craigslist, Habitat for Humanity ReStore, or garage sales). You’ll likely need to sand, patch, or refinish, but the savings are huge. I once turned a $15 thrifted cabinet into a sleek island with a $20 paint job.
Key tip: If repurposing, ensure the cabinet is structurally sound. Check for water damage, warping, or rusted hinges.
3. Weight and Stability
Wheels make the island mobile, but they also introduce wobbling. To combat this:
- Use a cabinet with a solid back panel (or add one).
- Opt for a low center of gravity—don’t stack tall cabinets.
- Fill the bottom with heavy items (e.g., cookbooks, cast iron pans) to anchor it.
I added a 10-pound sandbag to my island’s bottom shelf, which eliminated 90% of the wobble. Cheap fix, big results!
Materials and Tools: What You’ll Need
You don’t need a full workshop for this project. Most supplies are available at hardware stores or online. Here’s a breakdown:
Essential Materials
- Cabinet: 1–2 base cabinets (36″ H x 18–24″ D x 30–48″ W). Single cabinets are easiest for beginners.
- Wheels: 4 locking casters (2″–3″ diameter). Look for “swivel with brake” for easy maneuvering. Avoid cheap wheels—they’ll fail under weight.
- Countertop: Butcher block, granite remnant, or even a thick wood plank. Aim for 1.5–2 inches thick.
- Wood glue, screws, sandpaper, paint/stain: For finishing and assembly.
- Optional: Backsplash tiles, trim molding, or a towel bar.
Tools Required
- Drill/driver with drill bits
- Screwdriver set
- Measuring tape
- Level
- Clamps (helpful for securing countertop)
- Sander (orbital or hand)
- Safety gear (goggles, mask, gloves)
Cost estimate: $100–$300 total, depending on materials. Repurposing cuts costs significantly. For example, I spent $85 on a repurposed cabinet, wheels, and a butcher block remnant.
Where to Buy Materials
| Material | Best Sources | Average Cost |
|---|---|---|
| Base cabinets | Home Depot, Lowe’s, ReStore, Craigslist | $50–$200 each |
| Locking casters | Hardware stores, Amazon | $20–$40 set of 4 |
| Butcher block countertop | Local lumberyard, Home Depot | $30–$100 |
| Sandpaper/paint | Any hardware store | $10–$30 |
Note: Check for sales or remnants (e.g., granite offcuts) to save money. I found a 24″x36″ butcher block for $25—half the retail price!
Step-by-Step Assembly Guide
Now for the fun part: building your island. Follow these steps, and you’ll have a sturdy, mobile island in a weekend.
1. Prep the Cabinet
Start with a clean slate:
- Remove doors, drawers, and hardware. Set aside for later.
- Sand the entire cabinet with 120-grit sandpaper. Wipe off dust.
- Patch holes with wood filler. Sand smooth.
- Paint or stain. I recommend two coats with 24 hours of drying time.
Tip: Use a paint sprayer for a professional finish, but a brush or roller works fine. For a rustic look, try whitewashing or chalk paint.
2. Install the Wheels
This is critical for stability:
- Turn the cabinet upside down. Use a level to ensure it’s flat.
- Mark wheel positions 1–2 inches from each corner. This prevents tipping.
- Drill pilot holes, then screw in the casters. Tighten firmly.
- Test the wheels: they should roll smoothly and lock securely.
Pro tip: If your cabinet is lightweight, add a 1/2″ plywood back panel (cut to size) for extra rigidity. Screw it into the cabinet frame.
3. Attach the Countertop
Your countertop should overhang the cabinet by 1–2 inches for a finished look:
- Place the countertop on the cabinet. Center it side-to-side and front-to-back.
- Clamp it in place. Check for level—adjust with shims if needed.
- Drill 2–3 screws up through the cabinet’s frame into the countertop’s underside. Use wood glue for extra hold.
- For butcher block, seal with food-safe oil (e.g., mineral oil) to prevent stains.
Warning: Don’t glue the countertop if you plan to replace it later. Screws make it removable.
4. Reattach Doors and Drawers
Customize your island:
- Reinstall doors/drawers. Adjust hinges so they open smoothly.
- Add new hardware (knobs, pulls) if desired. I used brass handles for a modern touch.
- Consider a towel bar on one side or a spice rack on the back.
Bonus idea: Install a backsplash with peel-and-stick tiles for a polished look.
Customization Ideas: Make It Your Own
A DIY kitchen island isn’t just functional—it’s a chance to add personality. Here are ways to elevate your design:
1. Add Storage Solutions
Maximize every inch:
- Install pull-out shelves for pots/pans.
- Add a lazy Susan in the corner.
- Use drawer dividers for utensils.
- Hang a pegboard on the side for frequently used tools.
I added a fold-down breakfast bar (using a 12″x18″ wood plank with hinges) that saves space when not in use.
2. Lighting and Electrical
Brighten your workspace:
- Attach under-cabinet LED strips (battery-powered or plug-in).
- Install a small outlet strip inside the cabinet for appliances.
- Add a pendant light above (if your island is near a ceiling junction box).
Caution: For hardwired electrical, consult an electrician. Safety first!
3. Aesthetic Touches
Make it Instagram-worthy:
- Paint the cabinet a bold color (e.g., navy, emerald) to contrast with the countertop.
- Stenciling a pattern on the doors adds charm.
- Use marble or quartz remnants for a luxe countertop.
- Add a small herb garden in the corner with hanging planters.
My friend painted her island with chalkboard paint—now the kids draw on it while she cooks!
Maintenance and Long-Term Care
Like any kitchen feature, your island needs upkeep. Here’s how to keep it looking great:
1. Wheel Maintenance
- Clean wheels monthly with a damp cloth to remove debris.
- Lubricate swivel joints annually with silicone spray.
- Replace wheels if they crack or stop locking (every 3–5 years).
I once ignored a squeaky wheel—it broke mid-dinner party. Not ideal!
2. Countertop Care
- Wipe spills immediately to prevent staining.
- For butcher block, re-oil every 3–6 months.
- Use cutting boards to avoid scratches.
- For stone, reseal every 1–2 years.
Pro tip: Keep a small caddy of cleaning supplies under the island for easy access.
3. Weight Management
Overloading can strain wheels and cabinet joints:
- Store heavy items (e.g., cookware) on lower shelves.
- Use the top for lighter items (e.g., fruit bowl, decor).
- Check cabinet screws annually—tighten if loose.
Conclusion: Your Mobile Kitchen Solution
A DIY kitchen island with wheels using cabinets isn’t just a project—it’s a lifestyle upgrade. It solves space issues, adapts to your needs, and adds style without breaking the bank. I’ve used mine for everything from meal prep to hosting parties, and it’s never failed me. Whether you’re renting, downsizing, or just craving flexibility, this island delivers.
Remember: start small, plan carefully, and don’t fear imperfections. My first island had a wobbly wheel and uneven paint, but it worked—and that’s what matters. As you build, you’ll learn what works for your space and habits. And when friends ask, “Where’d you get that?” you can smile and say, “I made it.” Happy building!
Frequently Asked Questions
What materials do I need to build a DIY kitchen island with wheels using cabinets?
You’ll need base cabinets (new or repurposed), heavy-duty locking casters, plywood or countertop material, screws, a drill, and basic woodworking tools. Don’t forget sandpaper, paint/stain, and cabinet hardware for a polished look.
Can I use old or secondhand cabinets for a DIY kitchen island with wheels?
Absolutely! Repurposing old cabinets is a budget-friendly and eco-conscious choice. Just ensure they’re sturdy, level, and sanded/painted for a cohesive finish.
How do I attach wheels to cabinets for easy mobility?
Use heavy-duty locking casters (at least 2 inches wide) and secure them to the cabinet base with screws. Reinforce the corners with wood blocks for extra stability when moving the island.
What’s the best way to ensure my DIY kitchen island with wheels stays level?
Shim the cabinets before attaching the wheels to correct any unevenness. Use a level to check all sides, and adjust the casters or shims until the island sits flat.
How can I customize my kitchen island for storage and style?
Add pull-out trays, spice racks, or wine holders inside the cabinets. Paint or stain the cabinets to match your décor, and top with butcher block or granite for a functional surface.
Is a DIY kitchen island with wheels stable enough for heavy use?
Yes, if built correctly! Use high-quality casters rated for heavy loads (check weight capacity) and anchor the cabinets securely. Lock the wheels when in use to prevent shifting.