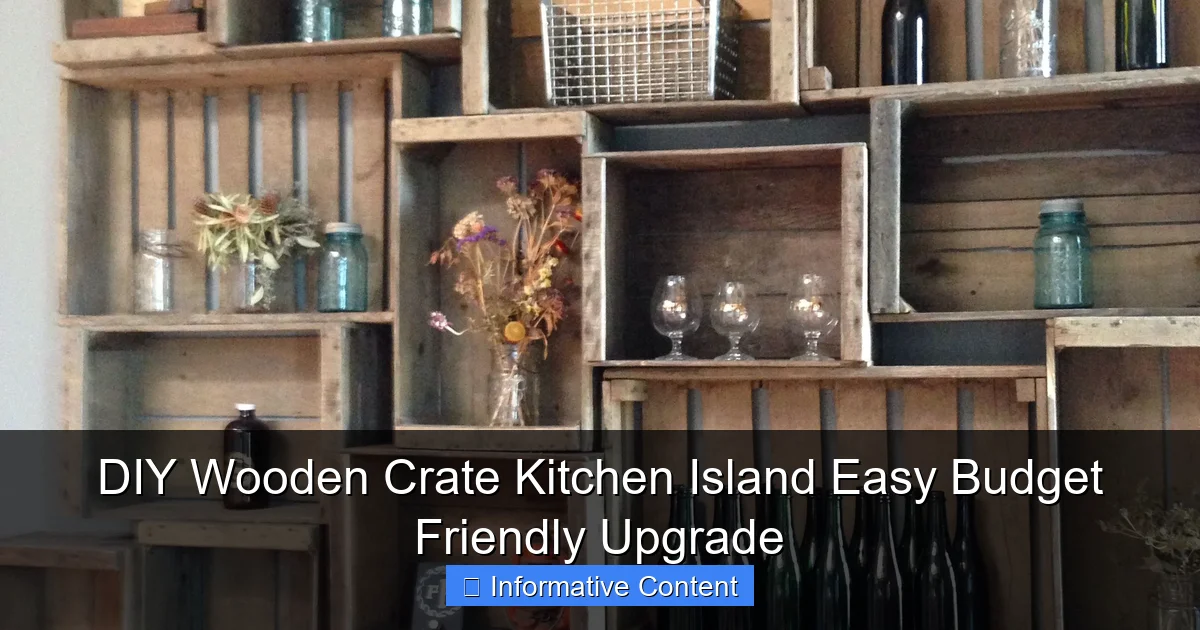
Featured image for diy wooden crate kitchen island
Image source: i.pinimg.com
Transform your kitchen with a DIY wooden crate island—an affordable, customizable solution that adds storage, style, and functionality in just a few hours. Using simple materials like crates, wood stain, and casters, this budget-friendly project delivers a high-impact upgrade without breaking the bank or requiring advanced skills.
Key Takeaways
- Repurpose crates: Use wooden crates for a budget-friendly kitchen island base.
- Customize easily: Paint or stain crates to match your kitchen decor.
- Add mobility: Install casters for a portable island solution.
- Maximize storage: Stack crates for extra shelves or compartments.
- DIY assembly: Secure crates with screws for a sturdy build.
- Accessorize: Attach hooks or towel bars for added functionality.
📑 Table of Contents
- The Joy of DIY: Why a Wooden Crate Kitchen Island Might Be Your Next Project
- Why Choose a DIY Wooden Crate Kitchen Island?
- Materials and Tools You’ll Need
- Step-by-Step Assembly Guide
- Design Ideas and Customization Tips
- Common Challenges and How to Fix Them
- Data Table: Cost Comparison
- Final Thoughts: Is This Project Right for You?
The Joy of DIY: Why a Wooden Crate Kitchen Island Might Be Your Next Project
Let’s be honest—kitchen upgrades can be expensive. Between countertops, appliances, and storage, it’s easy to blow your budget before you even get to the fun part: designing. That’s why I fell in love with the idea of a DIY wooden crate kitchen island when I was renovating my small apartment kitchen last year. It started as a last-minute idea when I realized I didn’t have enough prep space. A friend suggested repurposing wooden crates, and honestly, it felt like a lightbulb moment. Not only was it budget-friendly, but it also added a rustic charm that store-bought islands just couldn’t match.
What makes this project so special? It’s simple, customizable, and surprisingly sturdy. Whether you’re working with a galley kitchen, a tiny studio, or just want more countertop space, this upgrade can fit your needs. And the best part? You don’t need to be a master carpenter to pull it off. With a few basic tools and a weekend’s worth of effort, you can create a functional, stylish island that feels uniquely yours. In this guide, I’ll walk you through everything I’ve learned—from planning to finishing touches—so you can tackle this project with confidence.
Why Choose a DIY Wooden Crate Kitchen Island?
Affordable and Accessible
One of the biggest perks of a DIY wooden crate kitchen island is the cost. New kitchen islands can run anywhere from $300 to $2,000+ depending on materials and size. Meanwhile, wooden crates can be found for as little as $5 each—or even free if you know where to look (more on that later). I scored a batch of vintage fruit crates from a local farmer’s market for $3 apiece. Even after buying casters, wood stain, and a few hardware pieces, my total cost was under $150. That’s less than the price of a single cabinet!
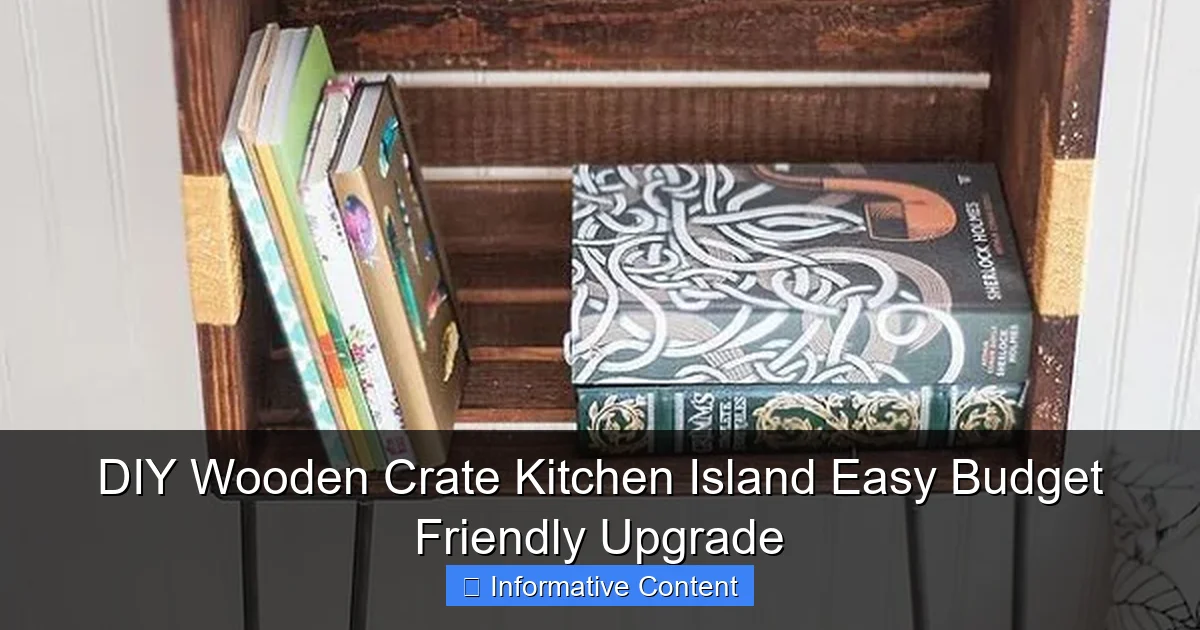
Visual guide about diy wooden crate kitchen island
Image source: homemydesign.com
Plus, crates are lightweight and easy to transport. No need for a truck or a buddy to help you haul a bulky island home. You can assemble the entire thing in your kitchen, which makes it perfect for renters or anyone with limited space.
Eco-Friendly and Sustainable
If you care about sustainability, this project is a win. Repurposing crates keeps them out of landfills and reduces the demand for new materials. Many crates are made from reclaimed or FSC-certified wood, which means you’re supporting responsible forestry practices. I love that my island has a story—each crate once held apples or oranges, and now it’s part of my kitchen’s history. It’s a small way to reduce waste without sacrificing style.
Customizable to Your Needs
Store-bought islands come with fixed features. But with a DIY crate island, you call the shots. Want open shelving for cookbooks? Done. Need a pull-out cutting board? Easy. Prefer a closed storage section for hiding clutter? Just add a door. I added a fold-down tray on one side to hold my coffee setup in the mornings. My neighbor, Sarah, installed a spice rack and a wine glass holder. The possibilities are endless, and you can adapt the design as your needs change.
For example, if you’re a baker, you might prioritize a large countertop. If you cook with lots of small appliances, add a dedicated outlet strip. The flexibility is unmatched.
Materials and Tools You’ll Need
Essential Materials
- Wooden crates: Aim for 4–8 crates (depending on island size). Look for uniform dimensions (e.g., 12″x16″ or 18″x24″) for a cohesive look. Pro tip: Check Craigslist, Facebook Marketplace, or local farms for free/cheap crates. I found a set of 6 pine crates at a flea market for $20.
- Casters (wheels): Get 4 heavy-duty locking casters (3″–4″ diameter). Locking wheels prevent wobbling while cooking. I used 3″ casters from Home Depot—$25 for a set of 4.
- Wood glue and screws: Use 1.5″ wood screws and carpenter’s glue for assembly. A 50-pack of screws costs ~$8.
- Wood filler and sandpaper: For smoothing seams and imperfections. A 3-pack of sandpaper (80/120/220 grit) is $10.
- Wood stain or paint: Choose a food-safe, low-VOC finish (e.g., Minwax Polyshades or chalk paint). A quart costs ~$15–$25.
- Sealant: Water-based polyurethane (for stain) or wax (for paint). A 12oz can is $10–$15.
Basic Tools
- Cordless drill/driver (or screwdriver)
- Tape measure
- Level
- Clamps (to hold crates while assembling)
- Safety goggles and work gloves
Note: You don’t need fancy tools. I used a $30 drill from Harbor Freight and a $5 tape measure. If you’re missing a tool, borrow from a friend or rent from a hardware store.
Optional Add-Ons
- Butcher block top: A 1″ thick maple or walnut top (24″x36″) adds elegance. I splurged on a $60 piece from IKEA.
- Hooks or racks: For towels, utensils, or hanging pans. A 6-pack of S-hooks is $12.
- Drawer slides or hinges: For hidden storage. A basic set costs $15.
Step-by-Step Assembly Guide
Step 1: Plan Your Layout
Start by measuring your kitchen. Leave at least 30″ of clearance around the island for movement. I placed mine between my fridge and stove, with 36″ of walkway on both sides. Sketch a layout on paper or use a free app like SketchUp. My design used 6 crates: 4 stacked vertically for storage, and 2 side-by-side on top for the counter.
Pro tip: Dry-fit the crates first. Arrange them on the floor to test stability and spacing. Adjust until the height feels right for prep work (typically 36″–38″).
Step 2: Prep the Crates
Sand each crate with 80-grit sandpaper to remove splinters and rough edges. Wipe with a damp cloth to remove dust. Fill any cracks or nail holes with wood filler, then sand again with 120-grit. I spent about an hour prepping 6 crates—it’s tedious but worth it for a smooth finish.
Next, apply wood stain or paint. I used a walnut stain for a warm, rustic look. Let it dry 24 hours, then seal with polyurethane (2 thin coats, sanding lightly between them). This protects the wood from spills and stains.
Step 3: Assemble the Base
Stack crates vertically (e.g., 3 crates high for lower storage). Use wood glue on the edges, then screw them together with 1.5″ screws every 6″. Clamp the crates to ensure a tight bond. I added a 1″x2″ wooden brace between each crate for extra stability.
Attach casters to the bottom crate. Mark holes with a pencil, drill pilot holes, then screw in the casters. Important: Lock the wheels before moving the island to avoid accidents.
Step 4: Build the Countertop
For the top, lay 2 crates side-by-side (or use a single large crate). If using crates, secure them with glue and screws. Add a butcher block or plywood sheet for a seamless surface. I cut a 24″x36″ piece of plywood to fit, then stained it to match the crates. Secure it with screws from below.
Pro tip: Add a 1″ overhang on all sides for a built-in look. This also prevents spills from dripping onto the crates.
Step 5: Customize and Style
Now for the fun part! Add hooks, a towel bar, or a spice rack. I drilled holes for S-hooks on the side and hung my favorite copper pans. Sarah added a fold-down tray for her coffee maker. Use command strips for non-permanent changes (great for renters).
For lighting, clip a LED strip under the countertop. Or hang a pendant light above the island. I used a $20 clip-on light from Target.
Design Ideas and Customization Tips
Rustic Farmhouse Style
Embrace the crate’s natural wood grain. Use a dark walnut stain and pair with galvanized metal accents. I added a wire basket for onions and a chalkboard sign for grocery lists. The key is to keep it simple—avoid overcrowding.
Modern Minimalist
Paint the crates white or gray for a clean look. Add sleek black casters and a marble-look countertop (use contact paper or a faux marble tile). Keep storage closed with fabric-covered panels or sliding doors. This style works well in small kitchens.
Industrial Edge
Use reclaimed crates with visible nail holes and rough edges. Add pipe fittings for legs (instead of casters) and a concrete countertop. I’ve seen islands with a 1″ thick concrete top poured into a wooden frame—it’s heavy but stunning.
Kid-Friendly
Paint crates with bright colors (e.g., red, yellow, blue) and add a chalkboard top. Use non-toxic paint and sealant. Include low shelves for kids to access snacks or art supplies. My niece loves her “mini kitchen” with a toy microwave and plastic food.
Budget-Saving Hacks
- Use free crates from local businesses (ask bakeries, farms, or liquor stores).
- Skip the butcher block—a stained plywood top works fine.
- Buy stain in bulk (a quart covers ~120 sq ft).
- Use leftover paint from other projects.
Common Challenges and How to Fix Them
Wobbly Structure
Problem: The island shakes when you cut veggies. Solution: Add cross-braces between crates (1″x2″ boards screwed at 45° angles). I installed 2 braces on my island and it’s rock-solid now.
Uneven Countertop
Problem: The surface isn’t level. Solution: Place a level on the countertop and adjust casters with shims (thin wood strips). I used cereal box cardboard as a temporary shim until I got it right.
Stains and Scratches
Problem: Wine spills or knife marks ruin the finish. Solution: Reapply sealant every 6–12 months. For deep scratches, sand lightly and re-stain. I keep a small touch-up kit under my sink.
Mobility Issues
Problem: The island gets stuck on rugs or uneven floors. Solution: Use larger casters (4″) or add felt pads. My kitchen has a slight slope—locking one wheel keeps it stable.
Storage Limitations
Problem: Crates aren’t deep enough for large pots. Solution: Add a pull-out shelf or stack crates sideways. I modified one crate with a sliding tray for my cast-iron skillet.
Data Table: Cost Comparison
| Item | DIY Crate Island (Avg. Cost) | Store-Bought Island (Avg. Cost) |
|---|---|---|
| Base/Frame | $20–$50 (crates) | $200–$1,000 (solid wood/metal) |
| Countertop | $10–$60 (plywood/butcher block) | $100–$500 (granite/quartz) |
| Hardware | $25–$50 (casters, screws, glue) | $50–$200 (pre-installed) |
| Finishing | $15–$40 (stain, sealant) | $0 (pre-finished) |
| Total | $70–$200 | $350–$1,700+ |
Note: Costs vary by region and materials. DIY projects save 60–80% compared to retail.
Final Thoughts: Is This Project Right for You?
After living with my DIY wooden crate kitchen island for over a year, I can confidently say it’s one of the best upgrades I’ve made. It’s sturdy, stylish, and saves me money every time I cook. But it’s not perfect—there’s a learning curve, and it requires some elbow grease. If you’re short on time or hate sanding, a pre-made island might suit you better. But if you love hands-on projects and want a kitchen centerpiece with personality, this is it.
The beauty of this project is that it grows with you. Need more storage? Add a crate. Want to change the style? Paint it. It’s a blank canvas for your creativity. And when friends ask, “Where’d you get that island?” you can say, “I made it”—which always feels amazing. So grab some crates, dust off your drill, and start building. Your dream kitchen is closer than you think.
Frequently Asked Questions
What is a DIY wooden crate kitchen island?
A DIY wooden crate kitchen island is a budget-friendly, customizable kitchen upgrade made by repurposing wooden crates into a functional island with storage, counter space, and mobility. It’s an easy way to add charm and utility without costly renovations.
How do I build a wooden crate kitchen island on a tight budget?
Start by sourcing free or cheap crates from local markets or online marketplaces, then sand, stain, or paint them for a cohesive look. Stack and secure crates with screws, add casters for mobility, and top with a reclaimed wood or butcher block surface.
Can I customize my DIY wooden crate kitchen island for small spaces?
Absolutely! Arrange crates vertically or horizontally to fit narrow or compact kitchens, and use slim designs to maximize floor space. Add fold-down sides or pull-out shelves for extra versatility in tight areas.
What tools and materials do I need for this DIY wooden crate kitchen island project?
Basic tools include a drill, screws, sandpaper, a saw (if resizing), and a staple gun for fabric liners. Materials: 4-6 wooden crates, wood stain/paint, casters (wheels), and a countertop material like plywood or reclaimed wood.
How do I ensure my wooden crate kitchen island is sturdy and safe?
Reinforce stacked crates with heavy-duty screws and corner brackets, and use wood glue between layers for added stability. Sand all edges to prevent splinters and test weight capacity before placing heavy appliances or cookware.
Can I add storage or accessories to my DIY wooden crate kitchen island?
Yes! Attach hooks for utensils, hang baskets under shelves for spices, or install a towel bar on the side. Use fabric liners inside crates to create soft storage for linens or produce while maintaining a polished look.