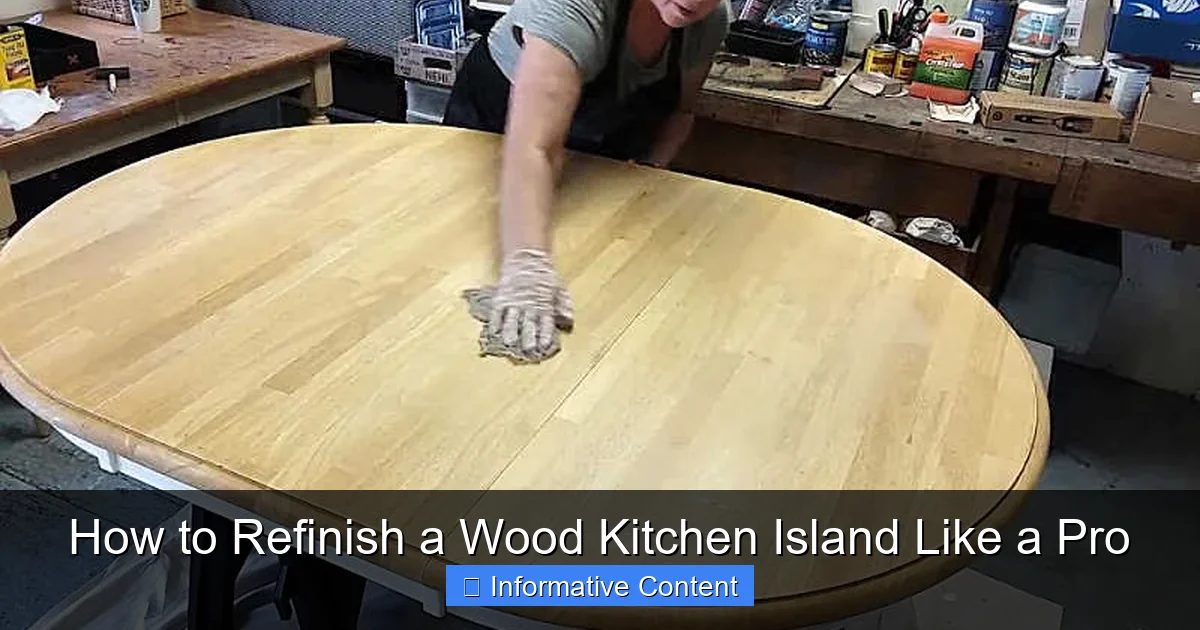
Featured image for how to refinish a wood kitchen island
Image source: stowandtellu.com
Refinishing a wood kitchen island like a pro starts with thorough sanding and cleaning to remove old finishes and imperfections, ensuring a smooth base for new stain or paint. Apply a high-quality wood conditioner before staining, or use a durable primer and paint for a modern look, finishing with a protective topcoat for long-lasting beauty. Proper prep, patience, and precision tools make all the difference in achieving a flawless, professional-grade transformation.
Key Takeaways
- Prep thoroughly: Sand and clean the surface for better finish adhesion.
- Choose quality materials: Opt for durable stains and food-safe sealants.
- Test finishes first: Apply stain and sealant on a hidden area.
- Work systematically: Refinish in sections to ensure even coverage.
- Protect surrounding areas: Use drop cloths and painter’s tape.
- Allow proper drying time: Follow manufacturer’s guidelines between coats.
- Maintain regularly: Reapply sealant annually to preserve the finish.
📑 Table of Contents
- Why Refinish a Wood Kitchen Island?
- Prepping Your Space and Tools
- Stripping and Sanding: The Foundation of a Great Finish
- Staining vs. Painting: Choosing Your Finish
- Sealing and Protecting Your Refinished Island
- Data: Comparing Refinishing vs. Replacing
- Common Mistakes to Avoid (And How to Fix Them)
- Conclusion: Your Island, Your Way
Why Refinish a Wood Kitchen Island?
Your kitchen island is more than just a countertop—it’s the heart of your home. It’s where you prep meals, gather with family, and maybe even sneak a midnight snack. Over time, though, even the sturdiest wood can lose its luster. Scratches, stains, and dull finishes can make your once-gorgeous island look tired and worn. That’s where refinishing comes in.
Refinishing a wood kitchen island isn’t just about aesthetics. It’s a smart, cost-effective way to breathe new life into a piece you already love. Unlike replacing it (which can cost thousands), refinishing lets you customize the look, fix imperfections, and protect the wood for years to come. I learned this the hard way when my own island started looking like it had survived a toddler’s art project. After a weekend of sanding and staining, it looked brand new—and I saved over $1,500 compared to buying a replacement.
Prepping Your Space and Tools
Before you dive into sanding, take a moment to prep your space. Trust me, skipping this step will make the whole process messier and more stressful.

Visual guide about how to refinish a wood kitchen island
Image source: i.ytimg.com
Clear the Area
Start by removing everything from your kitchen island. Appliances, utensils, decor—everything. If your island has a backsplash, cover it with painter’s tape and plastic sheeting. I once forgot to tape off my backsplash and ended up with dust embedded in the grout. Not fun to clean.
- Pro tip: Cover nearby appliances and floors with drop cloths. Even a small sanding job can kick up dust that travels surprisingly far.
- Open windows or run a fan to ventilate the room. You’ll be dealing with dust and fumes, so fresh air is a must.
- If your island has electrical outlets, turn off the power at the breaker box and cover outlets with tape.
Gather Your Tools and Supplies
You don’t need a full workshop, but having the right tools makes a huge difference. Here’s what you’ll need:
- Sanding: 80-grit sandpaper (for stripping old finish), 120-grit (for smoothing), 220-grit (for final polish)
- Tools: Orbital sander, sanding block, tack cloth, putty knife
- Finishing: Wood stain or paint, polyurethane or other sealant, high-quality brushes or foam applicators
- Protective gear: N95 mask, safety goggles, gloves
- Cleanup: Mineral spirits (for oil-based products), rags, trash bags
I recommend investing in a good orbital sander—it’ll save you hours of hand-sanding. My first refinishing job took twice as long because I stubbornly used only sandpaper. Lesson learned.
Assess the Current Finish
Not all finishes are created equal. Before you start, figure out what you’re working with:
- Oil-based polyurethane: Hard to remove, requires aggressive sanding or chemical strippers.
- Water-based polyurethane: Easier to sand but can raise the wood grain.
- Wax or shellac: Softer, often found on older pieces. May need gentle stripping.
Test a small, hidden area by rubbing with mineral spirits. If the finish softens, it’s likely oil-based. If it stays firm, it’s probably water-based or a lacquer.
Stripping and Sanding: The Foundation of a Great Finish
Sanding isn’t the most glamorous part of refinishing, but it’s the most important. A smooth, clean surface ensures your new finish adheres properly and looks flawless.
Stripping Old Finish (If Needed)
If your island has a thick, damaged finish (think peeling, flaking, or heavy scratches), you might need to strip it first. I’ve had islands where sanding alone wouldn’t cut through the old varnish—chemical stripper saved the day.
- Apply a paint stripper (I like Citristrip for its low odor) with a brush, covering all surfaces.
- Cover with plastic wrap to slow evaporation. Let it sit for 30–60 minutes (follow product instructions).
- Scrape off the softened finish with a plastic putty knife. Work in small sections.
- Wipe with mineral spirits to remove residue. Let it dry completely before sanding.
Warning: Strippers are messy and toxic. Wear gloves, goggles, and work in a well-ventilated area. I learned this after accidentally getting stripper on my hands—ouch.
Sanding in Stages
Even if you skip stripping, sanding is non-negotiable. Here’s how to do it right:
- Stage 1 (80-grit): Remove the old finish and smooth rough patches. Use the orbital sander for large areas, but switch to a sanding block for corners and edges.
- Stage 2 (120-grit): Smooth out scratches from the first sanding. This step ensures a uniform surface for staining.
- Stage 3 (220-grit): Final polish. This creates a silky-smooth base and helps the stain absorb evenly.
Pro tip: Sand with the grain, never against it. I once made the mistake of sanding across the grain—it left visible scratches that showed through the stain. Not my finest moment.
Dealing with Imperfections
Got dents, gouges, or old screw holes? Here’s how to fix them:
- Dents: Light dents can be raised with a damp cloth and iron (press the cloth on the dent for 5–10 seconds). For deeper dents, fill with wood filler.
- Gouges: Use a two-part wood filler (like Minwax High Performance). Sand flush after it dries.
- Holes: Fill with wood putty or epoxy. Sand smooth once cured.
I once had an island with a huge gouge from a dropped pan. After filling and sanding, you’d never know it was there.
Cleaning the Surface
After sanding, wipe down the entire island with a tack cloth to remove dust. Then, dampen a rag with mineral spirits (for oil-based products) or water (for water-based) and wipe again. This removes any lingering dust and preps the wood for staining.
Staining vs. Painting: Choosing Your Finish
This is where your island’s personality shines through. Do you want to highlight the wood’s natural beauty or give it a bold new look? Let’s break down your options.
Staining: Enhancing the Wood’s Natural Beauty
Stain lets you change the color while keeping the grain visible. I love staining for its warmth and depth—it makes even cheap wood look high-end.
- Oil-based stains: Penetrate deeply, dry slowly, and offer rich, even color. Great for beginners.
- Water-based stains: Dry quickly, have low odor, and come in vibrant colors. But they can raise the wood grain.
Application tips:
- Test the stain on a scrap piece or hidden area. Wood absorbs stain differently, and you don’t want surprises.
- Apply with a brush or rag, working with the grain. Let it sit for 5–15 minutes (follow product instructions).
- Wipe off excess with a clean rag. Too much stain = sticky, uneven finish.
- Let it dry 24 hours before sealing.
I once stained my island a dark walnut color, but I wiped off the excess too quickly. The result? A patchy, streaky finish. Now I set a timer to avoid rushing.
Painting: A Bold, Custom Look
Painting gives you total control over color and style. It’s perfect if you want a farmhouse white, a modern navy, or even a two-tone design.
- Chalk paint: Low prep (no sanding needed), matte finish. But it’s not as durable as other options.
- Milk paint: Eco-friendly, chippy vintage look. Great for shabby-chic styles.
- Latex paint: Durable, affordable, and comes in endless colors. Requires primer and sanding.
Application tips:
- Sand the surface lightly (even if using chalk paint) to help the paint adhere.
- Use a high-quality primer (especially for dark colors or bare wood).
- Apply thin, even coats with a foam roller or brush. Let each coat dry 2–4 hours.
- Lightly sand between coats with 220-grit paper for a smooth finish.
My sister painted her island a bright coral color—it’s now the focal point of her kitchen. Just make sure your paint is rated for kitchens (look for “kitchen and bath” on the label).
Two-Tone Designs
Want to get creative? Try a two-tone island. Paint the base and stain the countertop, or vice versa. I did this with my island—dark walnut stain on top, matte black paint on the legs. It adds visual interest and hides wear on the base.
Sealing and Protecting Your Refinished Island
Your stain or paint looks great, but it won’t last without a protective sealant. Kitchens are tough on finishes—spills, heat, and heavy use can ruin your hard work in months.
Choosing the Right Sealant
Here’s how to pick the best sealant for your island:
- Polyurethane: The gold standard for durability. Available in oil-based (harder, amber tint) and water-based (clearer, faster drying).
- Epoxy resin: Super tough and glossy. Great for countertops but harder to apply.
- Wax: Easy to apply but needs frequent reapplication. Best for low-traffic areas.
- Conversion varnish: Professional-grade, ultra-durable. Requires spray application.
For most DIYers, I recommend water-based polyurethane. It’s easy to use, dries fast, and resists yellowing. I used it on my island and it’s held up great for over 3 years.
Applying the Sealant
Follow these steps for a flawless finish:
- Stir (don’t shake) the sealant to avoid bubbles.
- Apply with a high-quality brush or foam applicator. Work in thin, even coats.
- Let each coat dry 4–6 hours (check the label). Lightly sand with 220-grit paper between coats.
- Apply 3–4 coats for maximum durability. The last coat should be extra thin.
- Let it cure fully (72 hours for water-based, 7 days for oil-based) before heavy use.
Pro tip: If you see bubbles in the finish, lightly drag a clean brush over them while wet. I once had a whole coat ruined by bubbles—now I always stir slowly and use a foam roller.
Maintaining Your Finish
Even the best sealant needs care. Here’s how to keep your island looking great:
- Clean spills immediately with a damp cloth.
- Use trivets for hot pots and pans.
- Avoid harsh cleaners (ammonia, bleach) that can damage the finish.
- Reapply wax or polish every 3–6 months (if using wax or polish-based finishes).
Data: Comparing Refinishing vs. Replacing
Is refinishing worth it? Let’s look at the numbers:
| Factor | Refinishing | Replacing |
|---|---|---|
| Cost | $100–$500 (tools and supplies) | $1,000–$10,000+ (new island + installation) |
| Time | 1–3 days | 1–4 weeks (ordering, delivery, installation) |
| Customization | Unlimited (color, finish, style) | Limited to available options |
| Durability | 5–10 years (with proper care) | 10–20 years (depends on material) |
| Environmental Impact | Low (reuses existing materials) | High (manufacturing, shipping, waste) |
As you can see, refinishing is a no-brainer for most people. It’s cheaper, faster, and lets you customize your island exactly how you want it.
Common Mistakes to Avoid (And How to Fix Them)
Even pros make mistakes. Here are the biggest pitfalls and how to avoid them—or fix them if they happen.
Sanding Too Little (or Too Much)
Mistake: Not sanding enough leaves old finish behind, causing the new stain or paint to peel. Over-sanding can gouge the wood.
Fix: Sand in stages (80→120→220 grit). Check your work with a flashlight—if you see streaks or patches, keep sanding.
Applying Too Much Stain or Paint
Mistake: Leaving excess stain or paint on the surface leads to sticky, uneven finishes.
Fix: Wipe off stain with a clean rag after the recommended time. For paint, use a foam roller to avoid drips.
Skipping the Sealer
Mistake: Thinking a “self-sealing” stain is enough. It’s not—kitchens need extra protection.
Fix: Always apply at least 2 coats of polyurethane or another sealant.
Rushing the Drying/Curing Time
Mistake: Using the island before the finish is fully cured (72+ hours).
Fix: Plan ahead! Start your project when you can leave the island untouched for a few days.
Not Testing First
Mistake: Using a stain or paint without testing it on a sample.
Fix: Always test on a hidden area or scrap wood. Wood species absorb color differently (e.g., pine vs. oak).
Conclusion: Your Island, Your Way
Refinishing a wood kitchen island isn’t just a DIY project—it’s a way to reclaim a piece of your home’s story. Whether you’re restoring a family heirloom or giving a modern island a fresh look, the process lets you create something uniquely yours.
Remember, perfection isn’t the goal. I’ve seen “imperfect” finishes that add character and charm. My own island has a tiny brush mark I missed during sealing—but now it’s a reminder of the weekend I spent making it beautiful again.
So grab your sandpaper, pick a color that speaks to you, and get started. Your island is waiting for its second act. And when you’re done? You’ll have a kitchen centerpiece that’s as functional as it is beautiful—and a story to tell every time someone asks, “Did you buy this new?”
Frequently Asked Questions
What’s the best way to refinish a wood kitchen island without sanding?
You can use a chemical paint stripper or liquid deglosser to remove the existing finish, followed by a fresh coat of stain or paint. This method is ideal for intricate designs where sanding is difficult.
How do I prep my wood kitchen island for refinishing?
Start by cleaning the surface thoroughly with a degreaser, then remove hardware, fill cracks with wood filler, and lightly sand to ensure proper adhesion. Proper prep ensures a smooth, long-lasting finish.
Can I refinish a wood kitchen island without professional tools?
Yes—basic tools like sandpaper, a paintbrush, and a foam roller are enough for most DIY refinishing projects. Just ensure you work in a ventilated area and follow product instructions carefully.
How long does it take to refinish a wood kitchen island?
The process typically takes 2–4 days, depending on drying times between sanding, staining, and sealing. Rushing the steps can lead to a less durable finish.
What type of finish is best for a refinished wood kitchen island?
Polyurethane (water- or oil-based) is the most durable for kitchen islands due to its resistance to heat, water, and scratches. For a natural look, try a food-safe oil like tung or mineral oil.
How do I match the refinished island to my existing kitchen cabinets?
Bring a sample of your cabinet finish to the store for stain color matching, or use a custom-mixed gel stain. Test the stain on a hidden area first to ensure consistency.