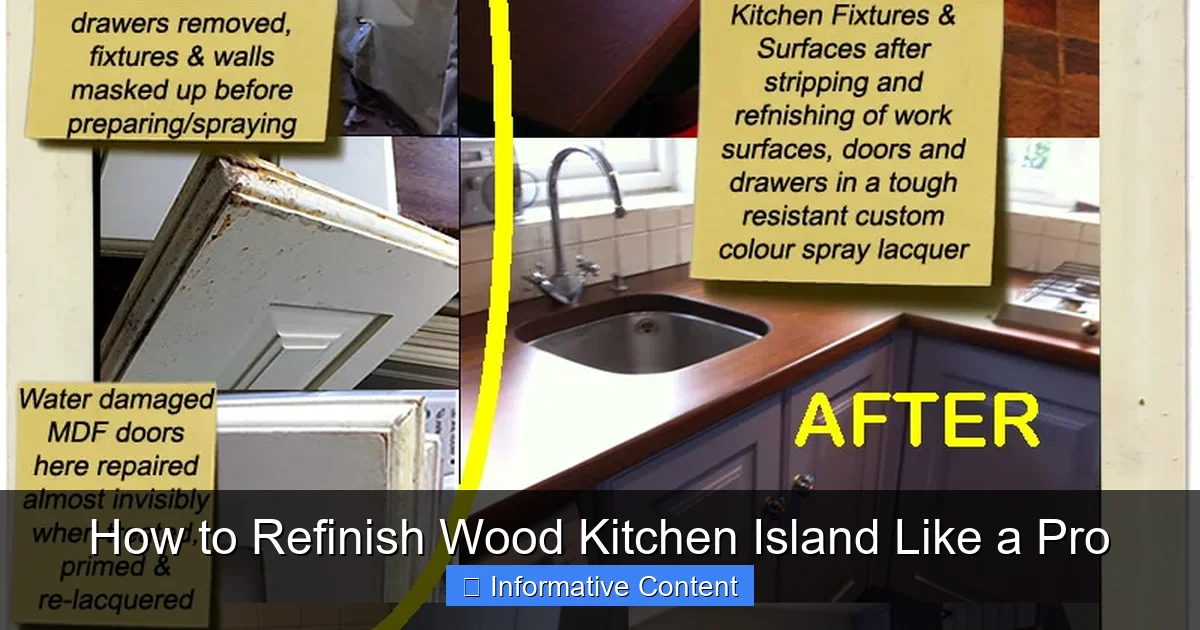
Featured image for refinish wood kitchen island
Image source: islandwoodfinishing.co.uk
Refinishing a wood kitchen island like a pro starts with proper preparation—sanding, cleaning, and repairing damage ensures a flawless, long-lasting finish. Choose high-quality stain or paint and apply thin, even coats for a smooth, professional-grade result that revitalizes your space without the cost of replacement.
Key Takeaways
- Sand thoroughly: Remove old finish completely for smooth results.
- Choose quality stain: Enhances wood grain and ensures durability.
- Test finishes first: Avoid surprises by testing on hidden areas.
- Seal properly: Use polyurethane for long-lasting protection.
- Work in sections: Prevents uneven drying and streaks.
- Ventilate the area: Ensures safety and faster drying times.
📑 Table of Contents
- Why Refinish Your Wood Kitchen Island?
- Step 1: Assess Your Island and Gather Supplies
- Step 2: Strip, Sand, and Smooth (The Foundation of Success)
- Step 3: Stain Like a Pro (Color, Consistency, and Control)
- Step 4: Seal and Protect (The Final Armor)
- Step 5: Maintain Your Refinished Island
- Common Mistakes and How to Avoid Them
Why Refinish Your Wood Kitchen Island?
Let me tell you a story. A few years ago, I walked into my friend Sarah’s kitchen and did a double-take. The once-dull, scratched-up wooden island now looked like it belonged in a designer magazine. “What did you *do*?” I asked, running my hand over the smooth, honey-toned surface. “I refinished it myself,” she said with a proud grin. That moment stuck with me. I had always assumed refinishing wood was some mysterious, professional-only craft—something that required expensive tools and years of experience. But Sarah, a busy mom with zero DIY background, had done it in a weekend. That’s when I realized: refinishing a wood kitchen island isn’t just possible for regular folks—it’s *empowering*. It’s like giving your kitchen a facelift without the facelift price tag.
And here’s the best part: your kitchen island is often the heart of the home. It’s where you prep meals, gather for coffee, or spread out homework. Over time, though, that beloved island takes a beating—water rings, knife scratches, sticky spills. But instead of replacing it (which can cost thousands), refinishing it lets you restore its beauty, customize the look, and even increase your home’s value. Whether your island is solid oak, pine, or a vintage find, refinishing breathes new life into it. Plus, it’s a project you can tackle in stages, fitting it around your schedule. So, if you’re staring at a worn-out island and thinking, “I wish this looked better,” you’re in the right place. This guide will walk you through how to refinish a wood kitchen island like a pro—no contractor needed.
Step 1: Assess Your Island and Gather Supplies
Before you start sanding or staining, take a step back. Refinishing isn’t just about slapping on new color—it’s about understanding your island’s current state and choosing the right approach. Think of this as your “diagnosis” phase.
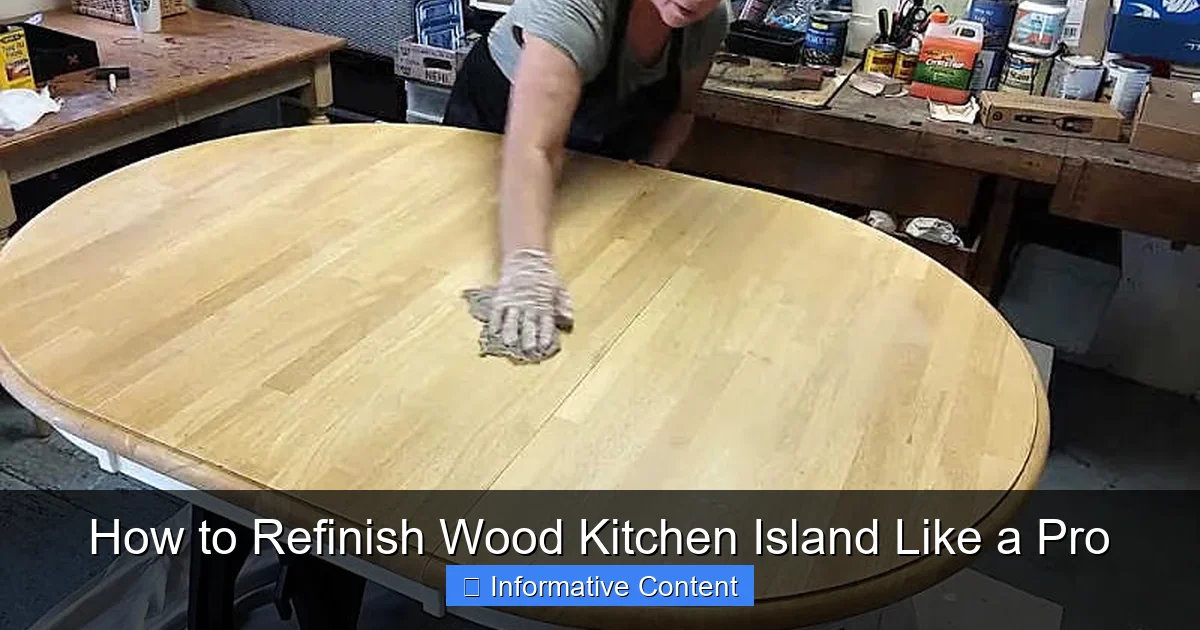
Visual guide about refinish wood kitchen island
Image source: stowandtellu.com
Inspect the Surface and Wood Type
Grab a flashlight and inspect your island closely. Look for:
- Deep scratches or gouges: These may need wood filler before sanding.
- Water damage or stains: Dark spots or warping? You might need to sand deeper or replace damaged sections.
- Existing finish: Is it varnish, oil-based, or lacquer? This affects your sanding technique. For example, lacquer can gum up sandpaper if you’re not careful.
- Wood type: Hardwoods (oak, maple) sand evenly. Softwoods (pine, fir) can dent easily—use finer grits and go slow.
Pro tip: Tap the wood with a spoon. Solid wood sounds hollow; veneer sounds dull. If it’s veneer, avoid aggressive sanding—you can sand right through!
Create a Refinishing Supplies Checklist
Here’s what you’ll need (no need to buy everything at once—borrow or rent tools if possible):
- Sandpaper: Start with 80–100 grit for stripping old finish, then 150–220 grit for smoothing. Get a variety pack.
- Sanding tools: Orbital sander (for large areas), sanding block (for edges), and steel wool (for tight spots).
- Dust mask and goggles: Safety first! Wood dust is no joke.
- Tack cloths: These sticky cloths remove dust *after* sanding—essential for a smooth finish.
- Wood filler: For dents, holes, or deep scratches. Choose a color that matches your island.
- Stain and finish: Water- or oil-based stain (your choice), plus polyurethane, Danish oil, or wax for protection.
- Brushes and rags: Natural bristle brushes for oil-based products, foam brushes for water-based. Lint-free rags for wiping.
- Drop cloths: Protect your floors and countertops.
- Paint stripper (optional): Only if the finish is thick or stubborn.
Example: I once skipped the tack cloth and ended up with a “fuzzy” stain job—lesson learned! Don’t skip this step.
Step 2: Strip, Sand, and Smooth (The Foundation of Success)
This is where most people rush—and where mistakes happen. Sanding isn’t just about making the surface smooth; it’s about preparing the wood to *accept* stain evenly. Think of it like prepping a wall before painting: skip it, and the result will disappoint.
Strip Old Finish (If Needed)
If your island has a thick, peeling finish (like old varnish), use a chemical stripper. Here’s how:
- Ventilate the room! Open windows and use fans.
- Apply stripper with a brush, let it sit for 10–15 minutes (check the label).
- Scrape off the softened finish with a plastic scraper—*not* metal, which can gouge wood.
- Neutralize the wood with a stripper cleaner, then let it dry completely.
Note: Skip stripping if the finish is thin and intact. Just sand it off instead.
Sanding: The 3-Stage Process
Sanding is a marathon, not a sprint. Follow these steps:
- Coarse grit (80–100): Strip off the old finish. Use the orbital sander on flat surfaces, a sanding block on edges. Sand *with* the wood grain—never against it.
- Medium grit (150)
- Fine grit (220)
Pro tip: Test a hidden spot (like under the overhang) to see how the wood reacts. Pine, for example, can “fuzz up” when sanded—lightly sand with 220 grit, then wipe with a damp cloth to raise the grain, then sand again.
Fill Imperfections and Final Prep
Now’s the time to fix flaws:
- Apply wood filler to dents or gaps with a putty knife. Let it dry, then sand flush with the surface.
- For water stains, sand deeper—sometimes they go below the surface.
- Wipe the entire island with a tack cloth. Then, wipe again. And *again*. Dust is your enemy.
Real talk: I once rushed this step and had a stain that looked patchy. Take your time—this prep work is 80% of the job.
Step 3: Stain Like a Pro (Color, Consistency, and Control)
Staining is where your island transforms. But it’s also where you can easily go wrong—too dark, uneven, or blotchy. The key? Control.
Test Your Stain First
Never stain your island without testing. Grab a scrap piece of wood (or a hidden corner) and try your stain. Why? Wood absorbs stain differently based on:
- Density: Oak takes stain evenly; pine can be blotchy.
- Moisture content: Dry wood absorbs more; slightly damp wood less.
- Previous finish: Residual varnish can repel stain.
Example: I once used a dark walnut stain on a pine island without testing. The result? A streaky, uneven mess. I had to sand it all off and start over. Test first!
Apply Stain: The Right Technique
Here’s the foolproof method:
- Stir (don’t shake!) the stain to avoid bubbles.
- Apply with a brush or rag, *with* the grain. Use long, even strokes.
- Let it sit for 5–15 minutes (check the label). The longer it sits, the darker it gets.
- Wipe off excess with a clean, lint-free rag. Wipe *against* the grain to remove pooled stain.
- Let dry for 24–48 hours (patience is key!).
Pro tip: For a deeper color, apply a second coat. But wait at least 24 hours, and lightly sand with 220 grit between coats to help the second coat adhere.
Dealing with Blotchiness
Softwoods like pine often stain unevenly. To fix this:
- Use a wood conditioner (pre-stain) before staining. It seals the wood so the stain absorbs evenly.
- Apply conditioner with a rag, let it sit for 5–15 minutes, then wipe off excess.
- Stain within 2 hours of applying conditioner.
Real talk: I skipped the conditioner once—big mistake. The stain looked like a tie-dye project. Now, I never stain softwood without it.
Step 4: Seal and Protect (The Final Armor)
Stain makes your island beautiful; finish makes it *durable*. This step protects your hard work from spills, scratches, and daily wear.
Choose the Right Finish
Not all finishes are created equal. Here’s a quick guide:
- Polyurethane: Best for high-traffic kitchens. Choose water-based (low odor, dries fast) or oil-based (deeper color, more durable). Apply 2–3 coats.
- Danish oil: A blend of oil and varnish. Gives a warm, natural look. Easy to apply but less durable than polyurethane. Great for islands used for prep work, not heavy dining.
- Wax: Soft, matte finish. Easy to repair but needs reapplication every 6–12 months. Best for low-traffic islands or decorative pieces.
Example: My kitchen island gets heavy use (cooking, kids, spills), so I use water-based polyurethane. For a client’s island that’s more decorative, I used Danish oil—it looked stunning but required more upkeep.
Apply the Finish: Smooth and Even
Here’s how to apply any finish flawlessly:
- Lightly sand the stained surface with 220 grit. Wipe with a tack cloth.
- Stir the finish (don’t shake!). Use a high-quality brush or foam applicator.
- Apply thin, even coats *with* the grain. Overlap each stroke slightly.
- Let dry completely (check the label—usually 4–24 hours).
- Lightly sand with 320 grit between coats. Wipe with a tack cloth.
- Apply 2–3 coats for durability.
Pro tip: For polyurethane, use a “dust-free” environment. Even a speck of dust can ruin a coat. I once had a fly land in my finish—had to sand it off and start over.
Buffing and Curing
After the final coat:
- Let the finish cure for 72 hours before light use (e.g., placing a bowl of fruit).
- Wait 7–14 days for full cure before heavy use (cutting, sliding pots).
- For a super-smooth feel, buff the surface with 0000 steel wool (for wax) or a microfiber cloth (for polyurethane).
Real talk: I once used my island after 24 hours. A knife scratched the finish—lesson learned. Follow the cure time!
Step 5: Maintain Your Refinished Island
You’ve put in the work—now keep it looking great. Maintenance isn’t hard, but it’s essential.
Daily and Weekly Care
To protect your finish:
- Wipe spills immediately with a dry cloth.
- Use coasters for drinks, trivets for hot pans.
- Clean with a damp cloth and mild soap. Never use abrasive cleaners or steel wool.
- For wax finishes, buff monthly with a soft cloth.
Pro tip: I keep a “kitchen island kit” under the sink: microfiber cloths, pH-neutral cleaner, and a small can of wax (for touch-ups).
Touch-Ups and Repairs
Even with care, accidents happen. Here’s how to fix them:
- Small scratches: Rub with a walnut (yes, the nut!) or use a matching wood marker.
- Dents: Place a damp cloth over the dent, then press with a warm iron. The steam can raise the wood fibers.
- Deep scratches: Sand the area with 220 grit, apply matching stain, then a thin coat of finish.
- Wax finishes: Reapply wax every 6–12 months.
Example: My island had a deep scratch from a dropped knife. I sanded it, restained, and applied a dab of polyurethane. You’d never know it was there.
Long-Term Care
Every 3–5 years, your island may need a refresh:
- For polyurethane: Lightly sand with 320 grit, clean, and apply 1–2 new coats.
- For wax: Strip the old wax (with mineral spirits), then reapply.
- For Danish oil: Clean and reapply oil.
Real talk: I’ve refinished my island twice in 10 years—once after 5 years, once after 8. It’s still going strong.
Common Mistakes and How to Avoid Them
Let’s be honest: refinishing isn’t always smooth sailing. Here’s a table of common pitfalls—and how to dodge them.
| Mistake | Why It Happens | How to Avoid It |
|---|---|---|
| Blotchy stain | Wood absorbs stain unevenly (especially softwoods) | Use wood conditioner before staining. Test on a scrap first. |
| Finish bubbles or streaks | Shaking the finish, applying too thickly, or poor ventilation | Stir (don’t shake!) the finish. Apply thin coats. Work in a well-ventilated area. |
| Dust in the finish | Sanding dust or airborne particles settling | Wipe with tack cloths between steps. Cover nearby areas. Apply finish in a clean space. |
| Peeling or cracking | Skipping sanding, applying over dirty wood, or incompatible products | Sand thoroughly. Clean with mineral spirits before finishing. Don’t mix oil-based and water-based products. |
| Too dark or light | Not testing the stain, leaving it on too long/short | Test on a scrap. Follow the stain’s instructions for timing. |
Pro tip: I once ignored the “test first” rule and ruined a client’s island. I had to redo it for free—and learned my lesson. *Always* test!
Refinishing a wood kitchen island isn’t just a project—it’s a transformation. You’re not just fixing scratches or fading; you’re reclaiming a piece of your home’s heart. And the best part? You did it yourself. When friends ask, “Who refinished your island?” you’ll say, “I did,” and their eyes will light up. That pride is worth every speck of sawdust.
Remember, refinishing is a journey. There will be moments of frustration (why won’t this stain wipe off evenly?) and moments of joy (when that first coat of finish goes on smooth). But with patience, the right tools, and this guide, you’ll end up with a kitchen island that looks—and feels—brand new. So grab your sander, take a deep breath, and start. Your dream kitchen is just a weekend away. And hey, if Sarah can do it, you can too.
Frequently Asked Questions
How do I refinish a wood kitchen island without sanding?
You can refinish a wood kitchen island without sanding by using a liquid deglosser or chemical stripper to remove the existing finish. Apply a wood conditioner before staining to ensure even absorption, then seal with a durable topcoat like polyurethane.
What’s the best finish for a refinished wood kitchen island?
For high-traffic areas like kitchen islands, water-based polyurethane or conversion varnish are ideal due to their durability and resistance to scratches and spills. Oil-based finishes offer warmth but take longer to dry.
How long does it take to refinish a wood kitchen island?
The process typically takes 2–4 days, including prep (cleaning, sanding/stripping), staining, and applying 2–3 topcoats with drying time between each. Humidity and temperature can affect drying times.
Can I refinish a wood kitchen island with paint instead of stain?
Yes, painting is a great way to refinish a wood kitchen island for a modern or farmhouse look. Use a high-adhesion primer and cabinet-grade paint, followed by a protective topcoat for longevity.
Do I need to seal a refinished wood kitchen island?
Absolutely—sealing protects the wood from moisture, stains, and daily wear. Choose a food-safe, non-toxic sealant if the island will be used for food prep.
How much does it cost to refinish a wood kitchen island professionally?
Professional refinishing typically costs $500–$1,500, depending on size, wood type, and finish complexity. DIY is far cheaper (under $200) but requires time and attention to detail.