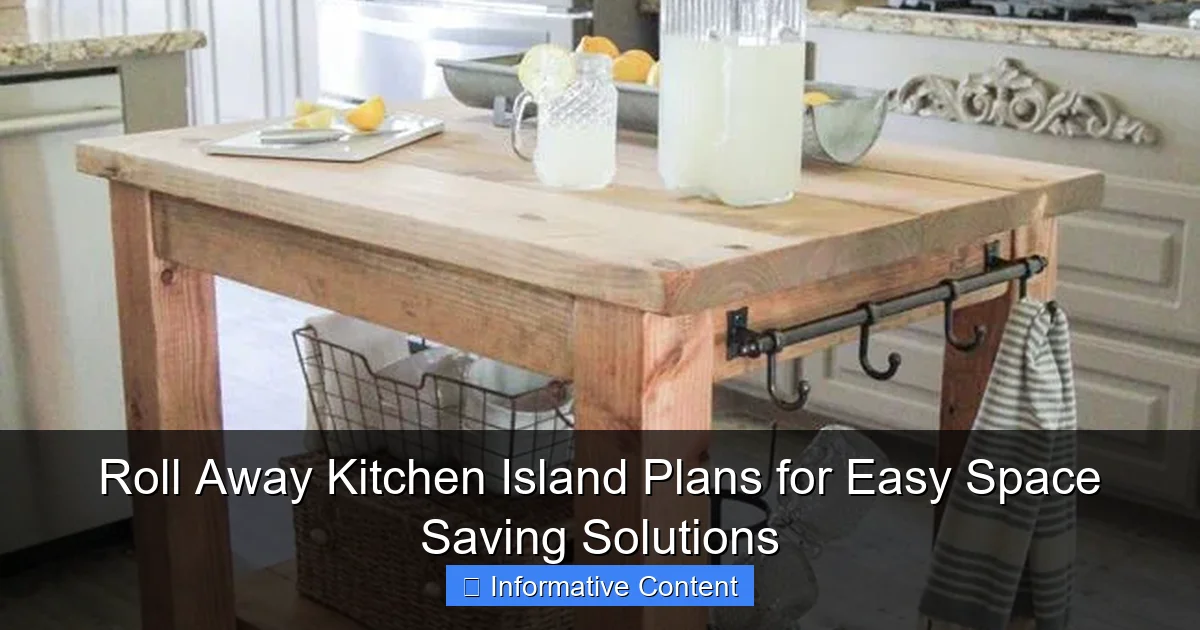
Featured image for roll away kitchen island plans
Image source: i.pinimg.com
Maximize your kitchen space with customizable roll away kitchen island plans designed for seamless mobility and efficient storage. Perfect for small kitchens or flexible layouts, these DIY plans feature lockable casters, compact dimensions, and multi-functional designs—from prep stations to breakfast bars—ensuring style meets practicality. Transform cramped areas into dynamic workspaces without permanent installation.
Key Takeaways
- Maximize space: Roll away islands offer flexible, mobile storage and prep space.
- DIY-friendly plans: Build your own with simple tools and affordable materials.
- Lockable wheels: Ensure stability during use with high-quality locking casters.
- Customize dimensions: Adapt plans to fit your kitchen layout and needs.
- Add functionality: Include shelves, hooks, or drop-leaf extensions for versatility.
- Prioritize portability: Lightweight designs simplify moving without sacrificing durability.
📑 Table of Contents
- Why a Roll Away Kitchen Island Could Be Your Best Space-Saving Move
- What Is a Roll Away Kitchen Island? (And Why You Need One)
- How to Choose the Right Roll Away Kitchen Island Plans
- Top 5 Roll Away Kitchen Island Plans to Inspire Your Build
- Step-by-Step Guide to Building Your Own Roll Away Kitchen Island
- Real-World Tips and Common Mistakes to Avoid
- Comparing Roll Away Kitchen Island Plans: A Quick Reference
- Final Thoughts: Is a Roll Away Kitchen Island Right for You?
Why a Roll Away Kitchen Island Could Be Your Best Space-Saving Move
Let’s be real: the kitchen is the heart of the home. It’s where meals are made, stories are shared, and late-night snacks are devoured. But if you’re like most of us—especially those of us with smaller kitchens, open-concept living spaces, or even rental units—finding extra counter space can feel like a never-ending battle. You want room to prep, store, and maybe even eat, but your kitchen just doesn’t have the square footage to support a permanent island.
Enter the roll away kitchen island. It’s not just a trendy furniture hack; it’s a practical, flexible solution that brings mobility, functionality, and style to your kitchen—without the commitment of a built-in. Whether you’re renting, downsizing, or just need a little breathing room, a roll away island can transform how you use your space. You can move it when you need it, tuck it away when you don’t, and even take it with you if you move. And the best part? You don’t need to be a master carpenter to build one. With the right roll away kitchen island plans, you can create a custom solution that fits your needs, your style, and your budget.
What Is a Roll Away Kitchen Island? (And Why You Need One)
Defining the Roll Away Kitchen Island
A roll away kitchen island is a mobile, freestanding unit on casters (wheels) that provides extra counter space, storage, and sometimes even seating. Unlike a fixed island, which is anchored to the floor or cabinetry, a roll away island can be moved around the kitchen—or even into another room—with ease. It’s designed to be functional when you need it and out of the way when you don’t.
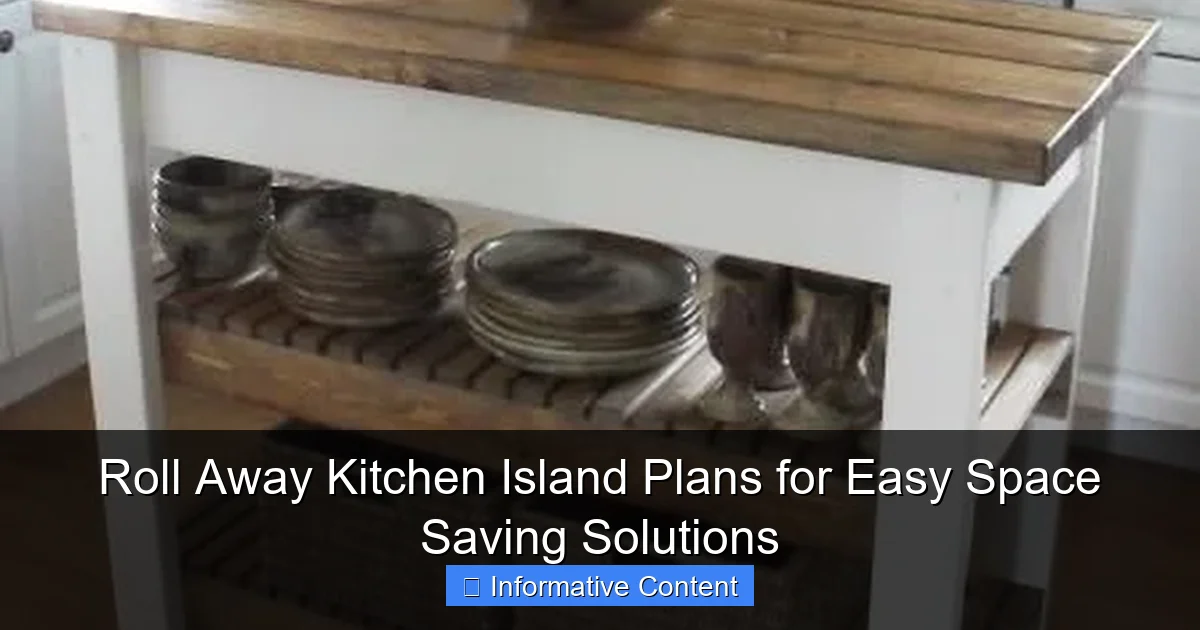
Visual guide about roll away kitchen island plans
Image source: i.pinimg.com
Think of it like a kitchen sidekick. Need more prep space for Thanksgiving dinner? Roll it out. Hosting a movie night in the living room? Bring the snacks and drinks with it. Want to clean under it or rearrange your layout? Just wheel it aside. The flexibility is unmatched.
Key Benefits You Might Not Have Considered
Sure, extra counter space is a no-brainer. But a roll away kitchen island offers so much more:
- Space optimization: Perfect for small kitchens, apartments, or open-concept homes where every inch counts.
- Portability: Move it for cleaning, entertaining, or even relocating to a new home.
- Storage: Most designs include shelves, drawers, or cabinets for pots, pans, utensils, or dry goods.
- Customization: Build it to your exact dimensions, style, and storage needs.
- No permanent changes: Ideal for renters or anyone who doesn’t want to commit to a built-in.
- Multi-room use: Use it as a bar cart, serving station, or even a mobile office desk in a pinch.
One friend of mine, Sarah, lives in a 500-square-foot apartment in Brooklyn. Her kitchen is tiny—barely room for two people to pass. But she built a slim, 24-inch-wide roll away island with a butcher block top, two drawers, and a lower shelf. She uses it daily for meal prep, stores her stand mixer on the shelf, and rolls it out of the way when she has guests. “It’s the best $120 I’ve ever spent,” she says. “I feel like I have a real kitchen now.”
How to Choose the Right Roll Away Kitchen Island Plans
Start With Your Kitchen’s Dimensions
Before you dive into building, measure your kitchen. Pay close attention to:
- Clearance: You need at least 36 inches of walking space around the island when it’s in use.
- Height: Standard counter height is 36 inches. If you want seating, consider a 42-inch bar-height design.
- Width and depth: A typical island is 24–36 inches deep and 36–72 inches long. But if space is tight, go narrower—even 18–24 inches can work.
Pro tip: Use painter’s tape to mark the footprint of your planned island on the floor. Walk around it, open cabinets, and simulate cooking. This helps you visualize how it will actually fit in your space.
Decide on Functionality and Features
Not all roll away kitchen island plans are created equal. Ask yourself what you need most:
- Prep space? Look for a large, durable countertop (butcher block, quartz, or stainless steel).
- Storage? Include shelves, drawers, or open cubbies for easy access.
- Seating? Add a countertop overhang (at least 12 inches) and pair with stools.
- Appliance storage? Design a cabinet with ventilation for a microwave or toaster oven.
- Style? Match your existing decor—farmhouse, modern, rustic, or industrial.
For example, if you love baking, you might want a plan with a built-in flour bin and a drawer for measuring cups. If you entertain often, a plan with a wine rack or built-in bottle opener could be a game-changer.
Consider Materials and Budget
Your choice of materials affects both cost and durability:
- Wood: Affordable and warm (e.g., pine, birch, oak). Butcher block tops are popular but require oiling.
- Laminate: Low-maintenance and budget-friendly. Great for beginners.
- Metal: Stainless steel or powder-coated frames are sturdy and modern.
- Composite: Quartz or recycled materials offer durability but are pricier.
Most DIY roll away kitchen island plans fall in the $100–$300 range for materials, depending on size and finishes. You can save money by repurposing old furniture (like a dresser or desk) or using scrap wood.
Top 5 Roll Away Kitchen Island Plans to Inspire Your Build
1. The Minimalist Slim Island (Perfect for Small Kitchens)
This plan is ideal if you’re tight on space. At just 18 inches deep and 36 inches long, it fits snugly against a wall or between appliances. Features include:
- Butcher block top (24″ x 18″)
- Two open shelves for baskets or cookbooks
- Locking casters for stability
- Simple frame made from 2×2 pine
Best for: Apartments, galley kitchens, or as a secondary prep station.
2. The Multi-Tasker with Drawers and Shelves
This plan is a storage powerhouse. It measures 30″ x 36″ and includes:
- Two deep drawers (for utensils, towels, or Tupperware)
- One lower shelf (for large pots or appliances)
- Side-mounted spice rack
- Sturdy 4″ casters with brakes
The frame is built from 2x4s, and the top is 3/4″ birch plywood sealed with polyurethane. Total build time: about 6–8 hours.
3. The Bar-Height Island with Seating
Want to turn your kitchen into a hangout spot? This 42-inch-tall island includes a 12-inch overhang for two bar stools. Features:
- Quartz countertop (durable and stain-resistant)
- Two wine bottle holders
- Hidden cabinet for glassware
- Industrial-style metal legs with casters
Tip: Use swivel casters so you can turn the island to face the living room during parties.
4. The Appliance Cart (For Renters and Small Spaces)
This compact plan is designed to hold a microwave, toaster, or air fryer. It’s 24″ x 24″ with:
- Ventilated back panel (for heat dissipation)
- Top shelf for small appliances
- Lower shelf for storage
- Lightweight MDF construction
It’s a lifesaver if you can’t install a permanent appliance nook—and it rolls right into a corner when not in use.
5. The Farmhouse Style Island (With Chalkboard Panel)
Love the farmhouse look? This plan combines rustic charm with function. It includes:
- Reclaimed wood countertop
- Open cubbies with woven baskets
- Side chalkboard panel (for grocery lists or kids’ doodles)
- Antique-style casters
The chalkboard is made from MDF painted with chalkboard paint—easy to update and wipe clean.
Step-by-Step Guide to Building Your Own Roll Away Kitchen Island
Tools and Materials You’ll Need
Here’s a basic checklist to get started:
- Tools: Circular saw, drill, measuring tape, square, clamps, screwdriver, sandpaper (80 and 120 grit)
- Materials: 2x4s or 2x2s for frame, plywood or MDF for panels, butcher block or laminate for top, 4 heavy-duty casters (2 with brakes), wood glue, screws (2″ and 1.25″), sandpaper, finish (stain, paint, or polyurethane)
- Optional: Drawer slides, hinges, handles, baskets, or lighting
Building the Frame (The Foundation)
- Cut the frame pieces: Use 2x4s to create a rectangular base (e.g., 30″ x 36″). Add cross supports every 12–16 inches for stability.
- Assemble the frame: Pre-drill holes and screw the corners together with 2″ wood screws. Use clamps to hold pieces square.
- Add vertical legs: Attach 2x2s (or 2x4s cut to size) at each corner, extending to your desired height (36″ for standard, 42″ for bar).
- Reinforce: Add diagonal braces or corner blocks for extra strength.
Adding Shelves, Drawers, and Casters
- Cut and install shelves: Use 3/4″ plywood. Secure with cleats or pocket screws.
- Build drawers (if included): Use 1/2″ plywood for boxes and install full-extension slides.
- Attach the countertop: Center the top on the frame. Use construction adhesive and screws from underneath.
- Install casters: Attach heavy-duty casters (at least 2″ wheels) to the base. Use 2 with brakes for stability. Pro tip: Add felt pads to protect floors.
Finishing Touches (Make It Yours)
- Sand thoroughly: Start with 80 grit, then 120 grit for a smooth finish.
- Stain or paint: Choose a color that matches your kitchen. Apply 2–3 coats, sanding lightly between.
- Seal the top: Use polyurethane (for wood) or a food-safe oil (for butcher block).
- Add extras: Install handles, baskets, or a backsplash. Consider under-cabinet lighting for ambiance.
Total build time: 1–2 days, depending on complexity. Take breaks—rushing leads to mistakes!
Real-World Tips and Common Mistakes to Avoid
Stability: Don’t Skip the Braces
One of the biggest mistakes is building a wobbly island. To prevent tipping:
- Use locking casters (at least 2 with brakes).
- Add diagonal braces inside the frame.
- Keep the center of gravity low—don’t overload the top shelf.
I once saw a DIY island that tipped over when someone leaned on it. The builder had used flimsy casters and no cross supports. Lesson learned: stability is non-negotiable.
Floor Protection: Your Floors Will Thank You
Casters can scratch hardwood, laminate, or tile. Protect your floors by:
- Using felt pads under casters.
- Choosing rubber or soft-tread wheels (avoid hard plastic).
- Adding a floor mat if you roll it frequently.
Weight Distribution: Balance Is Key
Heavy appliances or full storage bins can make your island top-heavy. To fix this:
- Store heavy items on lower shelves.
- Use a weighted base (like sandbags in a hidden compartment).
- Anchor the island to the floor (if allowed) with removable brackets.
Maintenance: Keep It Rolling Smoothly
- Clean casters monthly to prevent dust buildup.
- Re-oil butcher block tops every 3–6 months.
- Tighten screws annually—vibration from rolling can loosen them.
Comparing Roll Away Kitchen Island Plans: A Quick Reference
| Plan Type | Dimensions (W x D x H) | Storage Features | Best For | Estimated Cost | Build Difficulty |
|---|---|---|---|---|---|
| Slim Minimalist | 36″ x 18″ x 36″ | Open shelves | Small kitchens, renters | $100–$150 | Easy |
| Multi-Tasker | 36″ x 30″ x 36″ | Drawers, shelves, spice rack | Families, meal prep | $180–$250 | Moderate |
| Bar-Height | 48″ x 30″ x 42″ | Wine rack, cabinet | Entertaining, open kitchens | $250–$350 | Moderate |
| Appliance Cart | 24″ x 24″ x 36″ | Ventilated shelf | Microwave, toaster oven | $120–$180 | Easy |
| Farmhouse | 36″ x 24″ x 36″ | Cubbies, chalkboard | Rustic decor, families | $150–$220 | Moderate |
Final Thoughts: Is a Roll Away Kitchen Island Right for You?
Let’s wrap this up with a reality check. A roll away kitchen island isn’t a magic fix for every kitchen. If you have a large space and want a permanent centerpiece, a built-in island might make more sense. But if you’re dealing with tight quarters, frequent rearrangements, or rental restrictions, a roll away kitchen island is a brilliant, low-commitment solution.
What makes these plans so powerful is their adaptability. You can start simple and upgrade later—add drawers, swap the top, or repaint it to match a new color scheme. And because they’re on wheels, they grow with your needs. Need more space for a dinner party? Roll it out. Want to clean the floor? Roll it aside. Moving apartments? Take it with you.
At the end of the day, the best roll away kitchen island plans are the ones that fit your life—not the other way around. Whether you’re a DIY newbie or a seasoned builder, you can create a piece that’s functional, stylish, and uniquely yours. So grab your tools, pick a plan, and get rolling. Your kitchen (and your sanity) will thank you.
Frequently Asked Questions
What are roll away kitchen island plans?
Roll away kitchen island plans are DIY blueprints designed to help you build a mobile kitchen island with wheels. These plans focus on space-saving functionality, allowing you to move the island as needed for cooking, dining, or storage.
How do roll away kitchen island plans save space?
By incorporating casters or wheels, these plans let you easily push the island against a wall or into a corner when not in use. This flexibility is ideal for small kitchens or open-concept layouts where space optimization is key.
Can I customize my roll away kitchen island plans?
Absolutely! Most roll away kitchen island plans include modular designs, letting you adjust the size, storage features, or countertop material to fit your needs. Customization ensures the island complements your kitchen’s style and workflow.
Are roll away kitchen islands stable enough for food prep?
Yes, quality plans include locking casters and sturdy construction (like hardwood or steel frames) to ensure stability. The wheels lock securely, so the island won’t shift during cooking or prep work.
What tools do I need to build a roll away kitchen island?
Basic tools like a saw, drill, measuring tape, and level are typically required. Most roll away kitchen island plans list the necessary tools and materials upfront, making it easy to gather supplies before starting.
Where can I find affordable roll away kitchen island plans?
You can find budget-friendly, detailed roll away kitchen island plans on DIY woodworking websites, Etsy, or home improvement blogs. Look for plans with step-by-step instructions and customer reviews to ensure clarity.