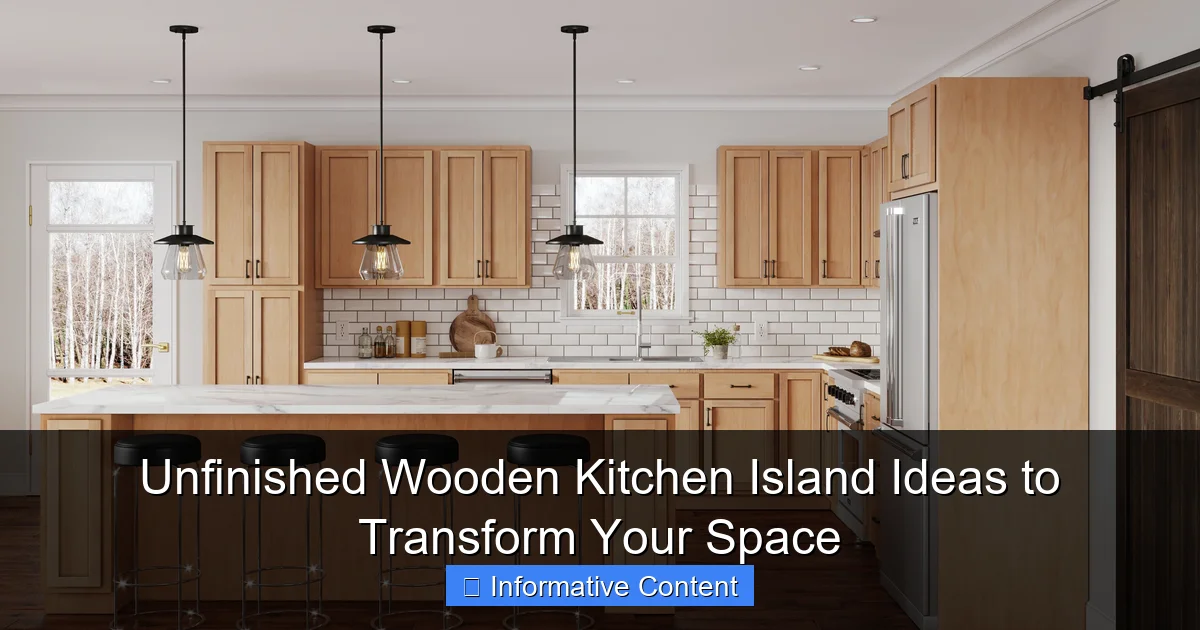
Featured image for unfinished wooden kitchen island
Image source: countrykitchensonline.com
Unfinished wooden kitchen islands offer unmatched versatility, allowing you to customize the design, stain, or paint to match your kitchen’s aesthetic. These raw, natural pieces bring warmth and character to any space, serving as a functional centerpiece that can be tailored to fit both modern and rustic styles. Transform your kitchen with a DIY-friendly island that grows with your evolving taste.
Key Takeaways
- Customize easily: Unfinished wood lets you stain or paint to match any decor.
- DIY-friendly: Simple to assemble and modify for personalized kitchen layouts.
- Cost-effective: Often cheaper than pre-finished islands, saving you money.
- Eco-conscious choice: Opt for sustainable wood types to reduce environmental impact.
- Add character: Natural wood grain enhances warmth and rustic charm effortlessly.
- Prep properly: Sand and seal to protect against moisture and daily wear.
📑 Table of Contents
Why Choose an Unfinished Wooden Kitchen Island?
Imagine walking into your kitchen and seeing a centerpiece that feels both inviting and full of possibility. That’s the magic of an unfinished wooden kitchen island. Unlike pre-finished models, unfinished islands come without paint or stain, letting you customize them to match your style, needs, and even your evolving tastes. Whether you’re a DIY enthusiast or someone who loves the idea of a personalized touch, this piece can transform your space from functional to fantastic.
An unfinished wooden kitchen island isn’t just about looks. It’s a practical choice too. Wood is durable, timeless, and can be sanded and refinished for years of use. Plus, by starting with an unfinished surface, you avoid the chemical odors and off-gassing that come with pre-applied finishes. This makes it a healthier choice for homes with kids, pets, or anyone sensitive to strong smells. And let’s be honest—there’s something deeply satisfying about creating a piece of furniture that’s truly yours, down to the last brushstroke.
The Freedom of Customization
One of the biggest perks of an unfinished wooden kitchen island is the freedom to make it your own. Want a rustic farmhouse vibe? Sand the edges lightly and use a whitewash stain. Prefer a sleek, modern look? A dark espresso finish with clean lines will do the trick. You can even experiment with techniques like distressing, whitewashing, or adding a pop of color with chalk paint. The options are endless, and you’re in control.
For example, a friend of mine recently bought an unfinished island and decided to paint the base navy blue while leaving the countertop raw and sealed with a food-safe oil. The result? A bold yet warm statement that tied her kitchen together. It’s a great example of how an unfinished island can become a canvas for your creativity.
Cost-Effective and Eco-Friendly
Unfinished wooden kitchen islands are often more affordable than their pre-finished counterparts. Why? Because you’re not paying for the labor and materials involved in the finishing process. That means more budget for high-quality wood or extra features like drawers, shelves, or a built-in sink. Plus, if you already have paint or stain on hand, you can save even more.
From an environmental standpoint, unfinished wood is a win too. Many are made from sustainably sourced hardwoods like birch, oak, or maple. And since you’re finishing it yourself, you can choose eco-friendly products like low-VOC stains or natural oils. It’s a small but meaningful way to reduce your carbon footprint while upgrading your home.
Popular Wood Types for Unfinished Kitchen Islands
Not all wood is created equal, and the type you choose for your unfinished kitchen island will impact its durability, appearance, and how easy it is to work with. Here’s a rundown of the most popular options:
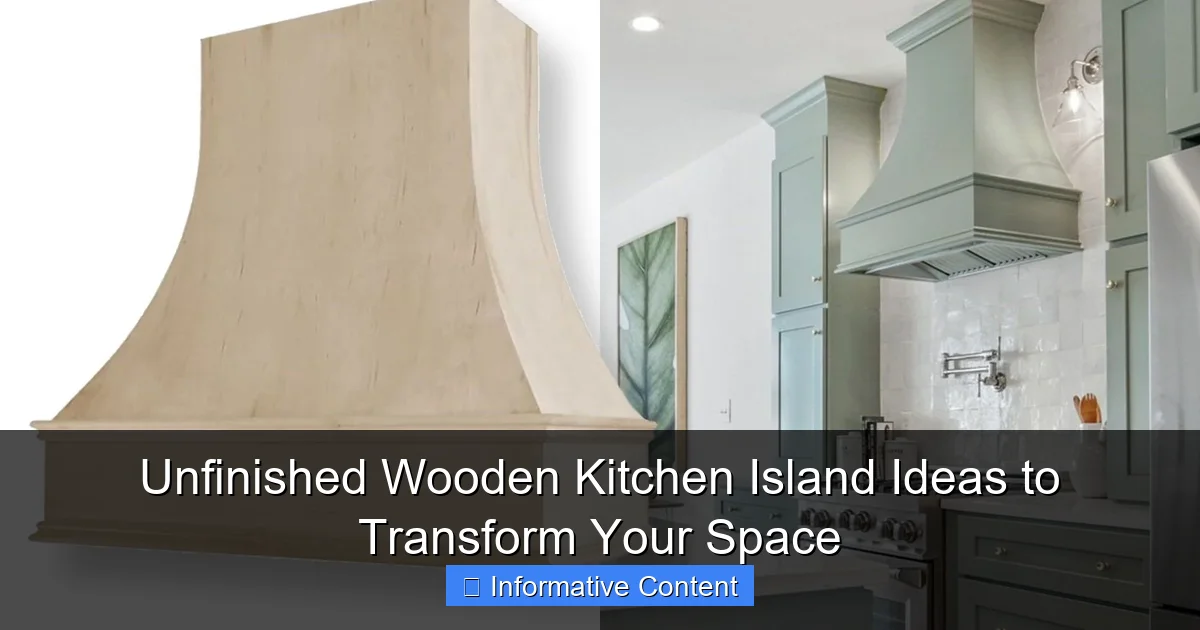
Visual guide about unfinished wooden kitchen island
Image source: i.pinimg.com
Birch: Affordable and Versatile
Birch is a go-to for many DIYers because it’s affordable, easy to stain, and has a smooth, uniform grain. It’s a soft hardwood, which means it’s not as scratch-resistant as oak but still holds up well in kitchens. Birch takes paint beautifully, so it’s perfect if you want a solid color finish. Just keep in mind that it can show dents if you’re not careful with heavy pots or pans.
Pro tip: If you’re staining birch, use a pre-stain wood conditioner to avoid blotchiness. It’s a small step that makes a big difference in the final look.
Oak: Durable and Timeless
Oak is a classic choice for kitchen islands because it’s incredibly durable and ages gracefully. It has a prominent grain pattern that adds character, especially when stained with warm tones like honey or walnut. Red oak is slightly softer than white oak, but both are excellent choices for high-traffic kitchens.
One thing to note: oak can be a bit pricier than birch, but its longevity makes it worth the investment. If you’re planning to keep your island for decades, oak is a solid pick.
Maple: Smooth and Resilient
Maple is another durable option, with a tight, even grain that’s perfect for a modern or minimalist look. It’s harder than oak, which means it’s more resistant to scratches and dents. However, its dense structure can make it harder to stain evenly. If you’re painting your island, maple is a dream—smooth, consistent, and easy to work with.
A reader once shared how she used maple for her island and painted it in a soft gray. The result was a clean, airy feel that made her kitchen feel twice as big. If you’re going for a light, bright aesthetic, maple is a great foundation.
Pine: Budget-Friendly with Character
Pine is the most affordable option on this list, but it comes with some trade-offs. It’s a softwood, so it’s prone to dents and scratches. However, its rustic charm—complete with knots and natural imperfections—makes it a favorite for farmhouse or shabby-chic styles. Pine also stains beautifully, especially in darker shades like espresso or ebony.
Just be prepared to use a wood filler for any major imperfections before finishing. And if you’re planning to use your island as a food prep surface, consider sealing it with a food-safe finish to protect against moisture.
Design Ideas and Customization Tips
An unfinished wooden kitchen island is a blank slate, which means the design possibilities are endless. Here are some ideas and tips to help you create a space that’s both functional and stylish:
Add Storage Without Clutter
One of the biggest challenges with kitchen islands is storage. You want enough space for pots, pans, and pantry items, but you don’t want it to look like a storage locker. The solution? Mix open shelving with closed cabinets.
For example, install two deep drawers on one side for utensils and small appliances, and add open shelves on the other for cookbooks and frequently used items. You can even include a built-in wine rack or spice drawer for extra functionality. Just remember to leave enough countertop space for food prep—aim for at least 30 inches of clear surface.
Create a Focal Point with a Two-Tone Finish
Two-tone islands are having a moment, and for good reason. They add visual interest without overwhelming the space. Try painting the base in a bold color (like deep green or navy) and leaving the countertop unfinished or stained in a natural wood tone. This contrast creates depth and makes your island stand out.
Another idea: stain the legs or base a dark color and paint the rest of the island white. It’s a simple way to add drama without breaking the bank. And if you ever get tired of the look, you can always sand and refinish it.
Integrate a Breakfast Bar or Seating Area
If you have the space, adding a breakfast bar or seating area to your island can make it a true hub of activity. Extend the countertop by 12–18 inches on one side and install bar stools for a casual dining spot. This is especially handy for quick meals, homework, or morning coffee.
For a seamless look, use the same wood for the overhang as the rest of the island. And don’t forget to add footrests—they make a huge difference in comfort. A friend of mine installed a breakfast bar with a 15-inch overhang and loves how it transformed her kitchen into a social space.
Experiment with Shapes and Sizes
Most islands are rectangular, but don’t be afraid to think outside the box. A round island can soften a sharp-edged kitchen, while an L-shaped island maximizes corner space. You can even go for a freestanding table-style island if you prefer a more flexible layout.
Just make sure your island is proportionate to your kitchen. As a general rule, leave at least 36 inches of walking space around it. And if you’re working with a small kitchen, consider a narrow island (18–24 inches deep) with slim legs to keep the space feeling open.
Finishing Techniques and Materials
The way you finish your unfinished wooden kitchen island will determine its durability, appearance, and how easy it is to maintain. Here’s a breakdown of the most popular techniques and materials:
Staining for a Natural Look
Staining enhances the wood’s natural grain while adding color. It’s a great choice if you want to keep the wood’s texture visible. Start by sanding the surface with 120-grit sandpaper, then wipe away the dust with a tack cloth. Apply the stain with a brush or rag, working in the direction of the grain. Let it sit for 5–15 minutes (depending on the desired depth), then wipe off the excess.
Pro tip: Test the stain on a small, hidden area first to make sure you like the color. And always wear gloves—stain is messy!
Painting for a Bold Statement
If you’re going for a solid color, painting is the way to go. Start by sanding the wood and applying a primer (especially if you’re painting over a dark stain or knotty wood). Once the primer is dry, apply two coats of paint, letting each dry completely between coats. For durability, use a semi-gloss or satin finish.
One reader painted her island in a cheerful yellow and paired it with white countertops. The result was a sunny, inviting space that felt totally unique. Don’t be afraid to go bold—your island is a great place to experiment with color.
Sealing for Protection
No matter how you finish your island, sealing is a must. It protects the wood from moisture, stains, and everyday wear. For countertops, use a food-safe finish like mineral oil, beeswax, or polyurethane. For the base, any clear sealant will do.
Apply the sealant in thin, even coats, and sand lightly between each coat for a smooth finish. And don’t forget to reapply the sealant every 6–12 months to keep your island looking fresh.
Maintenance and Longevity
An unfinished wooden kitchen island can last for decades if you take care of it. Here’s how to keep it looking its best:
Daily Care Tips
- Wipe spills immediately with a damp cloth to prevent water damage.
- Use cutting boards and trivets to protect the surface from scratches and heat.
- Avoid harsh cleaners—stick to mild soap and water or a vinegar solution.
Seasonal Maintenance
Every few months, give your island a deep clean. Remove everything from the surface, then clean it with a mild cleaner. Once it’s dry, apply a fresh coat of sealant if needed. This is also a good time to tighten any loose screws or bolts.
Refinishing When Needed
Over time, your island may develop scratches, stains, or a dull finish. Don’t worry—it’s easy to refinish. Start by sanding the surface with 120-grit sandpaper, then wipe away the dust. From there, you can re-stain, repaint, or reseal it to restore its original beauty.
A reader shared how she sanded her island after five years and re-stained it in a darker color. The result was a totally new look, and the island felt like brand new again. It’s a reminder that unfinished wood is incredibly forgiving—and worth the effort.
Comparing Unfinished vs. Pre-Finished Islands
To help you decide if an unfinished wooden kitchen island is right for you, here’s a quick comparison with pre-finished models:
| Feature | Unfinished Wooden Kitchen Island | Pre-Finished Kitchen Island |
|---|---|---|
| Customization | High (paint, stain, or seal to your taste) | Low (limited to available finishes) |
| Cost | Lower (no finishing labor/materials) | Higher (includes finishing costs) |
| DIY Potential | High (great for DIYers) | Low (ready to use, no customization) |
| Durability | High (can be refinished over time) | Medium (may peel or chip with wear) |
| Time Investment | Medium (requires finishing work) | Low (ready to use immediately) |
As you can see, an unfinished wooden kitchen island offers more flexibility and long-term value, especially if you’re willing to put in a little extra time upfront. But if you’re short on time or prefer a no-fuss solution, a pre-finished island might be the better choice.
Final Thoughts: Making the Most of Your Unfinished Island
An unfinished wooden kitchen island isn’t just a piece of furniture—it’s a project, a statement, and a long-term investment in your home. Whether you’re drawn to the customization options, the eco-friendly benefits, or the satisfaction of creating something with your own hands, it’s a choice that pays off in more ways than one.
Start by choosing the right wood for your needs, then experiment with designs and finishes until you find a look that feels right. Don’t be afraid to mix and match techniques—like staining the base and painting the legs—to create a truly unique piece. And remember, your island will evolve with you. As your tastes change or your kitchen gets a refresh, you can always sand and refinish it to match the new vibe.
At the end of the day, an unfinished wooden kitchen island is about more than just function. It’s about creating a space that reflects who you are and how you live. So roll up your sleeves, grab a paintbrush, and make something amazing. Your kitchen—and your family—will thank you.
Frequently Asked Questions
What are the benefits of an unfinished wooden kitchen island?
An unfinished wooden kitchen island offers versatility, allowing you to customize the stain, paint, or finish to match your décor. Its natural wood texture adds warmth and a rustic or modern touch, depending on your design vision.
How do I finish an unfinished wooden kitchen island for my kitchen?
Sand the surface smooth, then apply your choice of wood stain, paint, or sealant. For durability in kitchens, use a water-resistant polyurethane or food-safe mineral oil for a natural look.
Can I add wheels to an unfinished wooden kitchen island?
Yes! Adding casters or wheels is a popular way to make your island mobile for flexible kitchen layouts. Just ensure the hardware is securely mounted to the frame before finishing the wood.
What types of wood are best for an unfinished wooden kitchen island?
Hardwoods like oak, maple, or birch are ideal for durability and grain appeal. Pine is a budget-friendly option but may require extra sealing to prevent scratches.
How do I protect an unfinished wooden kitchen island from water damage?
Apply a waterproof sealant like polyurethane or epoxy resin, especially on countertop surfaces. Reapply the sealant every 6–12 months for long-term protection against spills and humidity.
Can I customize the size of an unfinished wooden kitchen island?
Absolutely! Many suppliers offer modular designs or custom cuts. You can also DIY adjustments before finishing—just measure your space carefully and reinforce joints for stability.