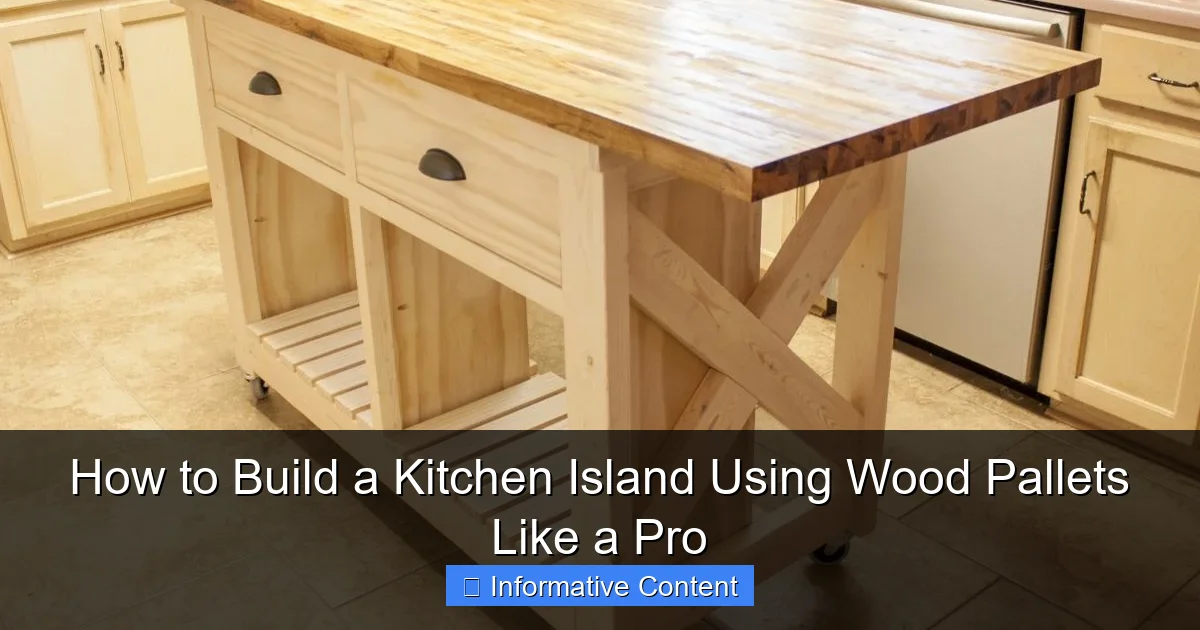
Featured image for utube using wood pallets to make a kitchen island
Image source: cdn.homedit.com
Transform discarded wood pallets into a stunning, budget-friendly kitchen island with this expert DIY guide that walks you through every step—from sanding and sealing to adding wheels and countertops. Perfect for upcycling enthusiasts and homeowners craving extra storage and style, this YouTube-inspired project proves you don’t need a contractor to create a functional, eye-catching centerpiece.
Key Takeaways
- Choose sturdy pallets: Inspect for damage and ensure they’re heat-treated (HT) for safety.
- Plan dimensions first: Measure your kitchen space to avoid overcrowding or awkward fits.
- Sand thoroughly: Remove splinters and rough edges for a smooth, professional finish.
- Reinforce structure: Add cross-bracing or plywood backing to support heavy countertops.
- Seal the wood: Apply food-safe sealant to protect against moisture and stains.
- Add mobility: Install lockable casters for easy repositioning and cleaning access.
📑 Table of Contents
- How to Build a Kitchen Island Using Wood Pallets Like a Pro
- Why Wood Pallets? The Hidden Potential of Reclaimed Wood
- Planning Your Project: From Vision to Blueprint
- Building the Base: Step-by-Step Assembly
- Finishing Touches: Sanding, Staining, and Sealing
- Upgrades and Customizations: Elevate Your Island
- Maintenance and Care: Keeping Your Island Like New
How to Build a Kitchen Island Using Wood Pallets Like a Pro
Let’s be honest—kitchen renovations can feel like a never-ending money pit. You start with a simple idea, like adding more counter space, and before you know it, you’re staring at a $5,000 quote from a contractor. I’ve been there. A few years ago, I moved into a cozy little apartment with a kitchen that felt more like a hallway than a cooking space. I needed a kitchen island, but I also needed to keep my budget in check. That’s when I stumbled upon a solution that felt too good to be true: building a kitchen island using wood pallets.
At first, I was skeptical. Pallets? The same things that sit behind warehouses and get tossed after one use? But after some research and a few YouTube deep dives, I realized that with a little elbow grease and creativity, those humble pallets could be transformed into a functional, stylish island. The best part? I did it for under $200. No contractor, no loans, just me, a few tools, and a dream. Whether you’re a DIY newbie or a seasoned crafter, this project is more accessible than you think. And the best part? You don’t need a fancy workshop or a truckload of materials. Just some reclaimed wood, a vision, and the willingness to get your hands dirty.
Why Wood Pallets? The Hidden Potential of Reclaimed Wood
Before we dive into the how, let’s talk about the why. Why use wood pallets instead of buying pre-made cabinets or hiring a professional? The answer is simple: affordability, sustainability, and creativity.
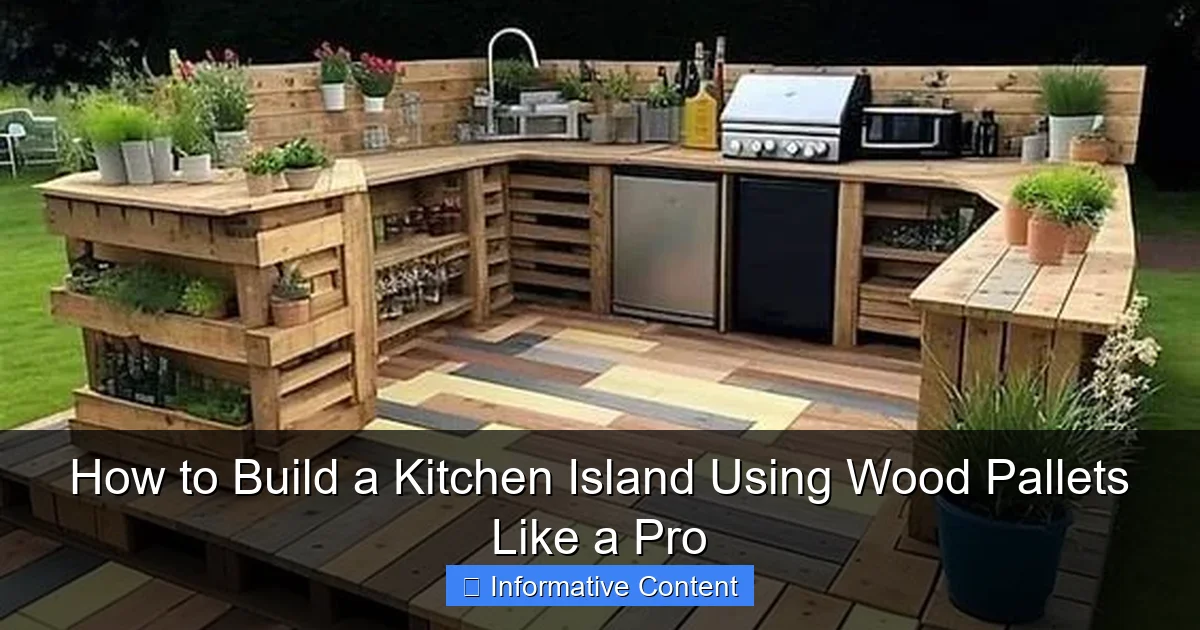
Visual guide about utube using wood pallets to make a kitchen island
Image source: howtomakediys.com
Affordability: Save Hundreds (Even Thousands)
Pre-made kitchen islands can easily cost $1,000 or more, depending on size and materials. Even basic DIY kits from big-box stores start around $300. But with pallets, you can source the base for free (or nearly free). Many local businesses, farms, or shipping companies give away pallets they can’t reuse. A quick Google search for “free pallets near me” often yields surprising results. I once scored 10 high-quality pallets from a nearby furniture store—just for asking nicely. The only costs? A few screws, sandpaper, and a quart of paint.
Sustainability: Reduce Waste, Not Quality
Pallets are often made from sturdy hardwoods like oak or maple, designed to carry heavy loads. When you repurpose them, you’re keeping usable wood out of landfills. Plus, reclaimed wood has a character that new lumber just can’t match—knots, grain patterns, and subtle imperfections that add charm. It’s a win-win: you get a durable island while reducing your environmental footprint. According to the EPA, over 500 million pallets are discarded annually in the U.S. alone. By using just a few, you’re making a small but meaningful impact.
Customization: Make It Your Own
Store-bought islands come in standard sizes and finishes. With pallets, you’re the designer. Want a rustic farmhouse look? Sand lightly and seal with wax. Prefer sleek and modern? Paint it matte black or white. Need extra storage? Add shelves, drawers, or even a wine rack. The possibilities are endless. I once added a fold-down breakfast bar to my island by attaching a reclaimed door—something I never could’ve found in a catalog.
Planning Your Project: From Vision to Blueprint
Now that you’re sold on the idea, let’s get practical. A successful build starts with planning. Skipping this step is like trying to assemble IKEA furniture without the instructions—frustrating and likely to end in disaster.
Step 1: Measure Your Space
Grab a tape measure and note your kitchen’s dimensions. The island should leave at least 36–42 inches of clearance on all sides for walking and opening cabinets. For example, in my 10×12-foot kitchen, I aimed for an island no wider than 36 inches to avoid feeling cramped. Also, consider height: standard kitchen counters are 36 inches tall, so your island should match (or be slightly taller if you plan to use stools).
Step 2: Sketch a Design
Don’t worry—you don’t need to be an architect. A simple sketch on paper (or using free tools like SketchUp Free) helps visualize your island. Decide on:
- Shape: Rectangular, L-shaped, or with a cutout for seating?
- Features: Open shelves, closed cabinets, a built-in trash can, or a butcher block top?
- Mobility: Will it have casters for easy movement?
I started with a basic rectangle (36”x48”) with open shelving below and a reclaimed butcher block top. Later, I added a pull-out drawer for spices—a game-changer for small kitchens.
Step 3: Source Your Pallets
Not all pallets are created equal. Look for:
- Heat-treated (HT) marks: Avoid pallets stamped with “MB” (methyl bromide), a toxic pesticide. “HT” means they’re safe for indoor use.
- Condition: Choose pallets with minimal cracks, warping, or rot. Avoid those with nails sticking out.
- Size: Standard pallets are 48”x40”, but smaller “half-pallets” (40”x20”) work for compact spaces.
Pro tip: Ask for pallets that were used for non-chemical goods (e.g., produce, furniture) to minimize contamination risk.
Building the Base: Step-by-Step Assembly
Time to roll up your sleeves! This is where the magic happens. The base is the foundation of your island, so take your time.
Disassembling the Pallets
Most pallets are nailed together, not glued. Use a pry bar and hammer to gently remove boards. Start at the edges and work inward. Save the thick “stringers” (the vertical supports) for the island’s frame. You’ll need about 8–10 boards per side, depending on your design. I used a reciprocating saw for stubborn nails—just be careful not to damage the wood.
Constructing the Frame
For a sturdy base:
- Cut the boards: Use a circular saw or handsaw to trim boards to your desired dimensions. I cut mine to 36”x48” for a 3-foot by 4-foot island.
- Build a rectangle: Lay two long boards parallel, then attach shorter boards at the ends with 2.5-inch wood screws. Pre-drill holes to avoid splitting.
- Add vertical supports: Screw the stringers from the pallets vertically to the frame every 16 inches. These will hold the shelves and top.
- Reinforce with cross-braces: For extra stability, add diagonal braces in the corners. I used scrap wood and pocket-hole screws.
Tip: If you’re not confident with power tools, a hand saw and a hammer with nails work fine—it just takes longer.
Adding Shelves and Storage
Shelves are where you can get creative. I used leftover pallet boards cut to size, but you can also use plywood for a smoother finish. Attach shelves with:
- Wood cleats: Screw horizontal strips to the frame, then rest the shelf on them.
- Adjustable shelf pins: For flexibility (e.g., to fit a trash can or wine rack).
For closed storage, add doors using thin pallet boards or a salvaged cabinet door. I used magnetic latches for easy access.
Finishing Touches: Sanding, Staining, and Sealing
Now comes the fun part—making your island look polished and professional. A good finish protects the wood and ties your kitchen together.
Sanding: The Key to a Smooth Surface
Pallets are rough by nature. Sand thoroughly with 80-grit sandpaper to remove splinters, then progress to 120-grit for smoothness. Pay extra attention to corners and edges. I spent about an hour sanding my entire island—it’s tedious but worth it. Pro tip: Use a sanding block or orbital sander for flat surfaces, and a sanding sponge for curves.
Choosing a Finish: Paint, Stain, or Natural?
Your finish depends on your style:
- Paint: Best for a bold, modern look. Use chalk paint for a matte finish or latex for durability. I painted my island white with a blue-gray base for a coastal vibe.
- Stain: Highlights the wood’s grain. Test on a scrap first—some pallets have uneven coloration. I used a dark walnut stain on my butcher block top.
- Natural: Seal with polyurethane, tung oil, or beeswax for a rustic, unfinished look. Ideal for farmhouse or industrial styles.
Always apply finishes in a well-ventilated area and follow the manufacturer’s instructions. I used a foam brush for paint and a lint-free cloth for stain to avoid streaks.
Adding the Countertop
The countertop is the star of your island. Options include:
- Butcher block: Warm and durable. Seal with food-safe mineral oil.
- Reclaimed wood: Cut a thick pallet board to size and finish with epoxy for a glossy look.
- Stone or tile: For a high-end feel (though heavier and more expensive).
I chose a pre-made butcher block from a local lumberyard (about $100) for ease, but you can DIY one by gluing boards together with wood glue and clamps. Attach it to the base with screws from underneath, leaving a 1/4-inch overhang for a clean look.
Upgrades and Customizations: Elevate Your Island
Once the basics are done, it’s time to level up. These add-ons make your island functional and fun.
Mobility: Casters for Easy Movement
Want to rearrange your kitchen? Add locking casters to the base. I used 2-inch rubber wheels (about $20 for a set of four) to protect my floors. Attach them with screws, then test the weight—your island should roll smoothly but stay put when locked.
Lighting: Under-Cabinet LEDs
Under-cabinet lighting adds ambiance and task lighting. I installed battery-powered LED strips (no wiring needed) under my shelves. They’re bright enough for prep work and create a cozy glow at night. Pro tip: Use warm white (2700K) bulbs for a welcoming feel.
Extra Features: Pull-Outs, Towel Racks, and More
Think about daily use:
- Pull-out trash can: Mount a small bin on drawer slides for easy access.
- Wine rack: Cut a groove in a shelf or add a metal rack.
- Towel bar: Attach a reclaimed pipe or wooden dowel.
- Power strip: For blenders, toasters, or charging phones.
I added a fold-down breakfast bar using a reclaimed door and piano hinge—perfect for my tiny kitchen.
Maintenance and Care: Keeping Your Island Like New
A well-built island can last decades, but it needs care. Here’s how to keep it looking great.
Daily Cleaning
Wipe down surfaces with a damp cloth and mild soap. For spills, dry immediately to prevent warping. I keep a microfiber cloth and a small spray bottle of vinegar-water solution under my island for quick cleanups.
Refinishing
Every 1–2 years, lightly sand high-touch areas (like the countertop) and reapply finish. Butcher block needs re-oiling every 3–6 months. If the paint chips, touch it up with matching paint.
Repairs
Pallets are durable, but accidents happen. Fix loose screws, tighten hinges, and replace damaged boards as needed. I once dropped a cast-iron pan on my countertop, leaving a dent—I steamed it out with a wet cloth and iron, then resealed it. No one noticed!
| Task | Frequency | Tools Needed |
|---|---|---|
| Wipe down surfaces | Daily | Microfiber cloth, mild soap |
| Re-oil butcher block | Every 3–6 months | Food-safe mineral oil, cloth |
| Check and tighten screws | Every 6 months | Screwdriver |
| Deep clean shelves | Annually | Mild cleaner, vacuum |
Building a kitchen island using wood pallets isn’t just a DIY project—it’s a statement. It says you value creativity, sustainability, and smart design. When I look at my island now, I don’t just see a piece of furniture. I see the hours I spent sanding, the paint I mixed to get the perfect color, and the pride of knowing I built something functional and beautiful with my own hands. And the best part? It cost a fraction of what a store-bought island would.
Of course, it’s not perfect. The shelves aren’t perfectly level, and I had to tweak the casters twice. But those “flaws” are part of what makes it mine. If you’re on the fence about trying this, just start small. Disassemble one pallet. Sand a board. Paint a corner. You’ll be amazed at how quickly the pieces come together. And when your friends ask, “Where did you get that island?” you’ll smile and say, “I made it.” That’s a feeling no store-bought product can give you.
Frequently Asked Questions
Can I really build a kitchen island using wood pallets?
Yes, you can build a sturdy and stylish kitchen island using wood pallets with proper sanding, sealing, and reinforcement. This budget-friendly DIY project repurposes pallets into a functional centerpiece with added storage and counter space.
How do I prepare wood pallets for a kitchen island?
Start by thoroughly cleaning the pallets, then sand all surfaces to remove splinters and rough spots. Treat the wood with a food-safe sealant or outdoor-grade varnish to protect against moisture and wear, especially if using in a kitchen environment.
What tools do I need to build a kitchen island using wood pallets?
Basic tools include a drill, saw, sander, measuring tape, clamps, and wood screws. You may also need a level, wood glue, and casters (if you want mobility) to assemble and customize your wood pallet kitchen island efficiently.
How can I make my wood pallet kitchen island stable and safe?
Reinforce the pallets by adding plywood backing or cross-bracing underneath. Attach the island securely to the floor or wall if stationary, or use locking casters for a mobile version to prevent tipping during use.
Can I customize the design of my wood pallet kitchen island?
Absolutely! Add shelves, drawers, or a butcher block top for functionality. Paint or stain the pallets to match your kitchen décor, and incorporate hooks, towel bars, or even a wine rack for a personalized touch.
Is a wood pallet kitchen island durable for daily use?
When properly constructed and sealed, a wood pallet kitchen island can withstand daily wear and tear. Opt for hardwood pallets (like oak) and apply multiple coats of protective finish to enhance longevity and resistance to spills.