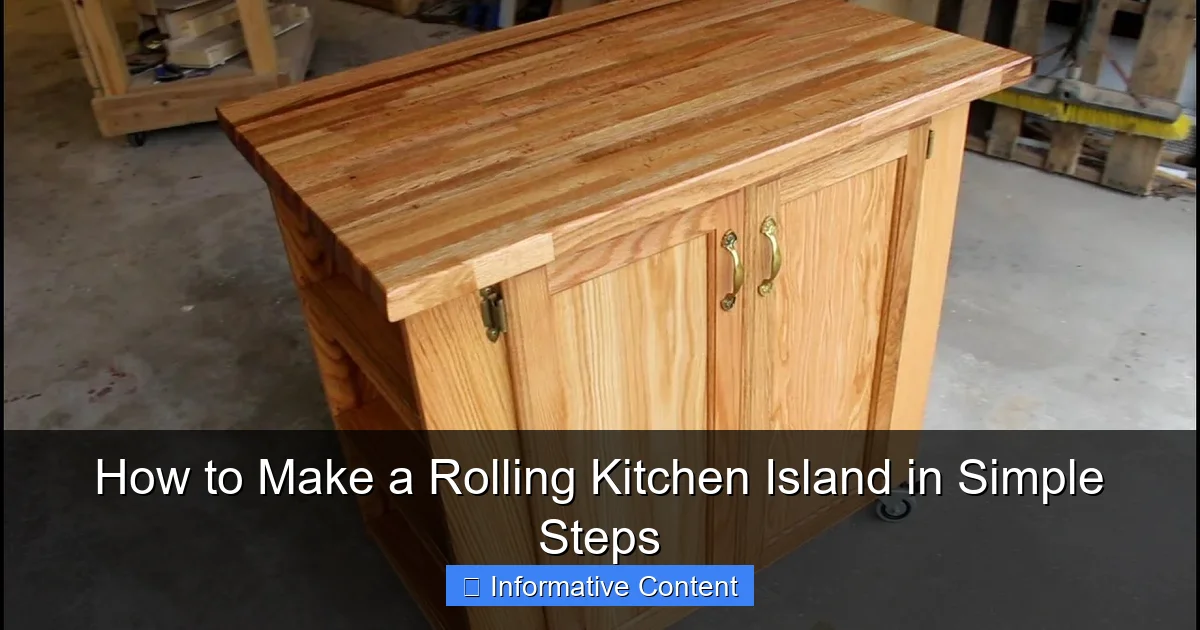
Featured image for how to make a rolling kitchen island
Image source: i.ytimg.com
Transform your kitchen with a custom rolling island by building a sturdy base from plywood, attaching locking casters for mobility, and adding butcher block or granite for a premium finish. With basic tools and simple steps—measuring, cutting, sanding, and assembling—you can create a functional, space-saving centerpiece that doubles as prep space, storage, and a breakfast bar in minutes.
Key Takeaways
- Plan dimensions carefully: Measure your space to ensure optimal mobility and utility.
- Use quality casters: Install locking wheels for stability and smooth movement.
- Choose durable materials: Opt for hardwood or plywood for long-lasting structure.
- Pre-drill all holes: Prevent wood splitting and ensure precise assembly.
- Add functional storage: Include shelves, hooks, or drawers for maximum efficiency.
- Finish with food-safe sealant: Protect surfaces while maintaining safety for kitchen use.
📑 Table of Contents
- How to Make a Rolling Kitchen Island in Simple Steps
- 1. Planning Your Rolling Kitchen Island: Start with the Right Vision
- 2. Gathering Materials and Tools: What You’ll Need
- 3. Building the Frame and Structure
- 4. Attaching the Countertop and Wheels
- 5. Adding Storage and Finishing Touches
- 6. Maintenance and Long-Term Care
- Final Thoughts: Your Rolling Kitchen Island, Built for Real Life
How to Make a Rolling Kitchen Island in Simple Steps
Let’s be honest—kitchen space is precious. Whether you live in a cozy apartment or a spacious home, there never seems to be enough countertop real estate. I remember the days when I’d cook a simple meal and end up with ingredients, utensils, and appliances scattered across every available surface. It wasn’t just messy; it was stressful. That’s when I started thinking: What if I could create a kitchen island that moves with me? Not one of those bulky, permanent islands, but something lightweight, functional, and on wheels. Something that could double as extra prep space, storage, and even a breakfast bar when needed. That’s how I discovered the magic of the rolling kitchen island.
If you’ve ever felt cramped in your kitchen or wished for more flexibility during cooking, a rolling kitchen island might be your solution. It’s not just about adding space—it’s about adding freedom. You can push it aside when you need room to dance (yes, I’ve done that), tuck it against a wall when not in use, or roll it into the living room for a dinner party. The best part? You don’t need to be a master carpenter to build one. With basic tools, a weekend of work, and a little creativity, you can craft a custom island that fits your kitchen, your style, and your budget. In this guide, I’ll walk you through how to make a rolling kitchen island in simple steps, sharing the lessons I’ve learned along the way—what worked, what didn’t, and how to avoid the common pitfalls.
1. Planning Your Rolling Kitchen Island: Start with the Right Vision
Before you even pick up a saw, take a breath. Planning is where most DIY projects succeed or fail. A rolling kitchen island isn’t just a piece of furniture—it’s a functional tool that should enhance your daily routine. So, let’s start by asking the right questions.
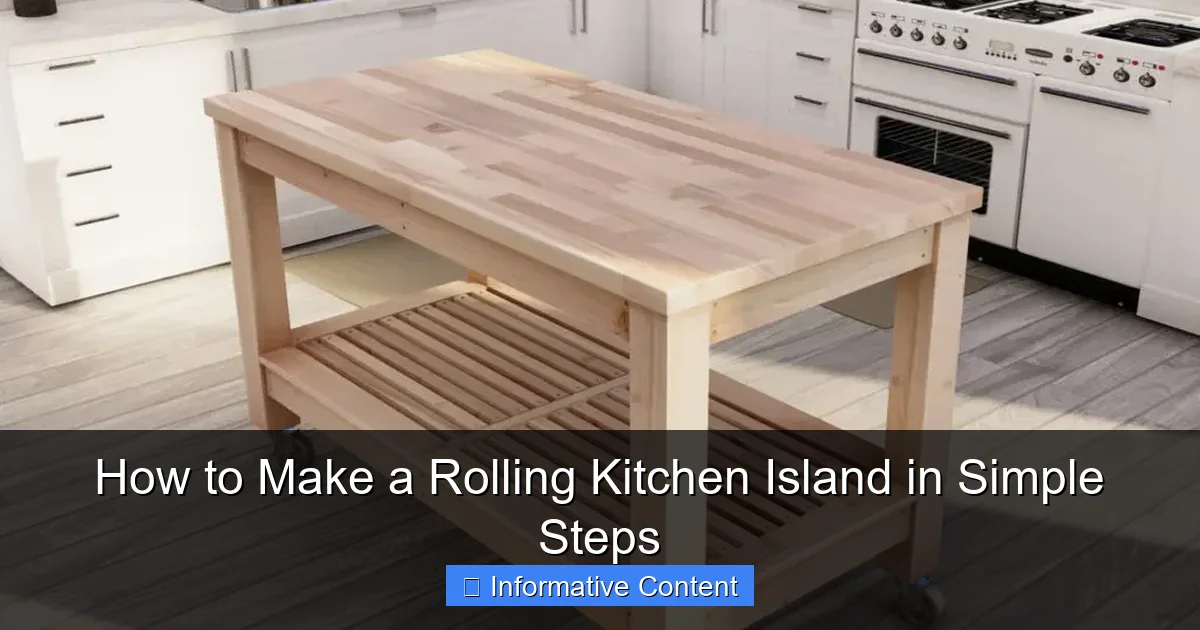
Visual guide about how to make a rolling kitchen island
Image source: gooddiyplans.com
Measure Your Kitchen and Define Your Needs
First, measure your kitchen. How much floor space do you have? Is there a spot near your stove or sink where the island would be most useful? Think about your workflow. Do you need more prep space? Extra storage for pots and pans? A place to sit with coffee in the morning?
For example, in my small galley kitchen, I needed something narrow (no more than 24 inches deep) that could slide between the counter and the refrigerator. I also wanted a drop-leaf countertop so I could expand the surface when cooking and fold it down when not in use. Your needs might differ—maybe you want open shelving for cookbooks or a built-in wine rack. Write down your must-haves and nice-to-haves.
Choose the Right Size and Height
Standard kitchen counter height is 36 inches, and that’s what I recommend for your island. It matches most counters and works well for prep and dining. But if you’re tall or short, consider adjusting it slightly—maybe 34 or 38 inches—for comfort.
As for size, keep it proportional. A 36-inch-wide island works well in most kitchens, but if you have more space, go up to 48 or even 60 inches. Just remember: you need at least 36 inches of clearance around the island for safe movement. Measure twice, plan once.
Decide on Features and Style
Now, think about features. Do you want:
- Storage: Cabinets, drawers, open shelves, or a combination?
- Countertop material: Butcher block, granite, laminate, or stainless steel?
- Mobility: Locking casters for stability, or swivel wheels for easy turning?
- Additional elements: Hooks for towels, a towel bar, or a built-in knife block?
Style matters too. Are you going for farmhouse charm, modern minimalism, or industrial edge? I chose a rustic wood look with black iron casters to match my kitchen’s farmhouse theme. You might prefer sleek white laminate with chrome wheels. Sketch your idea or use free design tools like SketchUp or Canva to visualize it.
2. Gathering Materials and Tools: What You’ll Need
Now that you have a vision, it’s time to gather your supplies. Don’t worry—you don’t need a full workshop. Most of these materials are available at your local hardware store, and the tools are basic.
Essential Materials
- Wood: For the frame and shelves, I recommend 3/4-inch plywood or solid pine boards. For a rustic look, reclaimed wood adds charm (but check for nails and splinters).
- Countertop: Butcher block is affordable and beautiful. You can buy pre-made slabs or make your own from glued boards. For durability, consider quartz or granite (but it’s heavier and pricier).
- Wheels (casters): Get four heavy-duty locking casters (at least 2-inch diameter). I used 3-inch swivel casters with brakes—they support up to 150 lbs each, perfect for a loaded island.
- Hardware: Wood screws (2.5-inch and 1.25-inch), wood glue, sandpaper (80, 120, and 220 grit), and finish (stain, paint, or polyurethane).
- Optional: Drawer slides, cabinet hinges, shelf pins, and decorative trim.
Tools You’ll Need
- Circular saw or table saw (for cutting wood)
- Drill/driver with drill bits
- Measuring tape, square, and pencil
- Clamps (to hold pieces together while drying)
- Random orbital sander (or sandpaper by hand)
- Paintbrushes or foam rollers (for finishing)
- Safety gear (gloves, goggles, mask)
Pro tip: Rent tools if you don’t own them. Many hardware stores offer daily rentals for saws and sanders. I borrowed a table saw for $20—saved me from buying one I’d only use twice.
Estimated Cost Breakdown (Example)
Here’s a sample cost for a 36-inch-wide island with butcher block top:
| Item | Quantity | Estimated Cost |
|---|---|---|
| Butcher block countertop (36″ x 24″) | 1 | $60–$120 |
| 3/4″ Plywood (4′ x 8′) | 1 sheet | $30–$50 |
| Locking casters (3″ swivel) | 4 | $25–$40 |
| Wood screws and glue | 1 pack | $10 |
| Sandpaper and finish | Assorted | $20 |
| Total | $145–$240 |
You can go cheaper with laminate countertops or reclaimed wood, or splurge on custom finishes. But this range gives you a solid, functional island without breaking the bank.
3. Building the Frame and Structure
Now comes the fun part—building! I’ll walk you through constructing the frame, shelves, and base. This is where your island starts to take shape.
Step 1: Cut the Frame Pieces
Based on your design, cut the following from 3/4-inch plywood:
- Two side panels (36″ high x 24″ deep)
- One back panel (36″ high x 36″ wide)
- One top support rail (36″ wide x 3″ high)
- One bottom support rail (36″ wide x 3″ high)
- Two shelves (optional, 34.5″ wide x 22.5″ deep)
Note: The shelves are 1.5 inches shorter than the side panels to allow for the frame. Use a square to mark straight cuts, and clamp the wood securely before cutting.
Step 2: Assemble the Frame
1. Lay the two side panels flat on the floor, parallel to each other.
2. Attach the top and bottom rails between them using wood glue and 2.5-inch screws. Pre-drill holes to prevent splitting.
3. Stand the frame upright and attach the back panel with screws along the edges. This adds stability and hides the inner structure.
4. If adding shelves, mark shelf positions (e.g., 12″ and 24″ from the bottom), drill pilot holes, and insert shelf pins. Slide the shelves in and secure with screws through the sides.
Pro tip: Use clamps to hold pieces in place while screwing. It keeps everything square and reduces wobbling.
Step 3: Sand and Finish the Frame
Sand all edges and surfaces with 80-grit sandpaper, then 120, and finally 220. This removes splinters and creates a smooth surface. Wipe away dust with a damp cloth. Apply your chosen finish—stain, paint, or polyurethane. I used a light oak stain with two coats of water-based polyurethane for durability. Let it dry fully (24 hours) before moving to the next step.
4. Attaching the Countertop and Wheels
The countertop and wheels are what make your island functional and mobile. Let’s get them installed right.
Step 1: Secure the Countertop
1. Place the countertop on a flat surface, upside down.
2. Position the frame on top, centered. The countertop should overhang evenly on all sides (e.g., 1–2 inches).
3. Drill pilot holes through the frame’s top rail into the countertop’s underside.
4. Screw the frame to the countertop using 1.25-inch screws. Don’t over-tighten—you don’t want to crack the wood.
Pro tip: If using a heavy countertop (like granite), add a center support beam under the top rail to prevent sagging.
Step 2: Install the Wheels
1. Flip the island upside down (use scrap wood or foam to protect the countertop).
2. Position the casters at each corner, about 2–3 inches from the edges.
3. Mark the screw holes and drill pilot holes.
4. Attach the casters with the provided screws. Make sure they’re tight and level.
Critical note: Always use locking casters. I learned this the hard way when my island rolled mid-stir-fry, sending a pot of soup flying. Locking wheels keep it steady when you’re chopping or serving.
Step 3: Test Mobility and Stability
Roll the island around. Does it move smoothly? Does it wobble? If it wobbles, check that the casters are even and the frame is square. You can shim one caster with a thin wood piece if needed.
5. Adding Storage and Finishing Touches
Now it’s time to make your island truly yours. This is where you add personality and functionality.
Install Drawers or Cabinet Doors (Optional)
If you want enclosed storage:
- Build simple drawer boxes from 1/2-inch plywood and attach full-extension slides.
- For cabinet doors, use 3/4-inch boards cut to size, attach with hinges, and add magnetic catches.
- Install a towel bar or hooks on the side for quick access.
I added two drawers for utensils and a towel hook. The drawers slide smoothly, and the towel is always within reach.
Seal and Protect the Countertop
Butcher block needs regular oiling. Apply food-grade mineral oil every 4–6 weeks to prevent drying and cracking. For laminate or stone, use a non-abrasive cleaner.
Add Decorative Elements
Personalize your island:
- Paint the frame a bold color (I chose navy blue for contrast).
- Add trim or molding for a polished look.
- Install a drop leaf with hinges for expandable space.
- Use peel-and-stick backsplash tiles on the front panel for a kitchen feel.
Pro tip: If you have kids, round the countertop corners with a router or sand them smooth to prevent injuries.
6. Maintenance and Long-Term Care
Your rolling kitchen island is built to last, but a little care goes a long way.
Regular Cleaning
Wipe the countertop daily with a damp cloth and mild soap. Avoid abrasive cleaners on wood or stone. Clean the casters monthly with a brush to remove debris—this keeps them rolling smoothly.
Reapply Finish as Needed
Wood countertops and frames may need re-staining or re-sealing every 1–2 years, depending on use. Check for scratches or dull spots.
Check Casters and Hardware
Every few months, inspect the casters for wear and tighten any loose screws. Replace casters if they start to squeak or wobble.
Real-life example: After six months, my casters started making a clicking noise. I discovered one screw had loosened. A quick tighten, and it was as good as new.
Final Thoughts: Your Rolling Kitchen Island, Built for Real Life
Building a rolling kitchen island isn’t just about saving money or adding storage—it’s about creating a space that works for you. I’ve used mine for everything from chopping vegetables to hosting brunch, and it’s never let me down. It’s sturdy, stylish, and—most importantly—flexible.
Remember, the key to a successful project is patience. Don’t rush the sanding or finishing. Take time to test each step. And if something doesn’t fit perfectly? That’s okay. DIY is about learning, not perfection. I had to re-cut one shelf because I measured wrong, but it taught me to double-check my work.
Whether you’re a first-time builder or a seasoned DIYer, a rolling kitchen island is a rewarding project. It’s practical, customizable, and adds value to your home. Plus, there’s nothing like the pride of saying, “I made that.”
So, grab your tools, follow these steps, and start building. Your dream kitchen is just a weekend away. And who knows? You might just find yourself dancing in the kitchen again—this time with plenty of space to move.
Frequently Asked Questions
What materials do I need to make a rolling kitchen island?
You’ll need plywood or solid wood for the countertop and frame, casters (wheels) for mobility, screws, wood glue, sandpaper, and paint or stain. For a sturdy build, opt for locking casters and moisture-resistant materials if near sinks.
How do I ensure my DIY rolling kitchen island is stable?
Use thick lumber (like 2x4s) for the frame and reinforce joints with wood glue and screws. Add cross braces or a lower shelf to prevent wobbling, especially if using taller legs or heavy countertops.
Can I customize the size of my rolling kitchen island?
Absolutely! Measure your kitchen space first, then adjust the dimensions of your island’s frame and countertop. A standard height is 36 inches, but tailor it to your needs for seating or storage.
How do I attach wheels to a rolling kitchen island safely?
Pre-drill holes and secure heavy-duty casters to each leg or corner of the base frame. Ensure wheels are rated for the island’s weight and use locking casters to keep it stationary when needed.
What’s the best way to finish a rolling kitchen island for durability?
Sand all surfaces smooth, then apply a food-safe sealant (like polyurethane) to protect the wood from spills. For a polished look, paint or stain before sealing—especially important for a rolling kitchen island exposed to daily wear.
How can I add storage to my rolling kitchen island?
Install shelves, hooks, or pull-out drawers beneath the countertop. Open shelving works for baskets or cookware, while closed cabinets hide clutter—just balance weight to avoid tipping when moving the island.