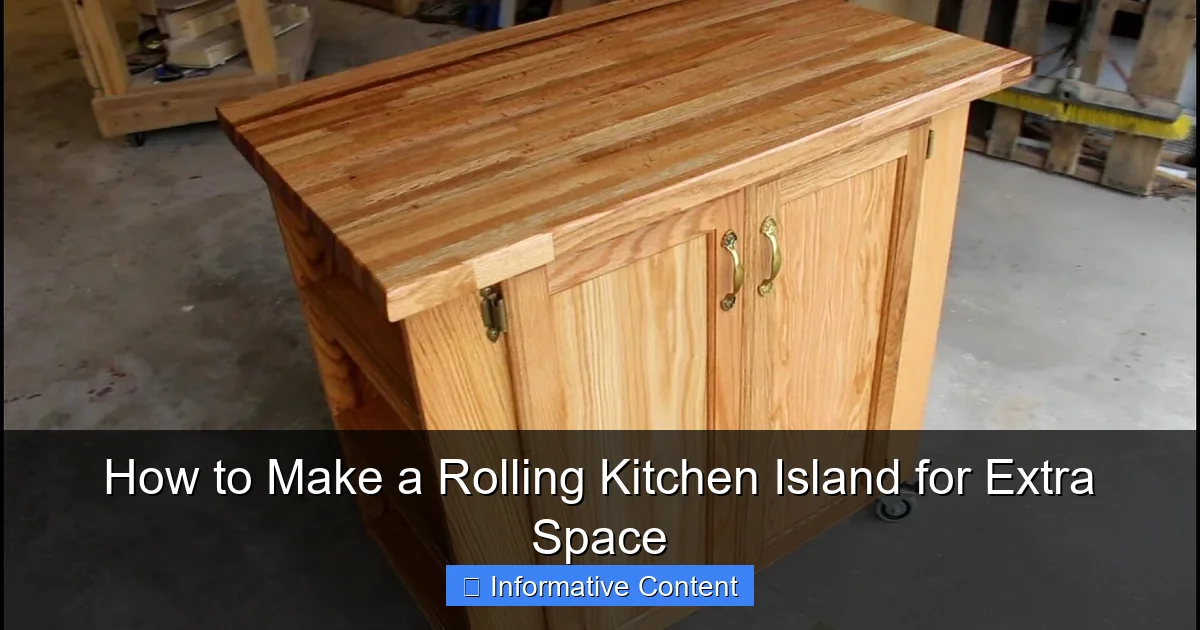
Featured image for make a rolling kitchen island
Image source: i.ytimg.com
Maximize your kitchen space with a custom rolling kitchen island that combines mobility, storage, and style—perfect for small or evolving layouts. Build it yourself using simple materials like casters, plywood, and butcher block to create a functional, budget-friendly centerpiece that rolls wherever you need prep space or extra seating.
Key Takeaways
- Measure your space: Ensure the island fits and rolls easily in your kitchen layout.
- Choose sturdy materials: Use solid wood or metal for durability and long-term use.
- Add locking casters: Prevent unwanted movement with high-quality, lockable wheels.
- Include storage solutions: Maximize utility with shelves, hooks, or drawers for organization.
- Match your kitchen style: Customize finishes and design to blend seamlessly with decor.
- Pre-drill screw holes: Avoid splitting wood and ensure a professional, secure assembly.
📑 Table of Contents
- Why a Rolling Kitchen Island Could Be Your Best Upgrade Yet
- Planning Your Rolling Kitchen Island: Start With the Basics
- Tools and Materials You’ll Need
- Step-by-Step Assembly Guide
- Customizing Your Island for Maximum Functionality
- Common Mistakes to Avoid (And How to Fix Them)
- Final Thoughts: Your Rolling Kitchen Island Awaits
Why a Rolling Kitchen Island Could Be Your Best Upgrade Yet
Let’s be honest—kitchen space is a hot commodity. Whether you’re whipping up a five-course meal or just trying to find room for your morning coffee maker, every inch counts. I remember the first time I realized my kitchen was too small for my needs. I was hosting a small dinner party, and the counter was cluttered with ingredients, utensils, and half-chopped veggies. My guests were tripping over each other just to grab a drink. It was chaotic, and I knew I needed a better solution.
That’s when I discovered the magic of a rolling kitchen island. Not only did it give me extra prep space, but I could also move it around depending on the task. Need more room near the stove? Roll it there. Want to use it as a breakfast bar? Move it to the dining area. The flexibility was a game-changer. And the best part? You don’t need to be a DIY expert to make one. With the right materials, tools, and a little patience, you can build a functional, stylish island that fits your kitchen perfectly.
Planning Your Rolling Kitchen Island: Start With the Basics
Assess Your Kitchen’s Needs and Layout
Before you start cutting wood or ordering casters, take a step back and think about how you use your kitchen. Ask yourself:
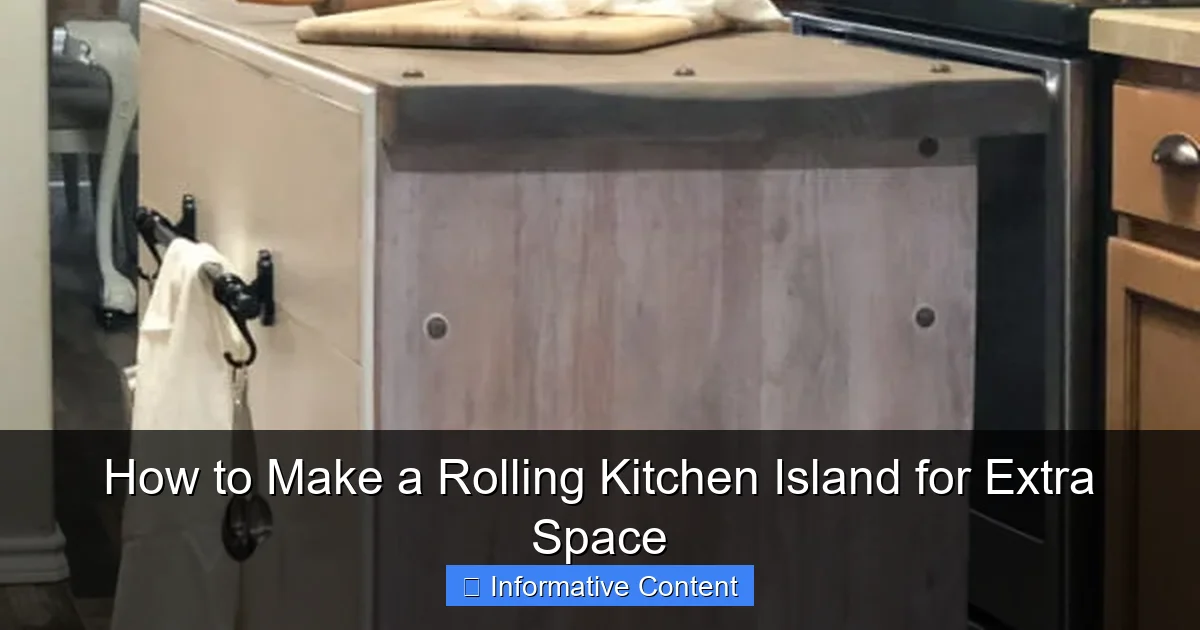
Visual guide about make a rolling kitchen island
Image source: dododsondesigns.com
- Where do you feel the most cramped?
- Do you need extra storage, prep space, or seating?
- How much floor space can you spare for a rolling island?
For example, if you’re constantly running out of counter space, prioritize a larger surface. If you’re short on storage, consider adding shelves or cabinets. I once built an island with a built-in spice rack because I was tired of digging through drawers mid-recipe. Small details like this can make a big difference in daily use.
Choose the Right Dimensions
Standard kitchen islands are around 36 inches high (to match countertops) and 24–36 inches deep. But since yours will be rolling, you’ll need to think about maneuverability. Here are some practical tips:
- Height: Match your existing counters (36″) for seamless use. If you want a bar-style island, go for 42″.
- Width: Aim for 24–48 inches. Wider islands offer more space but may be harder to move.
- Depth: 24 inches is ideal—it’s deep enough for prep work but won’t block walkways.
Pro tip: Measure your kitchen’s tightest spots (like doorways) to ensure your island can roll through them. You don’t want to get stuck halfway!
Select a Style That Fits Your Kitchen
Your island should feel like a natural part of your kitchen, not a random addition. Consider:
- Material: Wood (classic and warm), metal (modern and industrial), or a mix of both.
- Color: Match your cabinets or go bold with a contrasting color (like a navy island in a white kitchen).
- Details: Add hooks, towel racks, or even a small wine rack for extra flair.
I once saw a friend’s island with a built-in wine glass hanger—it was both functional and stylish. Think about what would make your life easier (and look good while doing it).
Tools and Materials You’ll Need
Essential Tools for the Job
You don’t need a full workshop, but having the right tools will make the process smoother. Here’s what I recommend:
- Circular saw or table saw: For cutting wood to size.
- Drill/driver: For assembling parts and attaching casters.
- Measuring tape and square: To ensure precise cuts and angles.
- Clamps: To hold pieces together while you work.
- Sander or sandpaper: For smoothing edges.
- Level: To make sure your island sits flat.
If you don’t own these, check if a local tool library or hardware store offers rentals. I borrowed a table saw for my first project, and it saved me hours of manual cutting.
Materials List: What to Buy
The exact materials depend on your design, but here’s a general list for a basic wooden island:
- Top: 1x solid wood (like butcher block or pine) or pre-made countertop.
- Frame: 2x4s or 2x3s for the base structure.
- Legs: 4×4 posts or pre-made legs (if you want a cleaner look).
- Side panels: Plywood or beadboard for a finished look.
- Casters: 4 heavy-duty locking wheels (at least 2″ diameter).
- Hardware: Screws, wood glue, brackets, and sandpaper.
- Finishing supplies: Stain, paint, or sealant (depending on your style).
For a budget-friendly option, use reclaimed wood or repurpose an old table. I once turned a discarded dresser into an island by adding casters and a new top—it was unique and cost less than $50!
Where to Shop
Local hardware stores (like Home Depot or Lowe’s) are great for basics, but don’t overlook:
- Thrift stores: For vintage legs or drawers.
- Online retailers: For specialty casters or hardware (Amazon, Rockler).
- Reclaimed wood suppliers: For eco-friendly and unique materials.
Pro tip: Buy extra wood. Mistakes happen, and having backup pieces saves time and stress.
Step-by-Step Assembly Guide
Step 1: Build the Frame
Start with the base—it’s the foundation of your island. Here’s how:
- Cut four 2x4s to match your island’s width and depth (e.g., 30″ for width, 24″ for depth).
- Assemble the rectangle using corner brackets and screws. Use a square to ensure 90-degree angles.
- Add cross supports every 12–16″ for stability (especially if you’re using a heavy countertop).
Tip: Pre-drill holes to avoid splitting the wood. I learned this the hard way when a screw cracked my frame mid-project.
Step 2: Attach the Legs
Secure the legs to the frame corners:
- Position a 4×4 leg at each corner.
- Use L-brackets and screws to attach them. For extra strength, add wood glue before screwing.
- Check for levelness with a bubble level. Adjust the legs if needed.
Alternative: If you’re using pre-made legs (like hairpin legs), follow the manufacturer’s instructions for mounting.
Step 3: Add Side Panels (Optional)
Want a polished look? Cover the frame with plywood or beadboard:
- Measure and cut panels to fit each side.
- Attach with nails or screws. Leave the bottom open for easy caster access.
- Sand the edges for a smooth finish.
For a farmhouse style, try shiplap panels. For modern, go with sleek plywood.
Step 4: Install the Casters
This is where your island becomes rolling:
- Flip the frame upside down.
- Attach casters at each corner using the provided screws or bolts.
- Make sure all casters are aligned and spin freely.
Important: Use locking casters so your island stays in place when you’re cooking. I once forgot this step and spent a week chasing my island across the kitchen!
Step 5: Attach the Top
Now for the fun part—adding the countertop:
- Place the top upside down on a soft surface (like cardboard).
- Center the frame on top and mark the screw locations.
- Pre-drill holes, then secure the top with screws through the frame.
For a seamless look, use a router to round the edges of the top. Or sand them smooth for a rustic feel.
Step 6: Sand and Finish
Before you use your island, give it a final touch:
- Sand all surfaces with 120-grit paper, then 220-grit for smoothness.
- Wipe off dust with a damp cloth.
- Apply stain, paint, or sealant (follow the manufacturer’s instructions).
For a durable finish, use polyurethane on the top. On legs, chalk paint works well for a matte look.
Customizing Your Island for Maximum Functionality
Add Storage Solutions
Storage is key for a clutter-free kitchen. Consider:
- Shelves: Great for cookbooks, baskets, or spice racks.
- Drawers: Ideal for utensils or small appliances.
- Hanging racks: For pots, pans, or towels.
I added a pull-out trash bin to my island—it’s hidden but always within reach when I’m prepping meals.
Incorporate Seating (If You Have Space)
Want a breakfast bar? Extend the top by 12–18″ on one side and add stools. Make sure there’s at least 12″ of clearance between the island and other counters for comfortable seating.
Include Electrical Outlets
Charge your phone or plug in a blender without running cords across the kitchen. You can:
- Install a pop-up outlet in the countertop (requires an electrician).
- Use a power strip mounted under the top (easier for DIYers).
Warning: Always consult a licensed electrician for permanent wiring.
Personalize With Style
Your island should reflect your personality. Try:
- Chalkboard paint: For a grocery list or kids’ doodles.
- Backsplash tiles: Add a splash of color behind the island.
- LED strip lights: For ambient lighting (battery-powered or plug-in).
Common Mistakes to Avoid (And How to Fix Them)
Choosing the Wrong Casters
Not all wheels are created equal. Avoid:
- Cheap plastic casters: They’ll crack under weight.
- Non-locking wheels: Your island will roll away when you need it most.
Solution: Invest in heavy-duty locking casters (rated for at least 100 lbs per wheel). Test them before final assembly.
Skipping the Level Check
An uneven island wobbles and spills drinks. Always:
- Use a bubble level during assembly.
- Adjust leg length with shims if needed.
Overlooking Clearance
Your island should fit in your kitchen without blocking traffic. Measure:
- At least 36″ of clearance around the island (42″ if multiple people will use it).
- Doorways and appliance openings (like oven doors).
Pro tip: Tape the island’s footprint on the floor before building to visualize the space.
Neglecting the Finish
A rough, unfinished island collects crumbs and stains. Always:
- Sand thoroughly before staining/painting.
- Apply at least 2–3 coats of sealant (especially on the top).
Data Table: Recommended Casters by Weight
| Island Weight | Caster Type | Load Capacity | Best For |
|---|---|---|---|
| Up to 100 lbs | Light-duty plastic | 25 lbs/wheel | Small prep islands |
| 100–200 lbs | Medium-duty rubber | 50 lbs/wheel | Standard rolling islands |
| 200+ lbs | Heavy-duty metal | 100+ lbs/wheel | Large islands with appliances |
Final Thoughts: Your Rolling Kitchen Island Awaits
Building a rolling kitchen island isn’t just about adding space—it’s about reclaiming control over your kitchen. Whether you’re a seasoned DIYer or a first-time builder, the process is rewarding. You’ll end up with a piece that’s uniquely yours, tailored to your cooking habits and style.
Remember, perfection isn’t the goal. My first island had a wobbly leg and a slightly uneven top, but it worked. Over time, I tweaked it—added a shelf, replaced a caster, repainted the legs. Each adjustment made it better. The same will happen for you.
So grab your tools, pick a weekend, and get started. Your future self will thank you every time you roll your island into the perfect spot for meal prep, entertaining, or just enjoying a quiet cup of coffee. And who knows? You might even inspire a friend to build their own. Happy building!
Frequently Asked Questions
How do I make a rolling kitchen island with storage?
To make a rolling kitchen island with storage, start by building a sturdy base from plywood or pre-made cabinets, then attach casters for mobility. Add shelves, drawers, or open cubbies to maximize storage while keeping the design functional and balanced.
What materials do I need to build a rolling kitchen island?
You’ll need plywood or stock cabinets, locking casters, wood screws, wood glue, a saw, and sandpaper. Optional upgrades include butcher block countertops, edge molding, and paint or stain to match your kitchen decor.
Can I build a rolling kitchen island on a budget?
Yes! Use repurposed cabinets or IKEA kitchen carts as the base, and DIY the countertop with affordable materials like MDF or pine. This keeps costs low while still creating a custom rolling kitchen island.
How do I ensure my rolling kitchen island is stable?
Use heavy-duty locking casters and anchor the frame with cross-supports or diagonal braces. Test stability by applying pressure to all sides before adding weight or countertops.
What’s the best size for a rolling kitchen island?
Aim for 24–36 inches deep and 30–36 inches tall to fit standard kitchens and appliances. Keep the length under 48 inches for easy mobility, but adjust based on your available space and needs.
How can I customize my rolling kitchen island for small spaces?
Add fold-down countertops, pull-out cutting boards, or slim spice racks to save space. Choose narrow designs (18–24 inches deep) and ensure the island can tuck into corners when not in use.