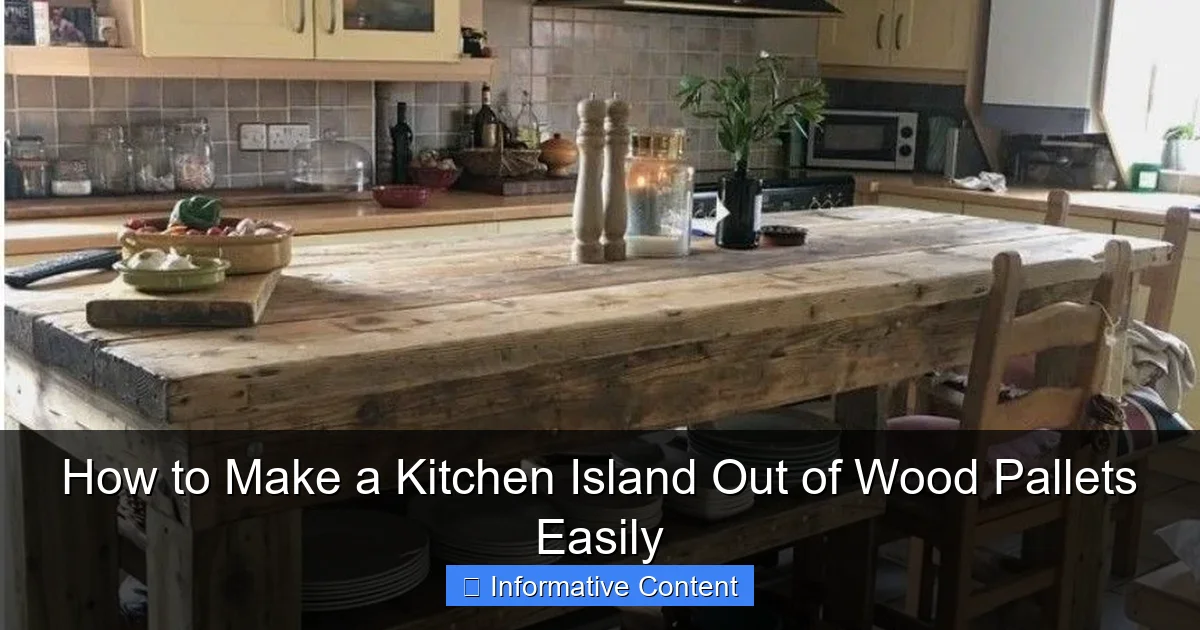
Featured image for how to make a kitchen island out of wood pallets
Image source: i.pinimg.com
Transform old wood pallets into a stylish, budget-friendly kitchen island with just a few tools and basic DIY skills—perfect for adding storage and counter space. Sand, assemble, and seal the pallets for a durable, rustic-chic centerpiece that fits any kitchen layout.
Key Takeaways
- Choose sturdy pallets: Inspect for damage and ensure they’re heat-treated (HT) for safety.
- Disassemble carefully: Use a pry bar and hammer to salvage clean, usable wood planks.
- Sand thoroughly: Eliminate splinters and rough edges for a smooth, professional finish.
- Assemble with precision: Secure joints with wood glue and screws for long-lasting durability.
- Seal the wood: Apply food-safe sealant to protect against spills and stains.
- Add wheels: Install casters for mobility or leveling feet for a permanent island.
📑 Table of Contents
- Why a Wood Pallet Kitchen Island Might Be the Perfect DIY Project for You
- 1. Sourcing and Preparing Your Wood Pallets
- 2. Designing Your Pallet Kitchen Island
- 3. Building the Frame and Structure
- 4. Creating the Countertop and Finishing Touches
- 5. Adding Mobility and Custom Features
- 6. Maintenance and Long-Term Care
- Cost and Time Breakdown: What to Expect
- Final Thoughts: Your Pallet Island Awaits
Why a Wood Pallet Kitchen Island Might Be the Perfect DIY Project for You
Let’s be honest—kitchen islands are expensive. I remember walking into a high-end home store last year, eyeing a sleek, modern island with granite countertop and built-in storage. The price tag? Over $2,500. I nearly choked on my coffee. That’s when it hit me: why not build one myself? And not just any island—a rustic, eco-friendly, budget-savvy kitchen island made from wood pallets.
Wood pallets are everywhere. They’re sturdy, often free (check local businesses or Craigslist), and surprisingly versatile. With a little creativity and elbow grease, you can turn discarded pallets into a functional, stylish kitchen centerpiece. Whether you’re short on space, want to upcycle, or just love the satisfaction of DIY, this project is for you. Plus, it’s a great way to add character to your kitchen without breaking the bank. In this guide, I’ll walk you through every step—from sourcing pallets to sealing the final finish—so you can build a wood pallet kitchen island that’s both practical and beautiful.
1. Sourcing and Preparing Your Wood Pallets
Finding the Right Pallets
Not all pallets are created equal. Before you start, you need to find pallets that are safe, clean, and structurally sound. Here’s what to look for:
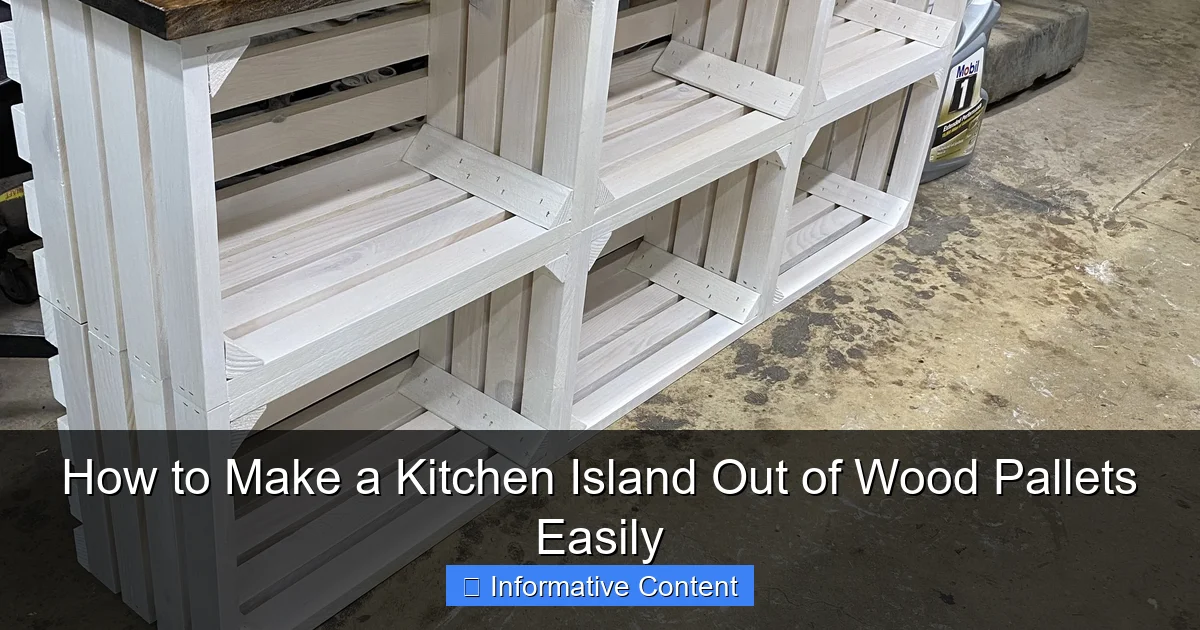
Visual guide about how to make a kitchen island out of wood pallets
Image source: i.pinimg.com
- Heat-treated (HT) over chemically treated (MB): Check for stamps on the side. “HT” means heat-treated (safe for indoor use). Avoid “MB” (methyl bromide), a toxic fumigant. If there’s no stamp, assume it’s unsafe.
- Size and thickness: Standard pallets are 48” x 40”, but smaller “half pallets” (48” x 20”) work better for kitchen islands. Aim for pallets with 3/4” thick deck boards—thinner ones may warp.
- Condition: Avoid cracked, splintered, or moldy wood. A little wear adds character, but structural integrity is key.
Pro tip: Ask local hardware stores, bakeries, or furniture shops. Many give pallets away for free to avoid disposal fees. I once got six pallets from a nearby coffee roaster—they were even pre-sanded!
Cleaning and Disassembling
Once you’ve found your pallets, it’s time to prep. Here’s how:
- Scrub thoroughly: Use a stiff brush and soapy water to remove dirt, grease, or debris. For stubborn grime, a 1:1 mix of vinegar and water works wonders.
- Sand down rough spots: Pallets often have splinters. Use 80-grit sandpaper to smooth edges, then 120-grit for a refined finish.
- Disassemble (optional): If you want to reconfigure the wood, use a pry bar and hammer to remove nails. Keep the stringers (the thick horizontal beams)—they’re perfect for legs or supports.
Real talk: This step is tedious but crucial. I once skipped sanding and ended up with a splinter in my palm during assembly. Lesson learned: sanding is non-negotiable.
2. Designing Your Pallet Kitchen Island
Choosing a Layout
Your island’s design depends on your kitchen’s size and needs. Here are three popular options:
- Classic rectangular: 36”–42” tall (standard counter height), 24”–30” deep, 48”–72” wide. Great for prep space or seating.
- Compact L-shaped: Use two pallets at a 90° angle. Ideal for small kitchens or adding a breakfast bar.
- Mobile cart: Add casters (wheels) for a flexible, movable island. Perfect if you rent or rearrange often.
Measure your space first! I made the mistake of building a 48”-wide island for my 10’ x 12’ kitchen—it felt cramped. Now I keep a 24” clearance around all sides for easy movement.
Adding Functionality
Think about how you’ll use your island. Do you need storage? A cutting board? A wine rack? Here are practical add-ons:
- Open shelves: Use pallet deck boards to create shelves for cookbooks or spices.
- Closed storage: Attach cabinet doors (repurpose old ones) or use a fabric curtain for a soft touch.
- Butcher block countertop: Glue 2–3 pallet boards together, then sand and seal. Stunning and functional.
- Wine bottle holders: Cut slots in a vertical pallet board to store bottles.
My favorite trick: I added a magnetic knife strip to the side of my island. It’s handy and saves drawer space!
3. Building the Frame and Structure
Assembling the Base
Your island’s frame needs to be rock-solid. Here’s how to build it:
- Create a rectangle: Use 2” x 4” lumber (or pallet stringers) for the base frame. Cut four pieces: two 24” (depth) and two 48” (width). Join with pocket screws or wood glue + nails.
- Add legs: Cut four 36” pieces from 4” x 4” posts (or stack pallet stringers). Attach one to each corner with brackets or screws.
- Reinforce with crossbars: Add 2” x 4” supports between legs for stability. For extra strength, install an “X” brace on each side.
Pro tip: Use a level to ensure the base is perfectly flat. A wobbly island is a safety hazard!
Attaching Pallet Panels
Now, clad the frame with pallet wood:
- Measure and cut: Trim pallet deck boards to fit the frame’s height (usually 36”). Use a miter saw for clean edges.
- Attach with screws: Pre-drill holes to prevent splitting. Start at the bottom and work up, leaving 1/8” gaps between boards for expansion.
- Cover all sides: Don’t forget the back! A bare frame looks unfinished.
Real talk: Pallet wood is uneven. I spent an extra hour shimming gaps with scrap wood. It’s worth the effort for a polished look.
4. Creating the Countertop and Finishing Touches
Building a Butcher Block Countertop
A thick, durable countertop is the island’s crown jewel. Here’s how to make one from pallets:
- Glue and clamp: Arrange 8–10 pallet boards side-by-side on a flat surface. Apply wood glue, then clamp tightly for 24 hours.
- Trim to size: Cut the block to your island’s dimensions (e.g., 24” x 48”). Round the corners with a jigsaw for a softer look.
- Sand smooth: Start with 80-grit, then 120-grit, and finish with 220-grit. Wipe with a damp cloth between grits.
My mistake: I rushed the glue-up and didn’t clamp evenly. The countertop had a slight warp. Learn from me: clamp every 6”.
Sealing and Protecting
Unsealed wood stains, warps, and harbors bacteria. Seal your island properly:
- For countertops: Use food-safe mineral oil or beeswax (for cutting boards) or polyurethane (for non-food surfaces). Apply 3–5 thin coats, sanding lightly between each.
- For the body: Use exterior-grade wood sealer or chalk paint (for a vintage look). Seal all sides, including the back.
Pro tip: Test sealants on a scrap piece first. Some oils can darken wood unevenly.
5. Adding Mobility and Custom Features
Making It Mobile
If you want a movable kitchen island from wood pallets, add casters:
- Choose heavy-duty casters: Look for 3”–4” wheels rated for 150+ lbs each. Locking casters are a must!
- Attach to the base: Pre-drill holes, then screw casters to each leg. For extra stability, add a crossbar between the front and back casters.
Real talk: I used cheap casters once. The island wobbled and scratched my floor. Invest in quality—it’s worth it.
Customizing for Your Lifestyle
Make your island uniquely yours:
- Lighting: Install under-cabinet LED strips for task lighting.
- Power outlets: Add a surge protector inside a cabinet for blenders or coffee makers.
- Hanging hooks: Attach S-hooks to the side for towels or utensils.
- Chalkboard paint: Turn a panel into a grocery list or menu board.
My favorite feature: I added a pull-out trash bin. No more walking across the kitchen to toss scraps!
6. Maintenance and Long-Term Care
Daily Upkeep
Your wood pallet kitchen island will last for years with simple care:
- Wipe spills immediately: Water and food stains can warp wood.
- Clean with mild soap: Avoid harsh chemicals. A damp cloth and dish soap do the trick.
- Re-oil countertops: Every 3–6 months, apply mineral oil to keep wood hydrated.
Pro tip: Keep a bottle of wood filler handy for minor scratches. I use it to patch small dents from dropped pots.
Seasonal Deep Cleaning
Every 6 months, give your island a spa day:
- Remove everything: Empty shelves, drawers, and countertops.
- Sand lightly: Use 220-grit to smooth any rough spots.
- Reapply sealant: Touch up worn areas with polyurethane or oil.
- Check hardware: Tighten loose screws and lubricate casters.
Real talk: I neglected maintenance once. The countertop developed a hairline crack. Now I set phone reminders to reseal twice a year.
Repairing Damage
Even the sturdiest islands need fixes. Here’s how to handle common issues:
- Wobbly legs: Shim gaps with cardboard or add cross-bracing.
- Stained wood: Sand the area, then re-stain and seal.
- Broken shelf: Replace with a new pallet board or repurpose a wooden crate.
My repair win: A friend spilled red wine on my island. I sanded the spot, applied a dark wax, and you can’t even tell!
Cost and Time Breakdown: What to Expect
Here’s a realistic look at what building a kitchen island from wood pallets costs and how long it takes:
| Item | Cost (USD) | Time Required |
|---|---|---|
| Pallets (2–4) | $0–$20 (free if sourced locally) | 1–2 hours (sourcing + cleaning) |
| 2” x 4” Lumber (for frame) | $15–$30 | 2–3 hours (cutting + assembly) |
| 4” x 4” Legs (or stringers) | $10–$20 | 1 hour (cutting + attaching) |
| Wood glue, screws, nails | $10–$15 | 1 hour (purchasing + prep) |
| Sandpaper (80/120/220 grit) | $10–$20 | 2–3 hours (sanding) |
| Sealer (polyurethane/mineral oil) | $15–$30 | 1–2 hours (application + drying) |
| Casters (optional) | $20–$40 | 1 hour (attaching) |
| Miscellaneous (shelves, hardware, etc.) | $20–$50 | 2–3 hours (customization) |
| Total | $100–$225 | 10–15 hours |
Note: Time estimates assume basic DIY skills. First-timers may take longer. The best part? You’ll save 80–90% compared to buying a new island!
Final Thoughts: Your Pallet Island Awaits
Building a kitchen island from wood pallets isn’t just about saving money—it’s about creating something meaningful. Every scratch, knot, and groove tells a story. When I sit at my island, sipping coffee and flipping pancakes, I don’t just see wood and nails. I see the hours I spent sanding, the pride in my kids’ faces when they helped stain the legs, and the joy of making my kitchen uniquely mine.
This project isn’t perfect. Pallets have imperfections. The countertop might not be as smooth as granite. But that’s the beauty of it. It’s raw, real, and full of character. And if you embrace the process—the mistakes, the fixes, the “Aha!” moments—you’ll end up with an island that’s not just functional, but emotional.
So grab those pallets, dust off your tools, and start building. Whether you’re a seasoned DIYer or a nervous beginner, this guide has your back. Your dream kitchen island is closer than you think—and it might just be made from someone else’s trash.
Frequently Asked Questions
How do I make a kitchen island out of wood pallets safely?
To make a kitchen island out of wood pallets safely, ensure you use heat-treated (HT) pallets, not chemically treated ones. Sand the wood thoroughly to remove splinters and seal it with food-safe varnish for durability and hygiene.
What tools do I need to build a kitchen island from wood pallets?
You’ll need basic tools like a saw, drill, sander, measuring tape, clamps, and wood screws. For added functionality, consider a jigsaw for shaping and a level to ensure stability.
Can I customize the size of my wood pallet kitchen island?
Absolutely! One of the best things about using wood pallets is their modular design. Combine multiple pallets or cut them to fit your desired dimensions, then reinforce with additional wood supports if needed.
How do I add wheels to a kitchen island made from wood pallets?
Attach locking caster wheels to the bottom of the pallet legs using heavy-duty screws. Ensure the wheels are rated for the weight of your island plus any items you plan to store.
Is it possible to add a countertop to a wood pallet kitchen island?
Yes, you can add a countertop by placing a butcher block, reclaimed wood, or even a stone slab on top of the pallets. Secure it with brackets or adhesive, ensuring it’s level and stable.
How can I make my wood pallet kitchen island look more stylish?
Paint or stain the pallets to match your kitchen decor, and add features like a towel rack, spice rack, or open shelving. Incorporate LED strip lighting underneath for a modern, inviting touch.