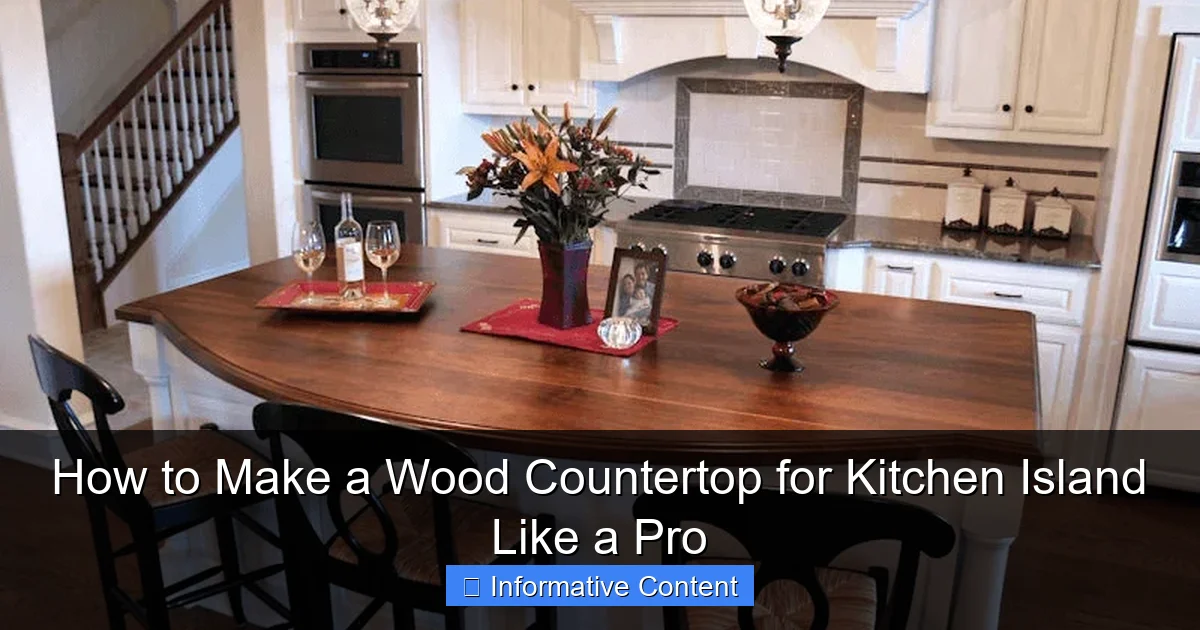
Featured image for how to make a wood countertop for kitchen island
Image source: easyhometips.org
Transform your kitchen island with a stunning, durable wood countertop by starting with high-quality hardwood like maple or walnut and sealing it properly for long-lasting performance. Follow expert techniques—precision cutting, edge profiling, and food-safe finishing—to achieve a professional, seamless look that elevates both function and style. With the right tools and attention to detail, you can build a custom wood countertop that rivals high-end designs.
Key Takeaways
- Choose hardwood: Opt for durable woods like maple or walnut for long-lasting countertops.
- Seal properly: Apply food-safe sealant to protect against moisture and stains.
- Prevent warping: Use edge-grain or end-grain construction for stability and strength.
- Sand meticulously: Progress through grits for a smooth, professional-grade finish.
- Maintain regularly: Reapply oil or wax to preserve luster and durability over time.
📑 Table of Contents
- Why a Wood Countertop Could Be Your Kitchen Island’s Best Upgrade
- Choosing the Right Wood for Your Countertop
- Tools and Materials You’ll Need (No Fancy Shop Required)
- Step-by-Step: Building the Countertop (From Glue-Up to Sanding)
- Finishing: How to Seal and Protect Your Wood Countertop
- Installation and Long-Term Care: Keeping Your Countertop Looking Pro
- Cost Comparison and Final Thoughts
Why a Wood Countertop Could Be Your Kitchen Island’s Best Upgrade
Imagine walking into your kitchen and seeing a warm, rich wood countertop on your island—something that feels alive, not just functional. It’s not just a surface; it’s a statement. A wood countertop brings character, warmth, and a natural elegance that stone or laminate just can’t match. Whether you’re a seasoned DIYer or someone who’s never picked up a sander, building a wood countertop for your kitchen island is more achievable than you might think.
I remember the first time I built one for my own kitchen. I was nervous—wood can warp, stain unevenly, or look amateurish if done wrong. But after a weekend of sanding, glueing, and sealing, I had a centerpiece that guests still compliment years later. And honestly? The process was way more fun than I expected. You don’t need to be a pro to make a wood countertop for kitchen island that looks professional. With the right materials, tools, and a little patience, you can create something that feels custom, high-end, and uniquely yours.
Choosing the Right Wood for Your Countertop
The foundation of a great wood countertop starts with the wood itself. Not all woods are created equal, and your choice will affect durability, appearance, and maintenance. Let’s break it down so you can pick the perfect species for your kitchen island.
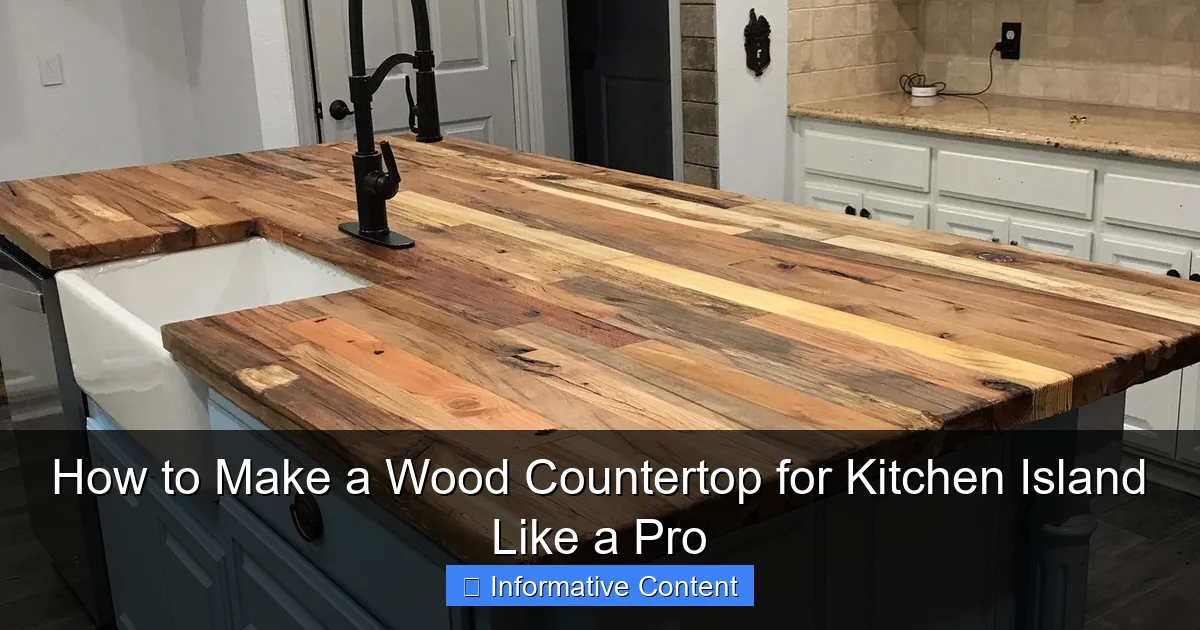
Visual guide about how to make a wood countertop for kitchen island
Image source: i.etsystatic.com
Best Wood Species for Durability and Beauty
You want a wood that can handle daily kitchen use—spills, knife marks, heat, and humidity. Hardwoods are your best bet. Here are the top contenders:
- Maple: Dense, fine-grained, and light in color. It’s a classic choice for kitchens because it’s tough and resists wear. It also stains beautifully if you want a darker finish.
- Walnut: Rich, dark, and luxurious. Walnut has natural oils that make it slightly more water-resistant. It’s a bit softer than maple but still holds up well with proper sealing.
- White Oak: Strong, water-resistant, and has a beautiful grain pattern. It’s a favorite for butcher block countertops because it’s less prone to warping than other oaks.
- Cherry: Softer than maple or walnut, but ages gracefully, developing a deeper patina over time. It’s ideal if you love warm tones and don’t mind a slightly more delicate surface.
- Hickory: Extremely hard and durable, with a dramatic grain pattern. Great for rustic or farmhouse-style kitchens, but its bold look might not suit everyone.
Pro tip: Avoid softwoods like pine or poplar. They dent easily and aren’t ideal for high-traffic areas. If you’re on a budget, consider poplar with a thick epoxy coating—it can mimic hardwood at a fraction of the cost.
Solid Wood vs. Plywood: What’s Better?
Most kitchen island countertops are made from solid hardwood boards (also called “butcher block”), not plywood. Why? Because solid wood offers better moisture resistance, easier repairs, and a more authentic look. Plywood is cheaper and more stable, but it’s not food-safe unless sealed properly, and it lacks the depth and warmth of real wood.
That said, if you’re building a countertop with a wood veneer over a plywood substrate, it’s acceptable—but only if you plan to use it for decorative purposes or light prep work. For a full-on kitchen island used daily, go solid. You’ll thank yourself later.
Where to Buy Wood: Lumberyard vs. Big Box Stores
You have options. Big box stores (like Home Depot or Lowe’s) sell pre-cut butcher block countertops in standard sizes—convenient, but often lower quality and limited in species. I’ve found their maple and walnut blocks to be inconsistent in thickness and sometimes have glue lines that aren’t fully cured.
For better quality, visit a local hardwood lumberyard. They offer:
- Higher-grade wood (FAS or Select grade)
- Wider boards (reducing the number of seams)
- Custom thickness (1.5″ or 2″ for a more substantial look)
- Better moisture content (properly kiln-dried)
Yes, it’s a bit more expensive, but the difference in quality is noticeable. I once paid $120 for a 4’x6′ maple slab from a lumberyard—twice what a big box store charged—but it had zero knots, even grain, and was already planed on both sides. Totally worth it.
Tools and Materials You’ll Need (No Fancy Shop Required)
You don’t need a fully equipped woodshop to make a wood countertop for kitchen island. Most of the tools can be borrowed, rented, or bought inexpensively. Here’s what I used—and what you’ll need too.
Essential Tools
- Table saw or circular saw with straightedge guide: For cutting boards to length and width. A table saw gives cleaner cuts, but a circular saw with a guide works fine for most DIYers.
- Clamps: At least 6–8 bar or pipe clamps (24″ or longer). You’ll need them to glue the boards together without gaps.
- Random orbital sander: A must for smoothing surfaces. Start with 80-grit, then 120, then 180 or 220. Hand sanding is an option, but it’s a backbreaker.
- Planer (optional but helpful): If your boards aren’t perfectly flat, a thickness planer ensures even surfaces. Rent one from a tool library if you don’t own it.
- Jigsaw or router: For cutting sink or cooktop cutouts later.
- Tape measure, square, and pencil: Basic but critical for accuracy.
Materials List
- Hardwood boards: 1.5″–2″ thick, 6″–8″ wide, total length = your island size + 1″ overhang on each side.
- Wood glue (Titebond III or equivalent): Waterproof, food-safe, and designed for countertops.
- Sandpaper (80, 120, 180, 220 grit): Buy in bulk—you’ll use a lot.
- Sealer (mineral oil, tung oil, or food-grade polyurethane): More on this later.
- Wood conditioner (if staining): Prevents blotchy absorption.
- Finish (oil-based or water-based polyurethane, or epoxy): For long-term protection.
Optional (But Recommended)
- Featherboards: For safer, straighter cuts on the table saw.
- Edge banding (for exposed edges): If you want a more refined look on the sides.
- Wood filler: For minor gaps or knots.
Real talk: I borrowed clamps and a planer from a friend, bought a cheap orbital sander on Amazon, and used my dad’s table saw. Total tool investment: under $200. Not bad for a countertop that costs $500+ at a retail store.
Step-by-Step: Building the Countertop (From Glue-Up to Sanding)
Now for the fun part—actually building your countertop. This is where your patience pays off. Take your time. Rushing leads to gaps, warping, or uneven surfaces.
Step 1: Plan and Cut Your Boards
Measure your kitchen island’s top. Add 1″ overhang on each side for a clean, professional look. For example, if your island is 48″ x 36″, cut your boards to 50″ x 38″.
Cut your boards slightly longer than needed (about 1/4″ extra on each end). This gives you room to trim after glue-up. Use a straightedge guide with your circular saw or set your table saw fence precisely.
Tip: Alternate the direction of the grain on each board. For example, if one board has the grain running left to right, the next should run right to left. This helps prevent warping.
Step 2: Dry Fit and Mark
Arrange the boards on a flat surface (like sawhorses or a workbench). Check for gaps. If you see light through a seam, that’s a problem. Use a pencil to mark each board’s position—this helps you keep track during glue-up.
Run a bead of wood glue along the edge of one board. Clamp it to the next. Don’t over-glue—squeeze-out is messy and hard to sand. Wipe excess with a damp rag immediately.
Continue gluing and clamping until all boards are joined. Use cauls (scrap wood strips) across the top to keep the surface flat. Tighten clamps gradually—don’t force them all at once.
Let the glue cure for at least 24 hours. Don’t rush this. I once tried to unclamp after 6 hours—big mistake. The seam cracked under pressure.
Step 3: Trim and Square the Edges
After 24 hours, remove the clamps. Use your table saw to trim the overhangs. Set the fence to your final width and length. Make a test cut on scrap first.
Check for square with a speed square. If one corner is longer, adjust your cut. Precision here makes the difference between a DIY project and a pro-looking result.
Step 4: Sanding—The Make-or-Break Step
Start with 80-grit to remove glue squeeze-out and level the surface. Work in the direction of the grain. Don’t press too hard—let the sander do the work.
Switch to 120-grit, then 180, then 220. Wipe the surface with a damp rag between grits to raise the grain. This ensures a smooth final finish.
Pro tip: Use a sanding block for edges and corners. An orbital sander can round over sharp edges—bad for a countertop.
Sanding takes time. For a 5′ x 3′ countertop, I spent about 2 hours total. But it’s worth it. A smooth surface feels amazing under your hand—and it seals better.
Step 5: Cut Out Sink or Cooktop (If Needed)
If your island has a sink or cooktop, now’s the time to cut the opening. Use a jigsaw or router with a straightedge guide.
Trace the template provided by the manufacturer. Drill a starter hole in the corner, then cut slowly. Sand the edges smooth with 120-grit paper.
Caution: Don’t cut too close to the edge of the wood—leave at least 1″ for support. And avoid cutting across the grain near the ends—it weakens the structure.
Finishing: How to Seal and Protect Your Wood Countertop
This is where most DIYers go wrong. A wood countertop without a proper finish will warp, stain, and degrade in months. But with the right sealer, it can last decades.
Food-Safe Sealers: What Works Best?
You have three main options:
- Mineral oil: Cheap, food-safe, easy to apply. But it needs reapplication every 2–4 weeks. It also darkens the wood slightly. Good for low-traffic areas or decorative islands.
- Tung oil: Natural, water-resistant, and builds a durable finish over time. It takes longer to dry (24–48 hours per coat) but lasts longer than mineral oil. Apply 3–5 coats, sanding lightly between each.
- Food-grade polyurethane: The best for high-traffic kitchens. It’s durable, water-resistant, and doesn’t need frequent reapplication. Use an oil-based version for deeper penetration, or water-based for less odor and faster drying.
I use water-based polyurethane on my own countertop. It’s low-VOC, dries in 2 hours, and gives a clear, non-yellowing finish. I apply 4 coats, sanding with 220-grit between coats 2 and 3.
Application Tips for a Flawless Finish
- Sand between coats: Even with a smooth start, sand lightly with 220-grit before the next coat. It helps adhesion and removes dust nibs.
- Apply thin coats: Thick coats bubble or peel. Use a high-quality foam brush or microfiber pad.
- Let it cure fully: Wait 72 hours before using the countertop. I know—it’s hard. But trust me, a rushed cure leads to scratches and dents.
- Seal the edges: Don’t forget the sides and bottom. Moisture enters through the end grain, causing warping.
Epoxy Coating (For Maximum Durability)
If you want a glass-like, ultra-durable surface, consider an epoxy pour. It’s expensive and tricky, but it’s nearly indestructible. I used a 2-part food-safe epoxy on a client’s island—after a year of daily use, it looks brand new.
Downsides: Expensive ($100+ for a small countertop), long cure time (7 days), and requires precise mixing. Only attempt if you’re confident in your skills.
Installation and Long-Term Care: Keeping Your Countertop Looking Pro
You’ve built it. You’ve sealed it. Now it’s time to install and maintain it.
How to Install on Your Kitchen Island
Place the countertop on the island base. Use a level to ensure it’s flat. Shim if needed. Attach from underneath with wood screws through the base frame—don’t screw through the top surface (it’ll show).
For a seamless look, use figure-8 fasteners or Z-clips to secure the countertop without visible screws.
Important: Leave a 1/8″ gap between the countertop and any wall. Wood expands and contracts with humidity. No gap = buckling.
Daily and Monthly Care Tips
- Wipe spills immediately: Especially acidic ones (vinegar, lemon juice).
- Use cutting boards: Even sealed wood can scratch. I keep a maple board on my island for prep.
- Clean with mild soap and water: Avoid harsh chemicals. Dry thoroughly.
- Re-oil or re-seal every 6–12 months: Check for dullness or water absorption. Sand lightly and apply a fresh coat.
- Rotate cutting zones: If you do prep work on the countertop, switch areas to prevent uneven wear.
Common Problems and How to Fix Them
- Water rings or stains: Sand the area lightly and reapply sealer.
- Small scratches: Rub in a bit of mineral oil or use a wood touch-up pen.
- Warping: If minor, sand and reseal. If major, you may need to cut the countertop and re-glue.
- Dull finish: Sand with 220-grit and apply a fresh coat of polyurethane.
Cost Comparison and Final Thoughts
Let’s talk money. A custom wood countertop from a kitchen store can cost $800–$1,500 for a standard island. But you can build one for $200–$500, depending on wood choice and tools.
| Item | Cost (DIY) | Cost (Retail) |
|---|---|---|
| Hardwood boards (5’x3′) | $150–$300 | $600–$1,200 |
| Sealer and finish | $50–$100 | Included |
| Tools (if not owned) | $100–$200 | N/A |
| Total | $300–$600 | $800–$1,500 |
You’re not just saving money—you’re gaining pride. Every time you prep a meal on that countertop, you’ll remember the hours you spent sanding, sealing, and perfecting it. It’s not just a surface. It’s a piece of you.
And yes, it’s a project. It takes time. It’s messy. You might curse the glue squeeze-out or the 20th sanding pass. But in the end, you’ll have a kitchen island that’s truly one of a kind. So grab your clamps, pick your wood, and make a wood countertop for kitchen island that looks—and feels—like a pro built it. Because you did.
Frequently Asked Questions
What type of wood is best for a kitchen island countertop?
Hardwoods like maple, walnut, and oak are ideal for wood countertops due to their durability and resistance to scratches. Avoid softer woods like pine, as they can dent easily in high-traffic kitchen areas.
How do I prepare the wood surface to prevent warping or cracking?
Use kiln-dried lumber with a moisture content of 6-8% and acclimate it to your kitchen’s humidity for at least 48 hours. Apply a food-safe sealant (like mineral oil or polyurethane) to all sides to minimize moisture absorption.
What tools do I need to make a wood countertop for a kitchen island?
Essential tools include a table saw, planer, clamps, orbital sander, and drill. For a professional finish, consider a router for edge profiling and a biscuit joiner for seamless wood panel assembly.
How do I join wood pieces for a seamless kitchen island countertop?
Use edge-jointing with biscuits or dowels for alignment, then glue and clamp boards tightly. Sand the seams flush and reinforce with hidden screws or brackets underneath for long-term stability.
What finish should I use to protect a wood countertop in a kitchen?
For a food-safe, durable finish, apply multiple coats of water-resistant sealants like polyurethane or epoxy. Regularly reapply mineral oil for a low-maintenance, natural look that resists stains.
How do I maintain a wood countertop to keep it looking new?
Clean spills immediately and avoid direct heat or standing water. Reapply sealant every 6-12 months, and use cutting boards to prevent scratches—especially on a high-use kitchen island.