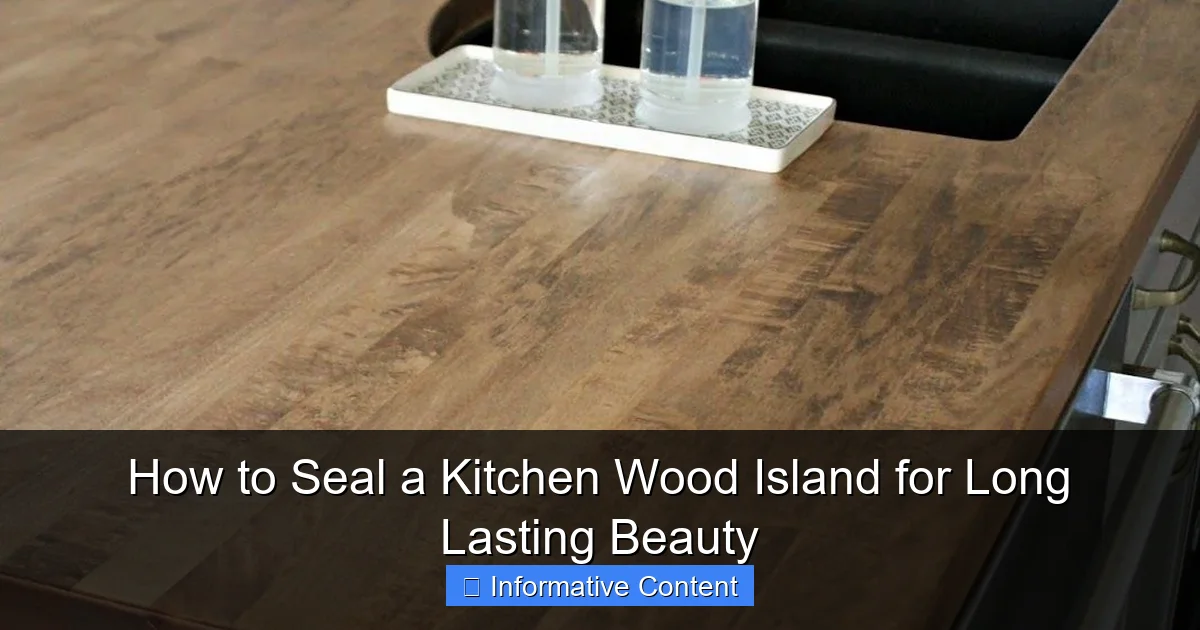
Featured image for sealing a kitchen wood island
Image source: i.pinimg.com
Sealing a kitchen wood island is essential to protect it from moisture, stains, and daily wear while preserving its natural beauty. Using a high-quality sealant like polyurethane, tung oil, or food-safe mineral oil creates a durable barrier that enhances the wood’s grain and ensures long-term resilience. Proper prep—cleaning, sanding, and applying multiple coats—guarantees a flawless, long-lasting finish that withstands heavy kitchen use.
Key Takeaways
- Clean thoroughly: Remove all grease and debris before sealing.
- Sand carefully: Smooth surfaces ensure better sealant adhesion.
- Choose wisely: Pick food-safe, durable finishes like polyurethane.
- Apply evenly: Use consistent brushstrokes for full coverage.
- Wait longer: Allow proper drying time between coats.
- Maintain regularly: Reapply sealant every 1-2 years.
- Protect daily: Use cutting boards to prevent surface damage.
📑 Table of Contents
- Why Sealing Your Kitchen Wood Island Matters
- Understanding Wood and Why It Needs Protection
- Choosing the Right Sealant for Your Wood Island
- Step-by-Step Guide to Sealing Your Wood Island
- Maintaining Your Sealed Wood Island
- Common Mistakes (And How to Avoid Them)
- Final Thoughts: Protect Your Investment
Why Sealing Your Kitchen Wood Island Matters
Let’s be honest—your kitchen island is more than just a countertop. It’s the heart of your home. It’s where coffee spills happen, kids do homework, and you prep meals with flour dusting the edges like snow. If you’ve invested in a beautiful wood kitchen island, you already know it brings warmth, character, and timeless charm to your space. But here’s the thing: wood is porous, sensitive, and vulnerable. Without proper protection, it can warp, stain, or crack under daily use.
I learned this the hard way. A few years ago, I bought a stunning reclaimed oak island. It looked amazing—until a wine spill from a dinner party left a permanent ring. No matter how much I scrubbed, that mark stayed. That’s when I realized: sealing isn’t just an option. It’s a necessity. Sealing your kitchen wood island isn’t about making it look shiny. It’s about preserving its beauty, protecting it from spills, heat, and moisture, and ensuring it lasts for decades—not just years. In this guide, I’ll walk you through everything you need to know about how to seal a kitchen wood island, from choosing the right product to applying it like a pro.
Understanding Wood and Why It Needs Protection
Wood is a natural material, and that’s part of its charm. But it’s also a living thing—even after being cut and dried. It expands and contracts with humidity, absorbs liquids like a sponge, and reacts to heat and UV light. Without a protective seal, your wood island becomes a magnet for stains, scratches, and long-term damage.
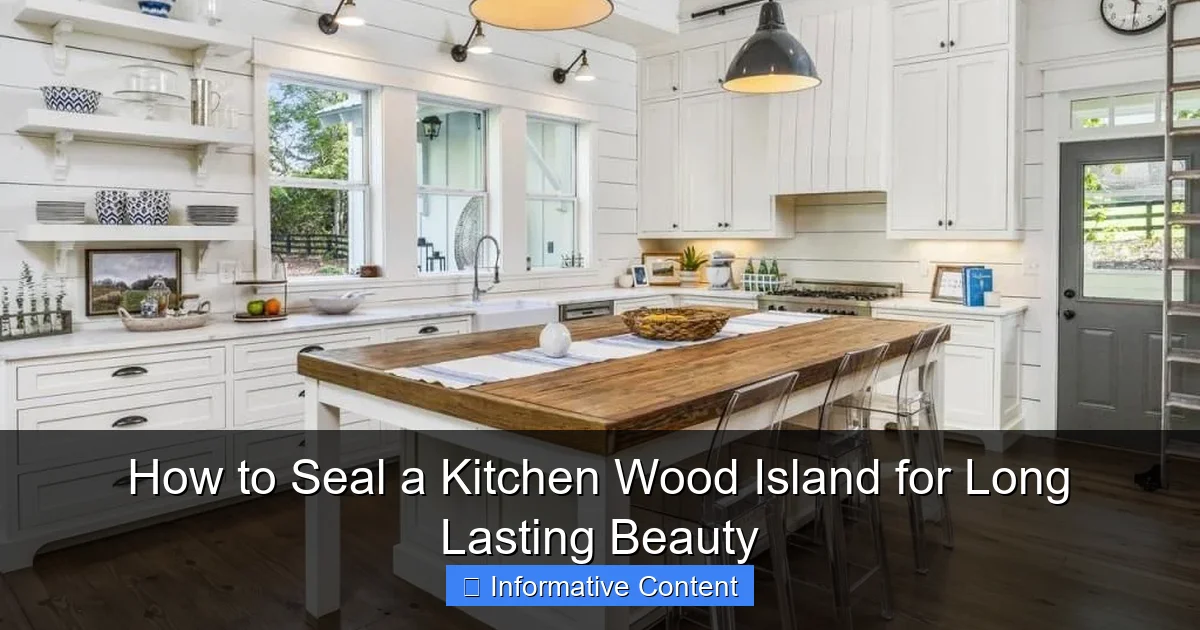
Visual guide about sealing a kitchen wood island
Image source: i.pinimg.com
The Science Behind Wood Porosity
Think of wood like a bundle of tiny straws. These are the cell walls, and they’re full of microscopic pores. When you place a glass of water on unsealed wood, the liquid seeps in, swelling the fibers. Over time, this causes warping, discoloration, and even mold in damp environments. Sealing fills these pores, creating a barrier that keeps moisture out.
For kitchen islands—where spills, hot pans, and cleaning products are common—this barrier is essential. A good sealant acts like an invisible raincoat for your wood, repelling liquids while still allowing the natural grain to shine through.
Common Kitchen Hazards for Wood
Your kitchen is a battlefield for wood. Here’s what your island faces daily:
- Liquids: Water, wine, juice, oil, and coffee all penetrate unsealed wood.
- Heat: Hot pans or dishes can scorch or dry out the wood, leading to cracks.
- Abrasion: Cutting directly on the surface (please don’t!) or dragging heavy items causes scratches.
- UV Light: Sunlight through kitchen windows can fade or discolor wood over time.
- Chemicals: Harsh cleaners break down wood fibers and strip finishes.
A sealed surface dramatically reduces these risks. For example, a wine spill on a sealed island wipes clean in seconds. On unsealed wood? That’s a stain that might never come out.
Real-World Example: Before and After Sealing
A friend of mine had a maple island that looked great for the first year. Then, her toddler knocked over a juice box. She wiped it up fast, but the stain remained. After sealing it with a food-safe polyurethane, she spilled red wine during a party. This time, it wiped up with a damp cloth—no mark. That’s the power of sealing.
Choosing the Right Sealant for Your Wood Island
Not all sealants are created equal. The right one depends on your wood type, how you use the island, and the look you want. Let’s break down the most popular options—with pros, cons, and real-life tips.
1. Polyurethane (Best for Durability)
What it is: A synthetic resin that forms a hard, plastic-like coating.
Best for: High-traffic kitchens where spills and scratches are common.
Pros:
- Extremely durable and water-resistant
- Available in gloss, semi-gloss, and matte finishes
- Long-lasting (5–10 years with proper care)
Cons:
- Can yellow over time (especially oil-based)
- Strong fumes—requires good ventilation
- Less natural look than some alternatives
Pro Tip: Use water-based polyurethane for less odor and no yellowing. It’s perfect for light-colored woods like maple or birch.
2. Tung Oil (Best for Natural Look)
What it is: A natural oil derived from tung tree seeds. It penetrates deep into the wood.
Best for: Those who want a soft, natural finish and don’t mind more maintenance.
Pros:
- Enhances wood grain beautifully
- Food-safe (great for cutting boards or prep areas)
- Low odor and eco-friendly
Cons:
- Requires multiple coats (3–5 for full protection)
- Needs reapplication every 6–12 months
- Less water-resistant than polyurethane
Pro Tip: Look for “100% pure tung oil” (not “tung oil finish,” which is often mixed with solvents). Apply with a lint-free cloth, let it soak for 30 minutes, then wipe off excess.
3. Beeswax (Best for Low-Traffic Use)
What it is: A blend of beeswax and oils that nourishes wood.
Best for: Decorative islands or low-use areas (e.g., a breakfast bar).
Pros:
- Natural and non-toxic
- Adds a soft, warm luster
- Easy to reapply
Cons:
- Not water-resistant—wet glasses will leave rings
- Requires monthly reapplication
- Can feel sticky if over-applied
Pro Tip: Mix beeswax with carnauba wax for a harder, more durable finish. Use it on the sides or edges of your island where spills are rare.
4. Epoxy Resin (Best for Extreme Protection)
What it is: A two-part liquid that hardens into a thick, glass-like surface.
Best for: Commercial kitchens or islands used as workspaces.
Pros:
- Waterproof and heat-resistant (up to 500°F)
- Scratch-resistant and non-porous
- Creates a “wet” look (great for river tables)
Cons:
- Very expensive and time-consuming to apply
- Can yellow in sunlight
- Removes wood’s natural feel—more like a countertop
Pro Tip: Epoxy is overkill for most home kitchens. Save it for islands with live-edge slabs or dramatic grain patterns you want to “preserve in time.”
Sealant Comparison Table
| Sealant | Durability | Water Resistance | Maintenance | Best For |
|---|---|---|---|---|
| Polyurethane (Water-Based) | High | Excellent | Every 5–10 years | High-traffic kitchens |
| Tung Oil | Medium | Good | Every 6–12 months | Natural look, food-safe use |
| Beeswax | Low | Poor | Monthly | Decorative areas |
| Epoxy Resin | Very High | Excellent | Every 10+ years | Extreme protection, commercial use |
Step-by-Step Guide to Sealing Your Wood Island
Now that you’ve chosen your sealant, let’s get to work. Sealing isn’t hard—but skipping steps or rushing can ruin the finish. I’ll walk you through each stage with tips I’ve learned from trial, error, and a few “oops” moments.
Step 1: Prep Like a Pro
Clear and Clean: Remove everything from the island. Wipe it down with a damp cloth and mild soap. Let it dry completely.
Sand Thoroughly: Even new wood needs sanding. Start with 120-grit sandpaper to remove imperfections, then move to 220-grit for a smooth finish. Sand in the direction of the grain to avoid scratches.
Dust Removal: Use a tack cloth (or a slightly damp microfiber cloth) to remove every speck of dust. Any leftover debris will show in the finish.
Pro Tip: Sand between 70–80°F with low humidity. High moisture can make dust cling to the wood.
Step 2: Apply the Sealant (First Coat)
Stir, Don’t Shake: Shaking creates bubbles. Stir sealant gently with a stick.
Use the Right Tool:
- Polyurethane: High-quality synthetic brush or foam roller
- Tung Oil: Lint-free cloth
- Epoxy: Mixing cup and squeegee (for even spread)
Apply Thin Coats: Less is more. A thin, even layer prevents drips and bubbles. Work in the direction of the grain.
Pro Tip: For polyurethane, “tip off” each stroke—lightly drag the brush over the wet finish to smooth it.
Step 3: Dry and Sand Between Coats
Dry Time: Follow the product’s instructions. Water-based polyurethane dries in 2–4 hours. Tung oil can take 24+ hours.
Light Sanding: After the first coat dries, lightly sand with 320-grit paper. This creates a “tooth” for the next coat to adhere. Wipe away dust.
Pro Tip: Use a sanding block—not your hand—for even pressure. Hand-sanding can create uneven spots.
Step 4: Repeat (2–4 Coats)
Most sealants need multiple coats. Here’s the rule of thumb:
- Polyurethane: 2–3 coats
- Tung Oil: 3–5 coats (let each soak in 30 minutes before wiping excess)
- Epoxy: 1–2 thick coats (follow mixing ratios exactly)
Pro Tip: For tung oil, the wood will look darker with each coat. That’s normal! It’s soaking in.
Step 5: Final Cure
Don’t rush this! The final cure time is when the sealant reaches full hardness.
- Polyurethane: 72 hours (water-resistant after 24 hours)
- Tung Oil: 14–30 days (light use after 7 days)
- Epoxy: 72 hours
Pro Tip: Place a “Wet Paint” sign on the island during curing. Nothing ruins a finish faster than a forgotten coffee cup.
Step 6: Test the Seal
After curing, test with:
- A water droplet (should bead up)
- A wine spill (wipe with a damp cloth—no stain)
- A hot pan (place on a trivet, but test briefly)
If water soaks in, apply another coat.
Maintaining Your Sealed Wood Island
Sealing isn’t a one-and-done deal. With the right care, your island will look great for years. Here’s how to keep it in top shape.
Daily Care: Keep It Simple
- Wipe spills immediately: Even sealed wood can absorb liquids if left too long.
- Use trivets and cutting boards: Never place hot pans or cut directly on the surface.
- Clean with mild soap: Avoid vinegar, bleach, or abrasive cleaners. They can break down the seal.
- Microfiber cloths only: Paper towels can leave lint or micro-scratches.
Pro Tip: Keep a small spray bottle with water and a drop of dish soap under the sink. It’s perfect for quick cleanups.
Seasonal Maintenance: Reapply as Needed
Check your island every 3–6 months. Look for:
- Dull spots (sign of wear)
- Water soaking in (seal is compromised)
- Scratches or gouges
Re-sealing:
- Polyurethane: Lightly sand and apply 1–2 new coats
- Tung Oil: Wipe on a fresh coat every 6–12 months
- Beeswax: Reapply monthly
Dealing with Damage: Fixing Scratches and Stains
Light Scratches: Rub in a matching wood stain with a cotton swab, then apply a thin layer of sealant.
Deep Gouges: Fill with wood filler, sand smooth, and reseal.
Water Rings: On sealed wood, these are usually superficial. Lightly sand the area and apply a new coat.
Pro Tip: Keep leftover sealant in a sealed container. Label it with the date and wood type.
Common Mistakes (And How to Avoid Them)
Even seasoned DIYers make these errors. Learn from my blunders—and save yourself time and frustration.
1. Skipping Sanding
“The wood looks smooth!” I said. Big mistake. Without sanding, the sealant peels off in sheets. Sanding creates a bond. Never skip it.
2. Applying Thick Coats
Thick sealant = drips, bubbles, and uneven finish. Always apply thin coats. You can always add more.
3. Rushing the Cure Time
My first epoxy island got a coffee cup stain after 48 hours (it needed 72). Patience pays off. Let it cure fully.
4. Using the Wrong Cleaner
Vinegar might be natural, but it’s acidic. It eats through sealants over time. Stick to mild soap and water.
5. Ignoring Humidity
Wood expands and contracts. In dry winters, your island might develop hairline cracks. Use a humidifier to maintain 40–60% humidity.
6. Forgetting the Edges
Edges are just as vulnerable as the top. Seal them thoroughly—especially if your island has a waterfall edge or exposed end grain.
Final Thoughts: Protect Your Investment
Your kitchen wood island is more than a surface—it’s a statement. It says, “I value craftsmanship, warmth, and timeless style.” But without sealing, that beauty fades fast. Whether you choose durable polyurethane, nourishing tung oil, or low-maintenance beeswax, sealing is the key to long-lasting beauty.
Think of it like sunscreen for your wood. You don’t skip sunscreen on a sunny day, and you shouldn’t skip sealing in a busy kitchen. It’s not just about looks—it’s about respect for the material and the space you’ve created. So grab your sandpaper, pick a sealant, and give your island the protection it deserves. In five years, when your friends are replacing their warped countertops, yours will still look brand new. And that? That’s worth every minute of effort.
Remember: sealing a kitchen wood island isn’t a chore. It’s an act of care. And that care shows—in every grain, every wipe, and every memory made around the island.
Frequently Asked Questions
Why should I seal a kitchen wood island?
Sealing a kitchen wood island protects it from moisture, stains, and daily wear, ensuring long-lasting beauty and durability. A proper sealant also enhances the wood’s natural grain and color.
What is the best sealant for a kitchen wood island?
The best sealant for a kitchen wood island is a food-safe, water-resistant option like polyurethane, tung oil, or epoxy. These sealants provide a durable finish while being safe for food prep areas.
How often should I reseal my kitchen wood island?
You should reseal your kitchen wood island every 1-3 years, depending on usage and the type of sealant used. High-traffic kitchens may require more frequent resealing to maintain protection.
Can I seal a kitchen wood island myself, or should I hire a professional?
Sealing a kitchen wood island is a DIY-friendly project if you follow proper steps like sanding, cleaning, and applying the sealant evenly. However, for large or intricate islands, hiring a professional ensures a flawless finish.
How do I prepare my wood island before sealing it?
To prepare your wood island, sand it thoroughly to remove old finishes, clean it with a wood cleaner, and let it dry completely. This ensures the sealant adheres properly and lasts longer.
What are the signs that my kitchen wood island needs resealing?
Signs your kitchen wood island needs resealing include water soaking into the wood, dull or faded surfaces, or visible scratches. If the finish feels rough or sticky, it’s time to reseal for renewed protection.